HOW TO OVERCOME PARALYSES WHEN WRITING A FIRST DRAFT
A Guide for Struggling Authors

As a writer, I’ve joined many writing groups. The benefits of connecting with like-minded people are enormous—from finding well-versed beta readers, to sharing tips on the craft, to getting help with drafting a query letter, or even obtaining feedback on the-dreaded-piece-of-writing-that-must-not-be-named, (otherwise known as the synopsis).
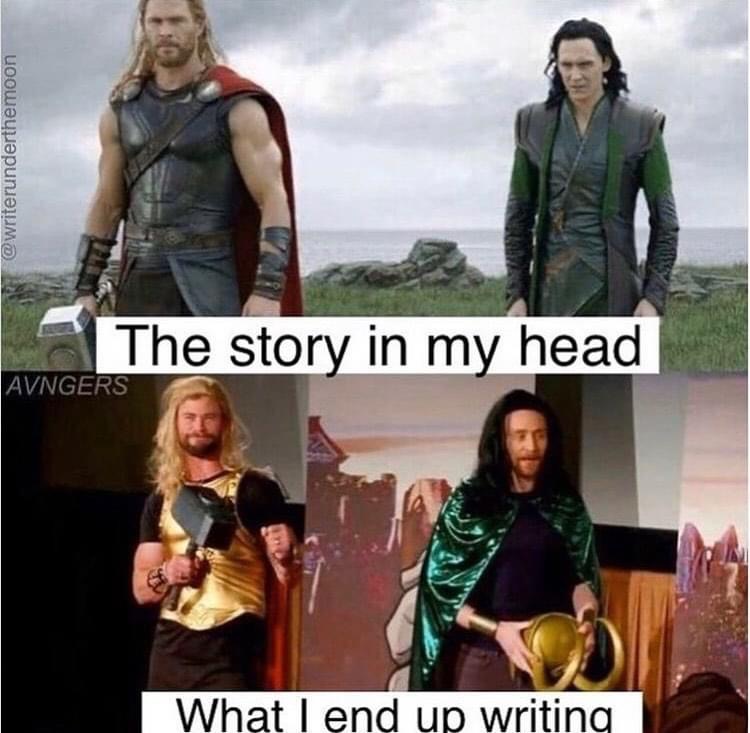
But one fun aspect that’s shared inside writing groups is memes. I can’t tell you the amount of times someone posted a funny picture with a caption and I’ve spent the next five minutes giggling to myself because whatever they shared really struck a chord. Like the following . . .
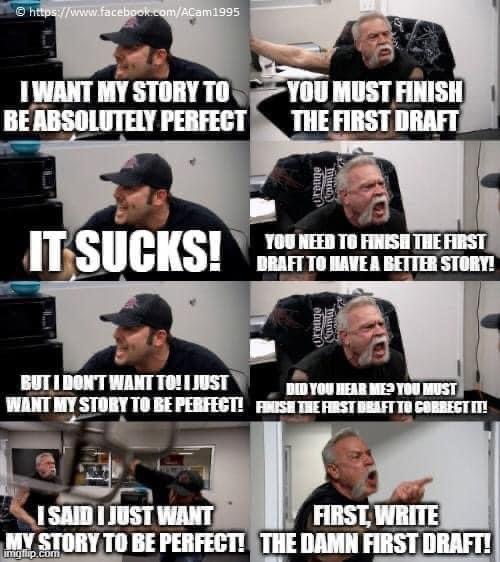
Which brings me to today’s topic . . . paralysis when writing the first draft.
I personally have never had trouble vomiting out a first draft, until, that was, I paid for a developmental edit via Jeni Chappelle. She’s a brilliant editor who I highly recommend, but that deserves a whole separate post.
Jeni opened my eyes to what I was blind to see in my manuscript. She also suggested over a dozen craft books, and I read every single one of them. I felt like I’d entered my own personal university course catered especially for me, and I came out on the other side armed with a truckload of new skills.
After the information sunk in, I decided to completely re-write my manuscript (a YA fantasy), not only applying all of what I’d learned from Jeni but also changing it from a third-person single point of view to 1st person single point of view.
Before I did so, though, I utilized Jeni Chappelle’s reverse outline method. What is a reverse outline you ask? Well, here’s Jeni’s explanation:

Jeni’s Reverse Outline method is life-changing. If you want to know more about it, you can visit her website on the topic here: https://www.jenichappelleeditorial.com/post/evaluate-your-story-with-a-reverse-outline/
Author Melody Thioalso also wrote a fantastic blog post about it here: https://melodythio.wixsite.com/author/post/writing-a-reverse-outline-the-lifechanging-editing-tool
Of course, I already had a draft to work with, so before I re-wrote the whole book, I wanted to make sure each chapter was on track as far as my character’s goals, motivations, and conflicts were concerned. It also helped with pacing, agency, and tracking my main protagonist’s character arc, (just to name a few things).
After lots of preparation, the time came for me to sit down and rewrite my novel, but I sat there with my fingers frozen on the keyboard. I had all this new knowledge, but my brain kept questioning whether I was up to the task of applying all that I’d learned. It was definitely a case of being scared to write because I was way more aware of the mistakes I could potentially make.
Luckily, I had a follow-up call scheduled with Jeni, and when I contacted her assistant to book a time, I told her I was having difficulties re-writing the novel. Jeni’s assistant kindly pointed me to a fantastic PDF Jeni wrote called Top Down Revising, which you can find via this link: here. (You’ll need to subscribe to Jeni’s newsletters to obtain a copy, but she doesn’t bombard you with emails, and the ones she does send are very informative.)
Jeni’s PDF came to me at the exact time I needed it, and boy, did it help. The guide begins with a short description of who the PDF is for, in particular: authors who’ve learned a ton about the craft but then struggle to apply it to their own writing. (Okay, Jeni, you have my attention). The guide also covers the revision side of things in great detail, and the tips she provides are phenomenal.
But the part of Jeni’s PDF that spoke to me the most revolved around this idea: when writing your first draft, you need to shut off your revision brain and let the creative side take over. There will be plenty of time for polishing, pace checking, character arc tweaking, fixing plot divergences, etc., but, (and, here comes that good old saying that us writers hear all too often) you can’t edit a blank page.
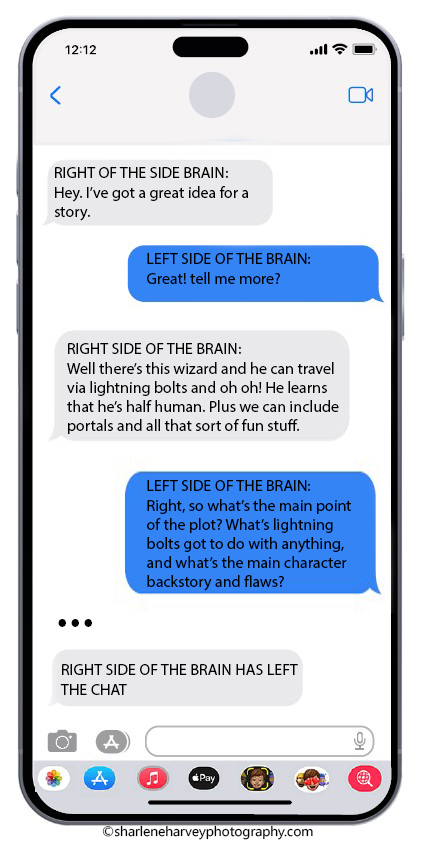
It’s a known fact that the left side of the brain engages in analytical and methodical thinking, while the right side engages in visual and intuitive thinking. For me, the trick was to only connect with the right side of my brain while I vomited out that first draft, THEN worry about using the left side of my brain when it came time to revise.

After reading Jeni’s PDF, I gave myself permission to just write whatever came to mind and let the conscious flow take over. All of a sudden the words began to pour out, some of it bad, but a lot of it was surprisingly okay. Of course, my inner editor was sitting on my shoulder the entire time, whispering titbits of craft in my ear as I went along, but he didn’t dominate the conversation. Instead, he let the muse take the wheel.
Naturally, everyone works differently. Some people ‘do’ manage to write and edit as they go, but this blog post is for those of you who become stuck through fear of failure, just like I did. When writing your first draft, tell that inner editor to go and have a nice cup of coffee and take a chill pill while Mr. Muse does his business and helps you poop out that first draft.
I hope you found this post useful.
Until next time, Sharlene Harvey
Fall Writing Frenzy 2023

I’ve been a busy bee working on my query letter and polishing my pages, but it was a lovely change of pace to write a 200-word flash fiction for the #FallWritingFrenzy2023 contest. Thank you to Kaitlyn Sanchez, and the guest judges, Ameerah Holliday and Ebondy Mudd, for putting on the contest!
I’ve really enjoyed reading everyone’s take on the different images. It was fascinating to see what each person came up with. Congratulations to everyone who participated and for being brave enough to put yourself out there.
The link to the competition can be found here.
SACRED CADENCES
By Sharlene Harvey
The roar of a chainsaw shatters the serenity. Despite beams of gilded sunlight dappling the ground, the trees on either side of the hammock seem to shiver.
Ironically, the hammock’s shape arches in a smile, as if oblivious that its time above the autumn leaves will soon come to an end.
Perhaps, like me, it’s reminiscing about bygone days spent in this sacred space.
Of a time my sister and I snuggled inside its curved body like nesting chicks while Mother gently rocked us.
Of a time when my arms and legs entwined around Tommy Prescott, the scent of his cologne tantalizing my nostrils as he edged in for our first kiss.
Of a time when my frail arms pushed grandchildren to and fro, the trill of their squeals outshining the birds.
Of a time when I sat solo, huddled in a shawl with my head bowed while the chill of winter penetrated my lonely bones.
Decades of memories, and they’re cutting the trees down?
Over my dead body.
Literally.
Riding a breeze, I take aim and unleash a spiritual force.
Chainsaws fly. Men scream and scramble. Tires skid across gravel.
A tranquil silence once again fills the air.
Huge shout-out to the prize donors:
@AndreaYWang @chanastiefel @JStremer @amandarhill32 @AutumnLeaflet @HovorkaSarah @readbystephanie @Ms_Holliday93 @SerendipityLit @BrianGehrlein @IvanTaurisano @ErDiPasquale @ShannonStocker_ @ebonylynnmudd @kaitlynleann17 @AReynosoMorris @DianaMWrites
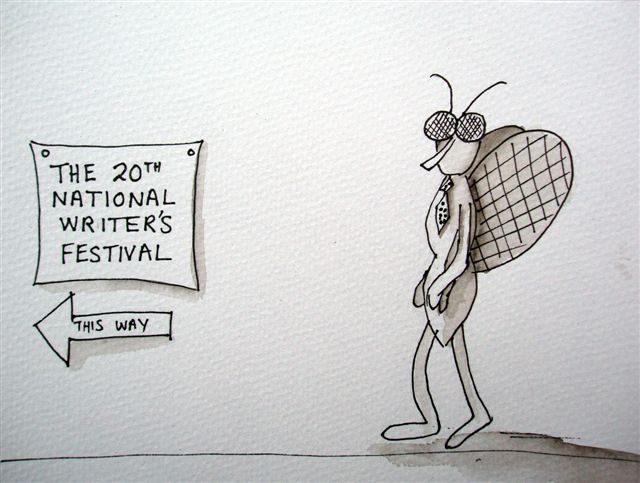
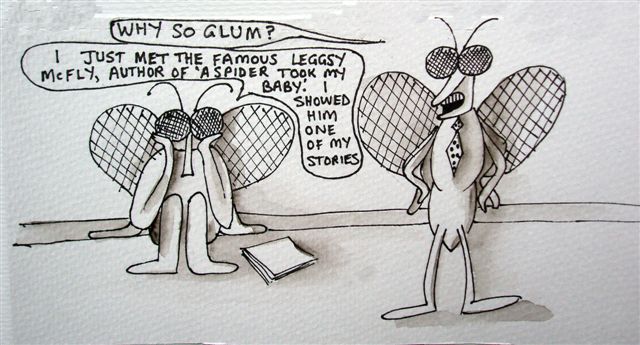
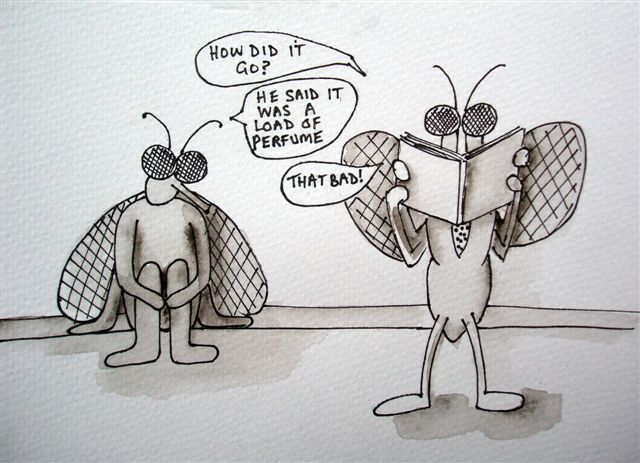
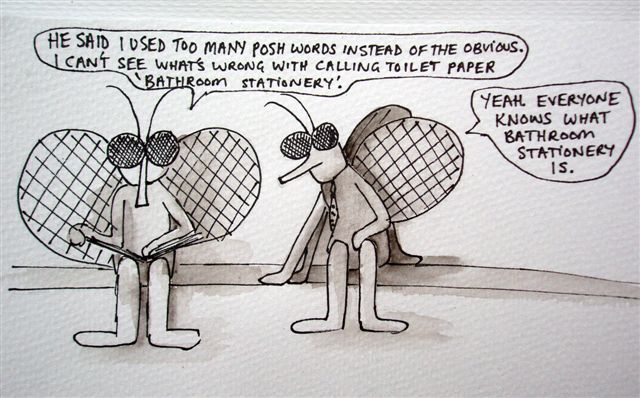
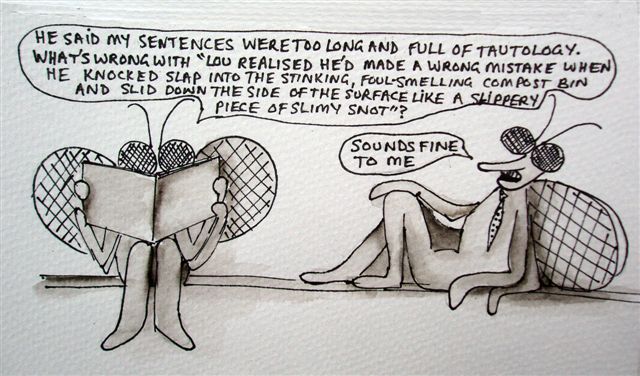
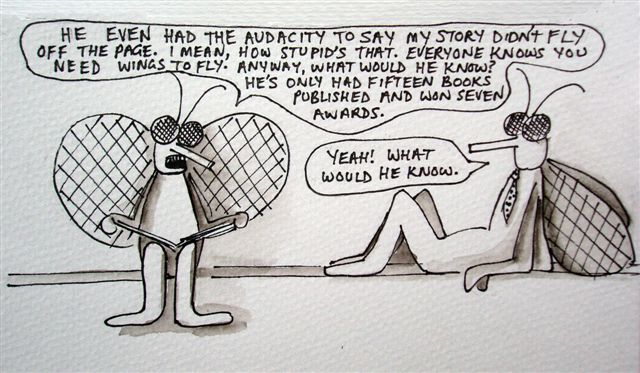
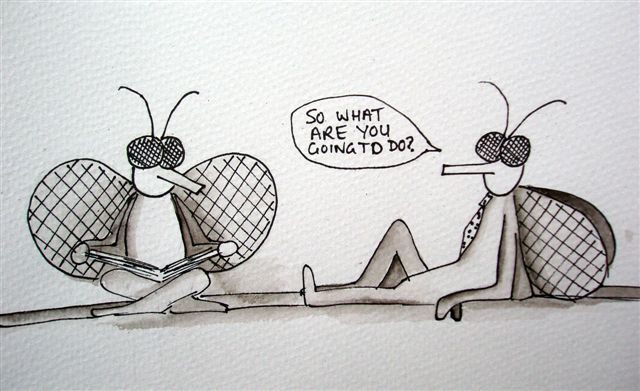
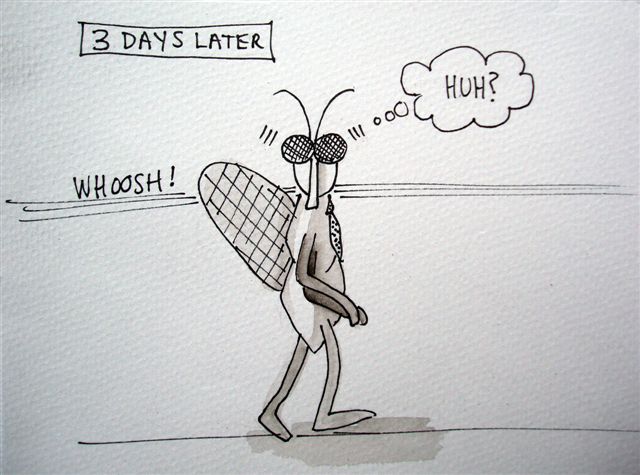
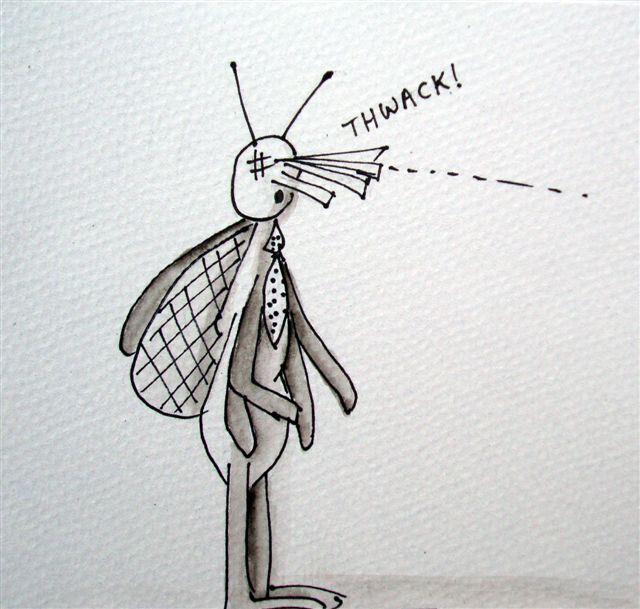
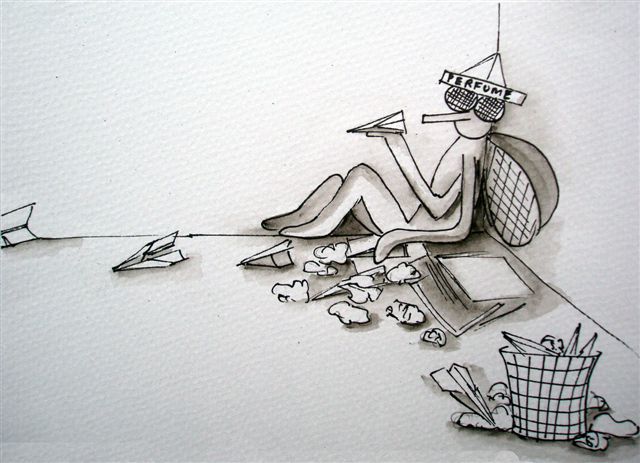
MAKING THE WORDS FLY OFF THE PAGE
Here’s a little cartoon skit I created about making the words fly off the page.
I hope you enjoy it as much as I did writing and illustrating it!
(Copyright Sharlene Harvey 2023)


What goes on behind the Scene at a Photography Session
A BLOG POST FROM MY PHOTOGRAPHY DAYS
Ever wondered what goes on behind the scene in a photography session?
Hopefully, this post will help enlighten you.
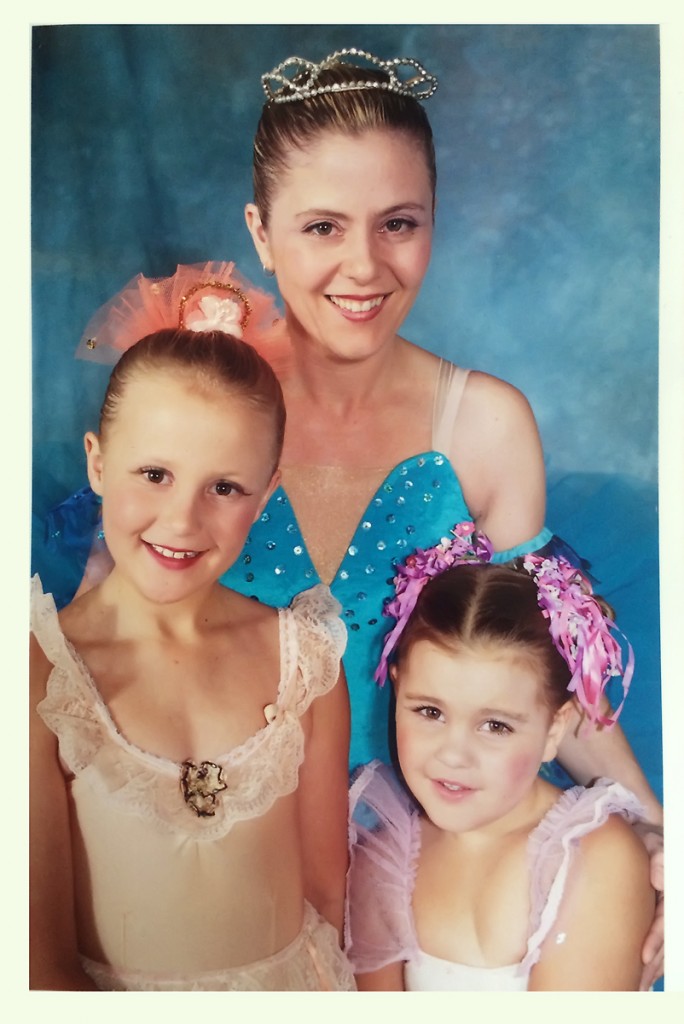
This is a photograph of me and my two beautiful girls taken by Andrew Sinclair back in 2005. I love this photo so much. In fact, I love it so much that it sits in a frame beside me in my study where I work every day. My girls have since grown into teenagers and no longer dance, but this wonderful portrait forever reminds me of a time when all three of us danced at the same ballet school—a special time when I was privileged to witness the two of them experience the joys and magic of being a dancer firsthand.
I have always spent money on portraits, not only because I love photography, but also because I appreciate preserving those moments in time that can never be viewed in real life again. I love it when my children gather around a photo album or a computer and go on a journey re-living forgotten memories and experiences.
Thinking back to when this photograph was taken, I clearly remember the conversations and complaints I had with other dancers about the cost of the photos. We would spend hours getting ready, dressing in costumes, doing our hair and make-up, and when our turn came, we would line up for a photo that took a few minutes, only to repeat the process for each costume. A week or so later, the photographer would present the resulting photos for purchase.
Huh? I would think, when viewing the photos. You want how much for this 5″ x 7″ photo? This image would only cost 20 cents to print at Kmart. Why are you charging so much?
I didn’t see the value at the time, that was until I became the person on the other side of the camera. It was only then that I realized how much work went into the process. And boy was I surprised. The value of that 5″ x 7″ took on a whole new meaning.
Hopefully, I can educate you on what goes into a photography session, so that you too, can understand the worth behind a professional print. I believe I would have appreciated reading a post like this all those years ago. Perhaps it will dispel the misconception that there’s not much to it because the reality is quite to the contrary.
Let me take you on a step-by-step journey of what is involved.
THE PLANNING
When I first started conducting photography sessions, I used to wing it with no specific planning on what sort of photos I would like to achieve. I would go into a shoot with a vague idea of what I wanted to capture and come home feeling frustrated as I sifted through the images only to find I had little variety to choose from.
Those days are long gone. Nowadays, from the moment of conception, my mind starts mentally planning the shoot. Sometimes, I’ll even play out an entire session in my head whilst tossing and turning in the throes of an insomnia-inflicted night.
Whether it is ballet concert photos or a single portfolio shoot, I start by preparing a set of ideas on how I want the session to run. I take the time to develop and research poses and concepts suitable for the individual session. I will spend hours thinking, planning, and researching.
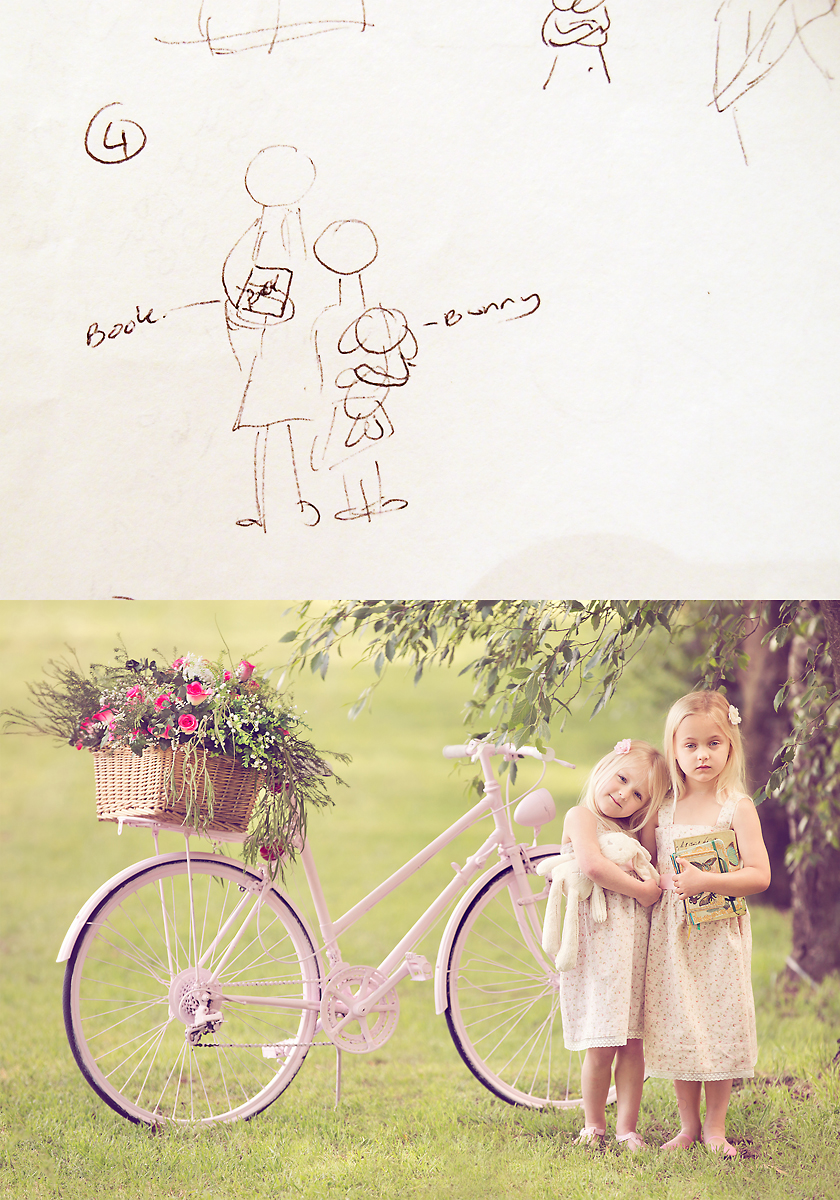
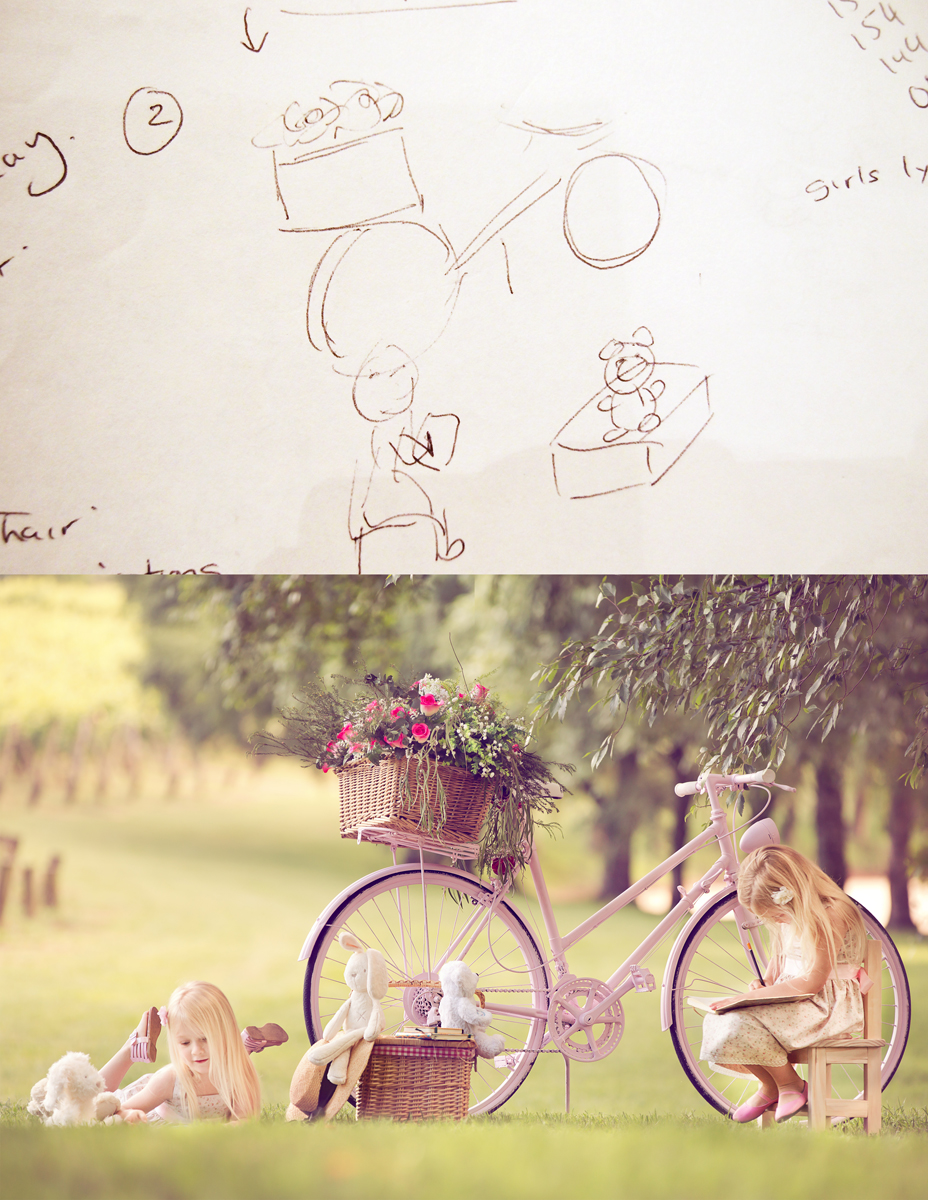
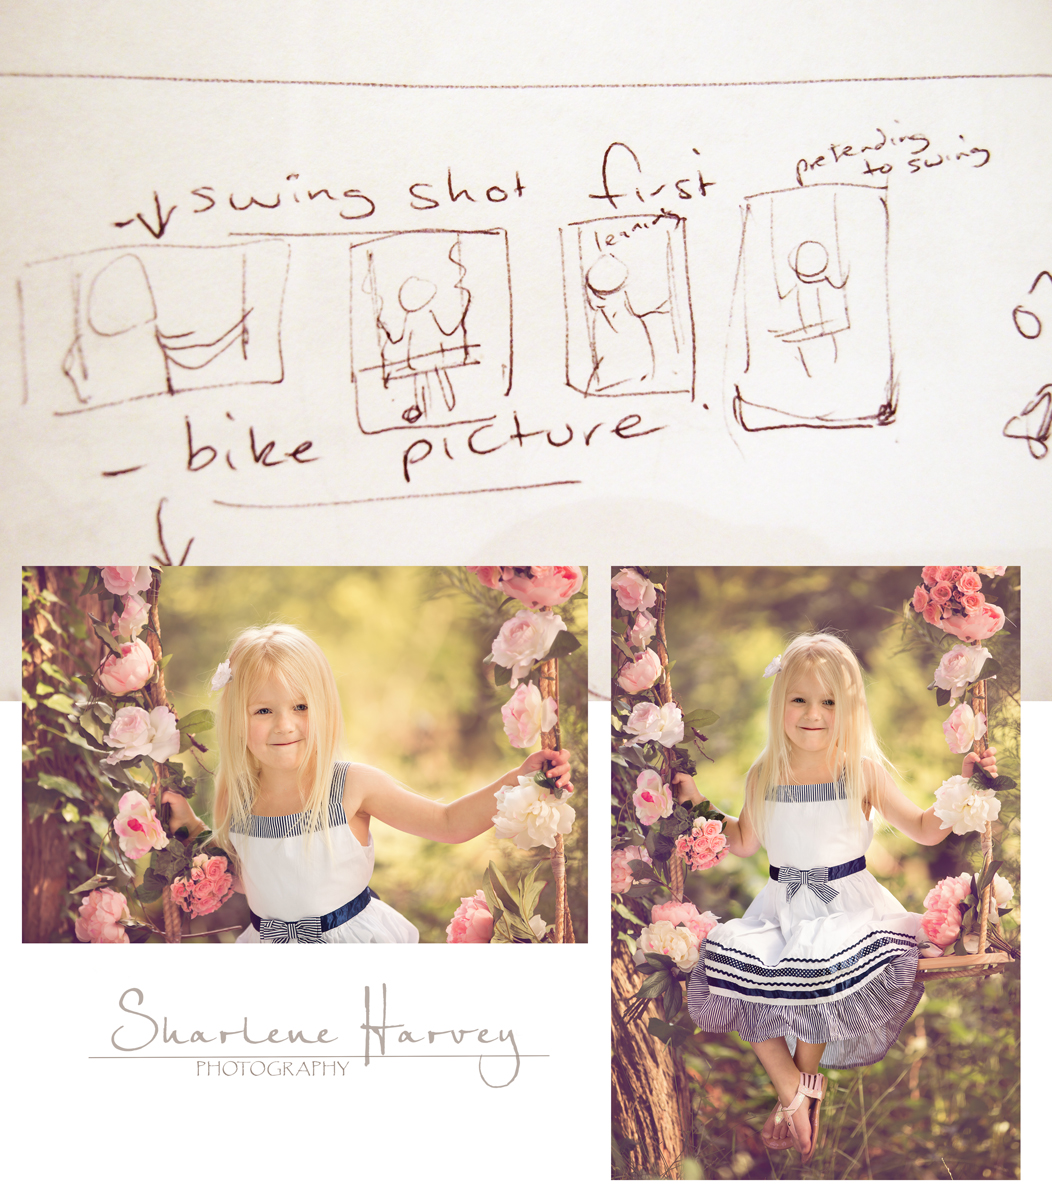
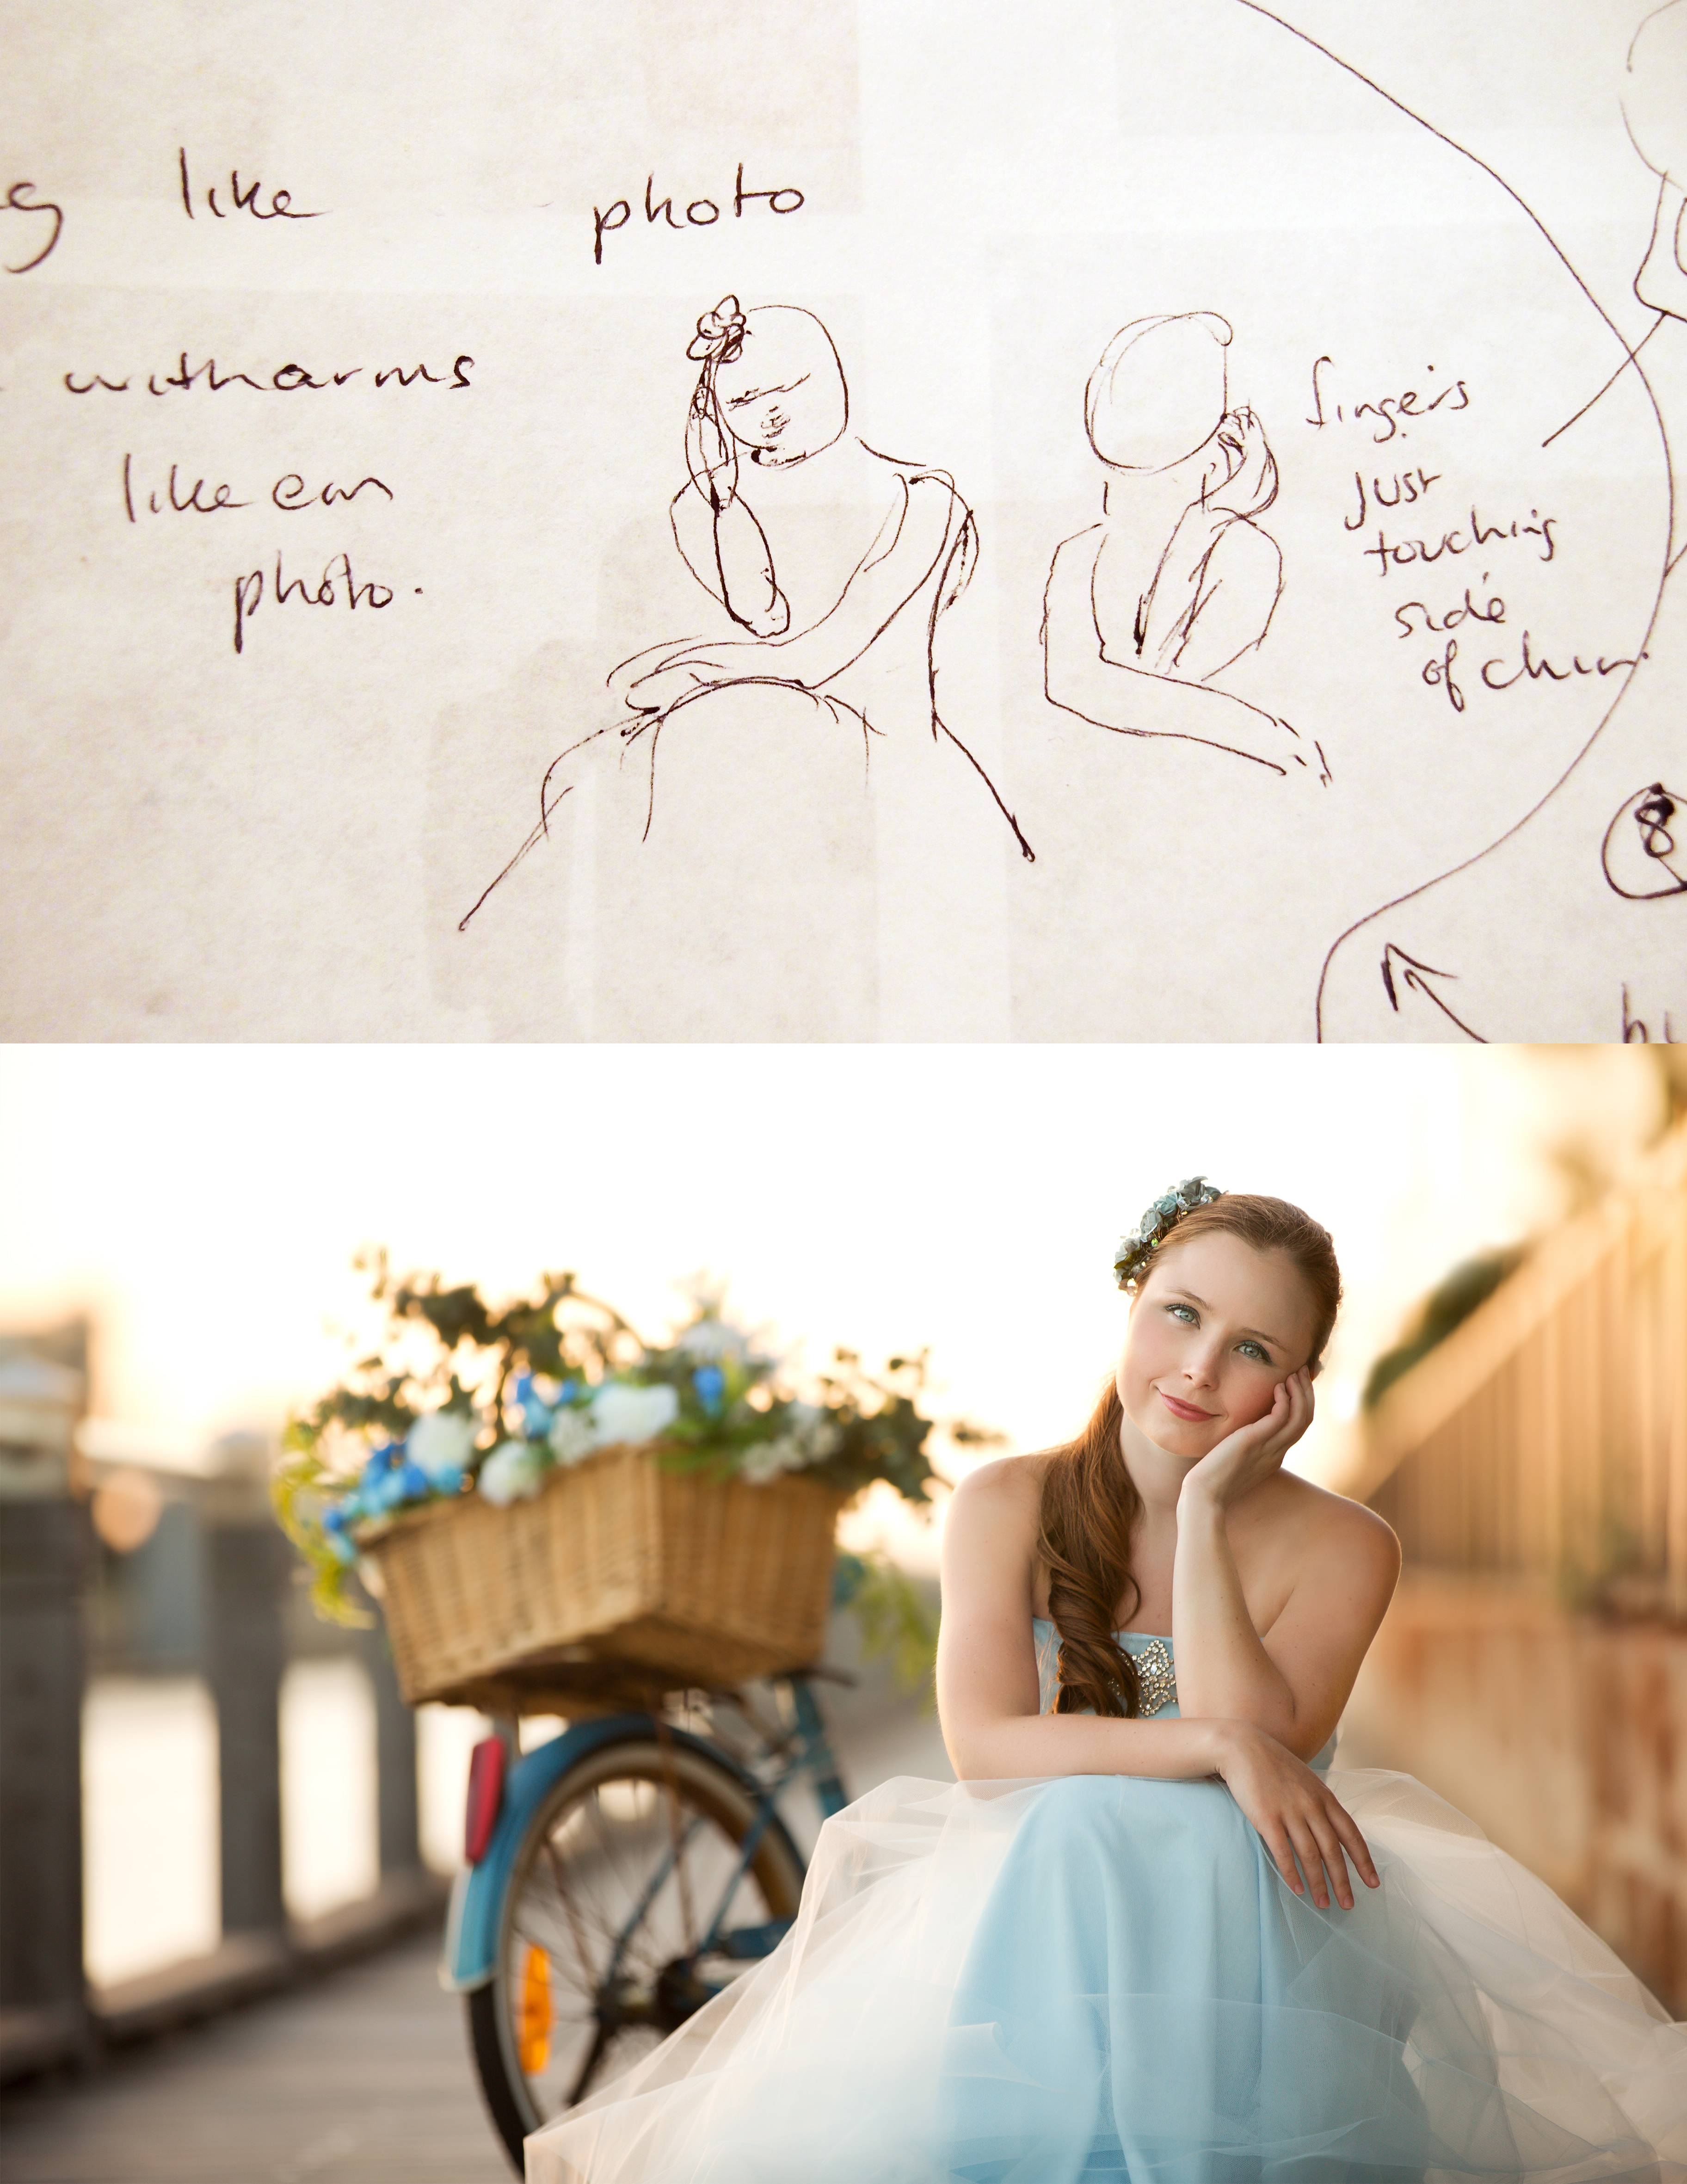
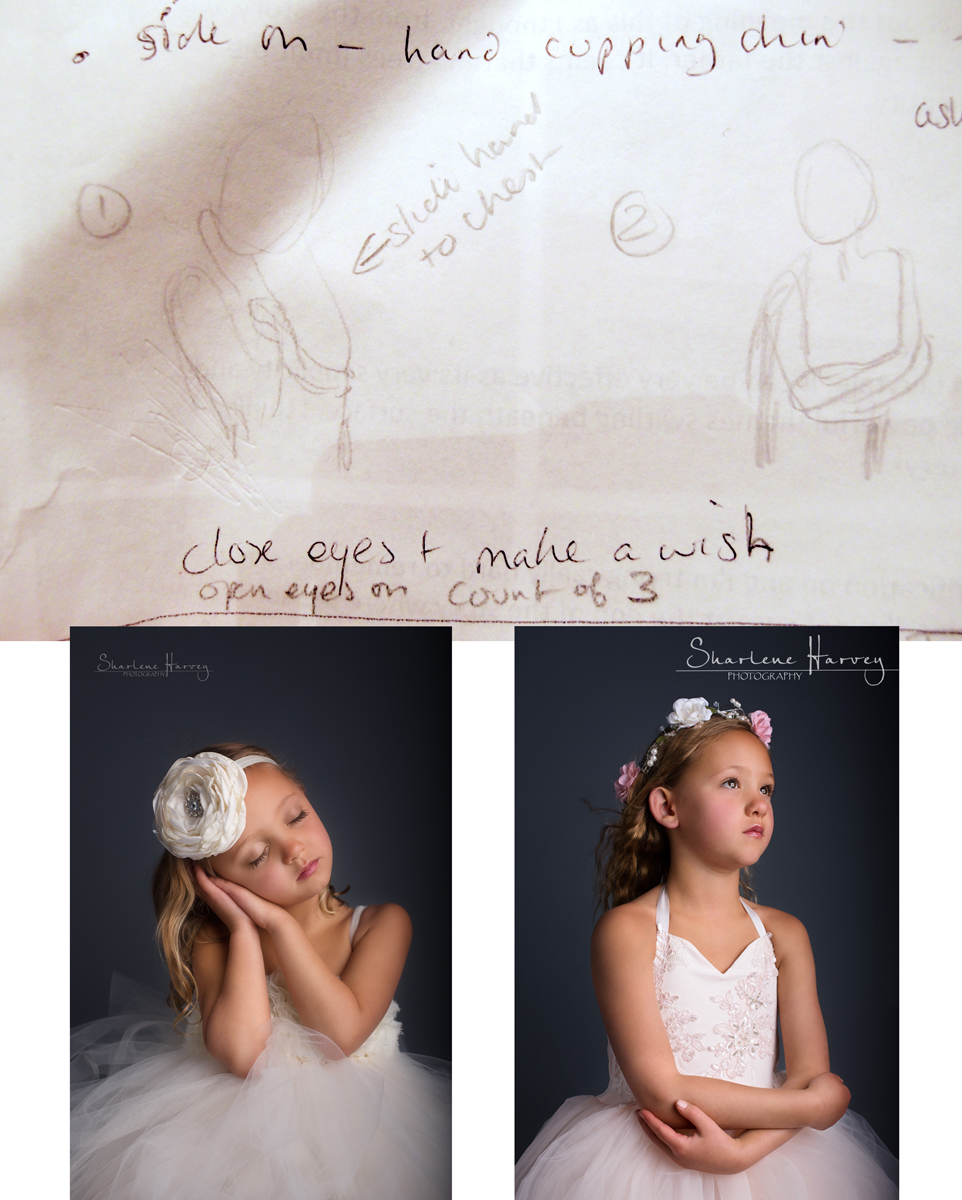
If it’s a single-person session, I will brainstorm with my client on exactly what sort of photographs they are after. From there, I work with the client’s ideas and put together an overall plan to execute on the day. But let me just say, although I write up an exact plan of how I’d like the session to run, invariable things always go in all manner of directions. Despite being more than happy to run with whatever happens on the day, I always re-consult my notes (either mentally or physically) to make sure I haven’t brushed over any ideas too valuable to miss.
Here are a few examples of my planning notes, complete with stick figure drawings:

_______________________________________________________________________________________________________________
__________________________________________________________________________________________________________________
PREPARATION
The day of the session arrives, and it’s time to get ready. If I’m doing a studio shoot, it will normally take me an hour or more to set everything up. This includes (just to name a few): mounting the backdrop, taping cords down, setting up the lights, adjusting camera settings, testing the lights until they are exactly right, and rigging up my computer if I plan to tether the session.
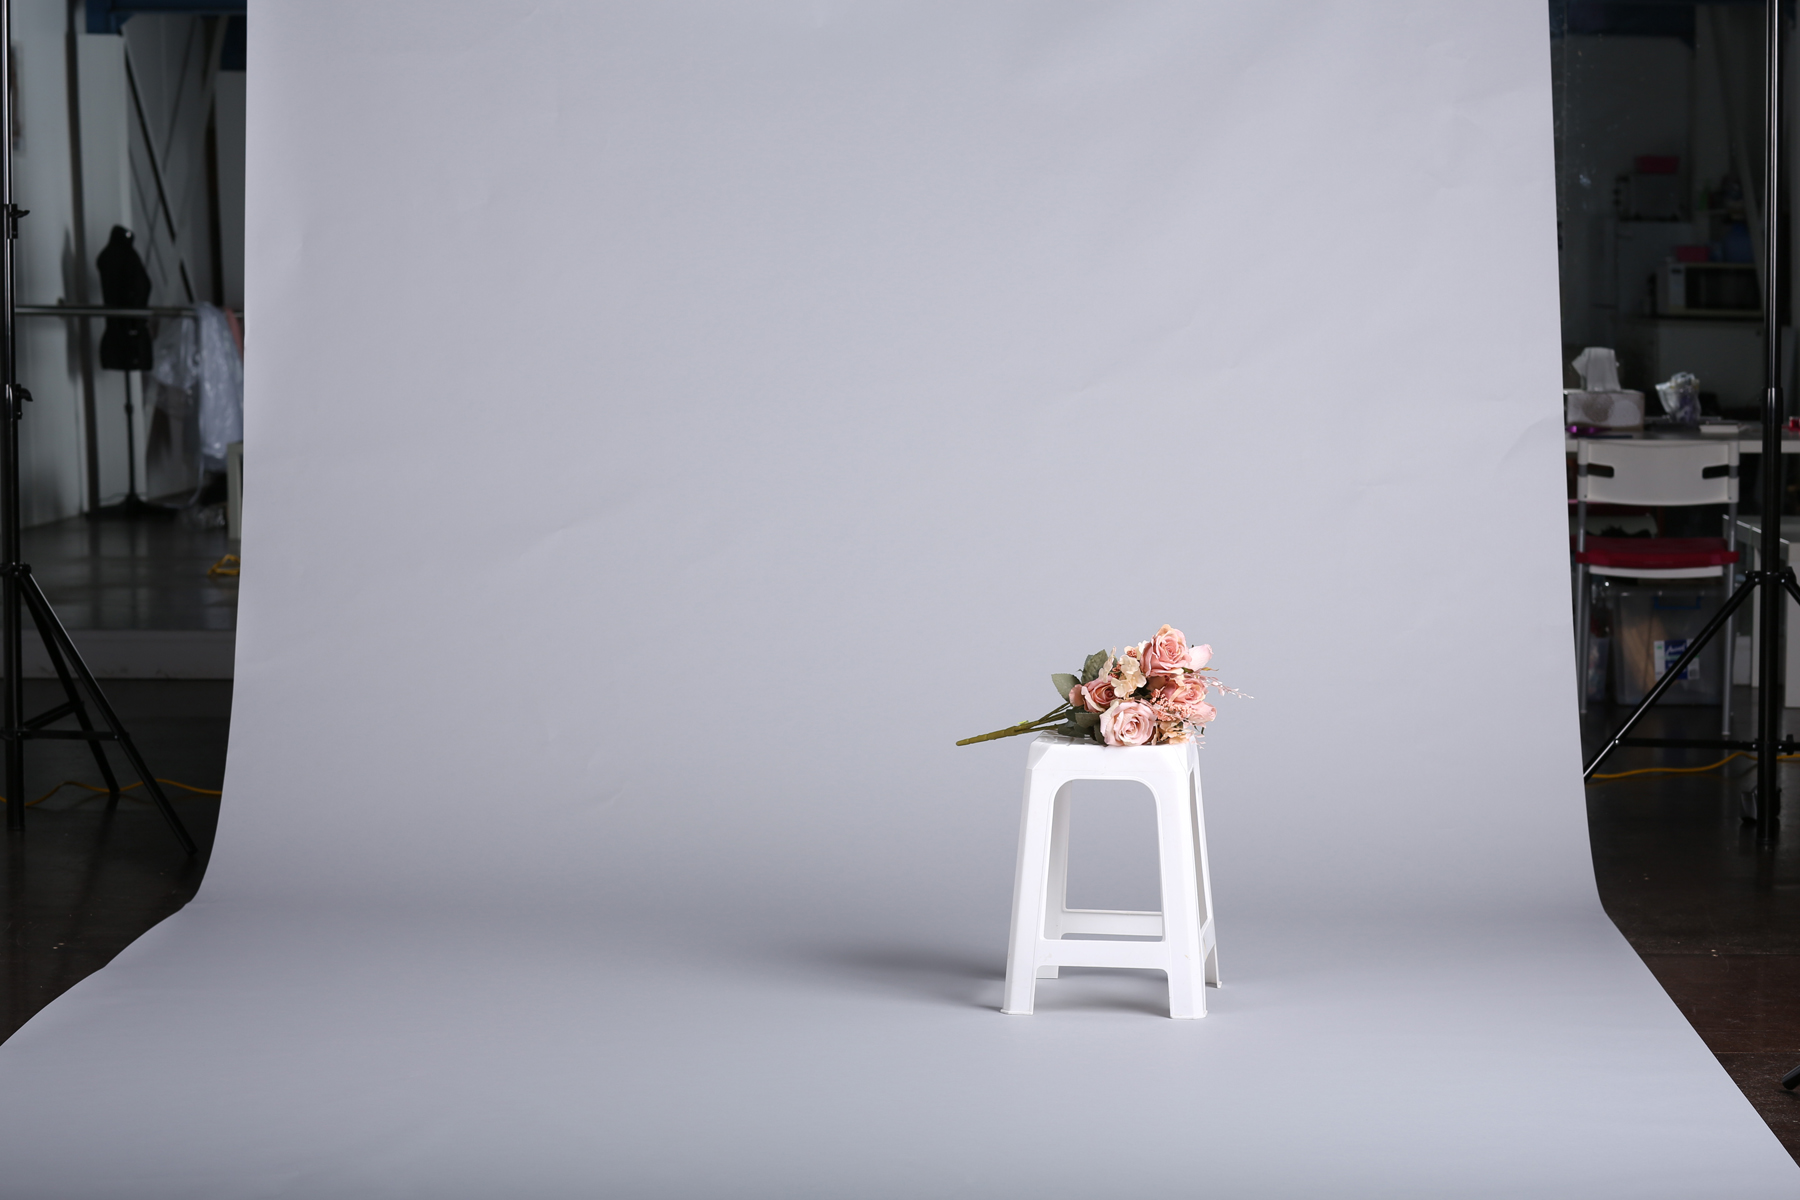
But this hour or so of setting up doesn’t include the hundreds of hours it has taken me to learn how to use the studio equipment—hours upon hours of researching, tutoring, testing, and practicing until I was confident with what I was doing. Not to mention the hundreds of dollars spent on tutoring and equipment.
I often think of Andrew Sinclair when I’m setting everything up. I reflect on how much I took it for granted that the lights would do their job perfectly when I stepped into the frame as a dancer. I now realise he didn’t just bang them up and hope for the best. No, much preparation and experience would have gone into the entire operation.

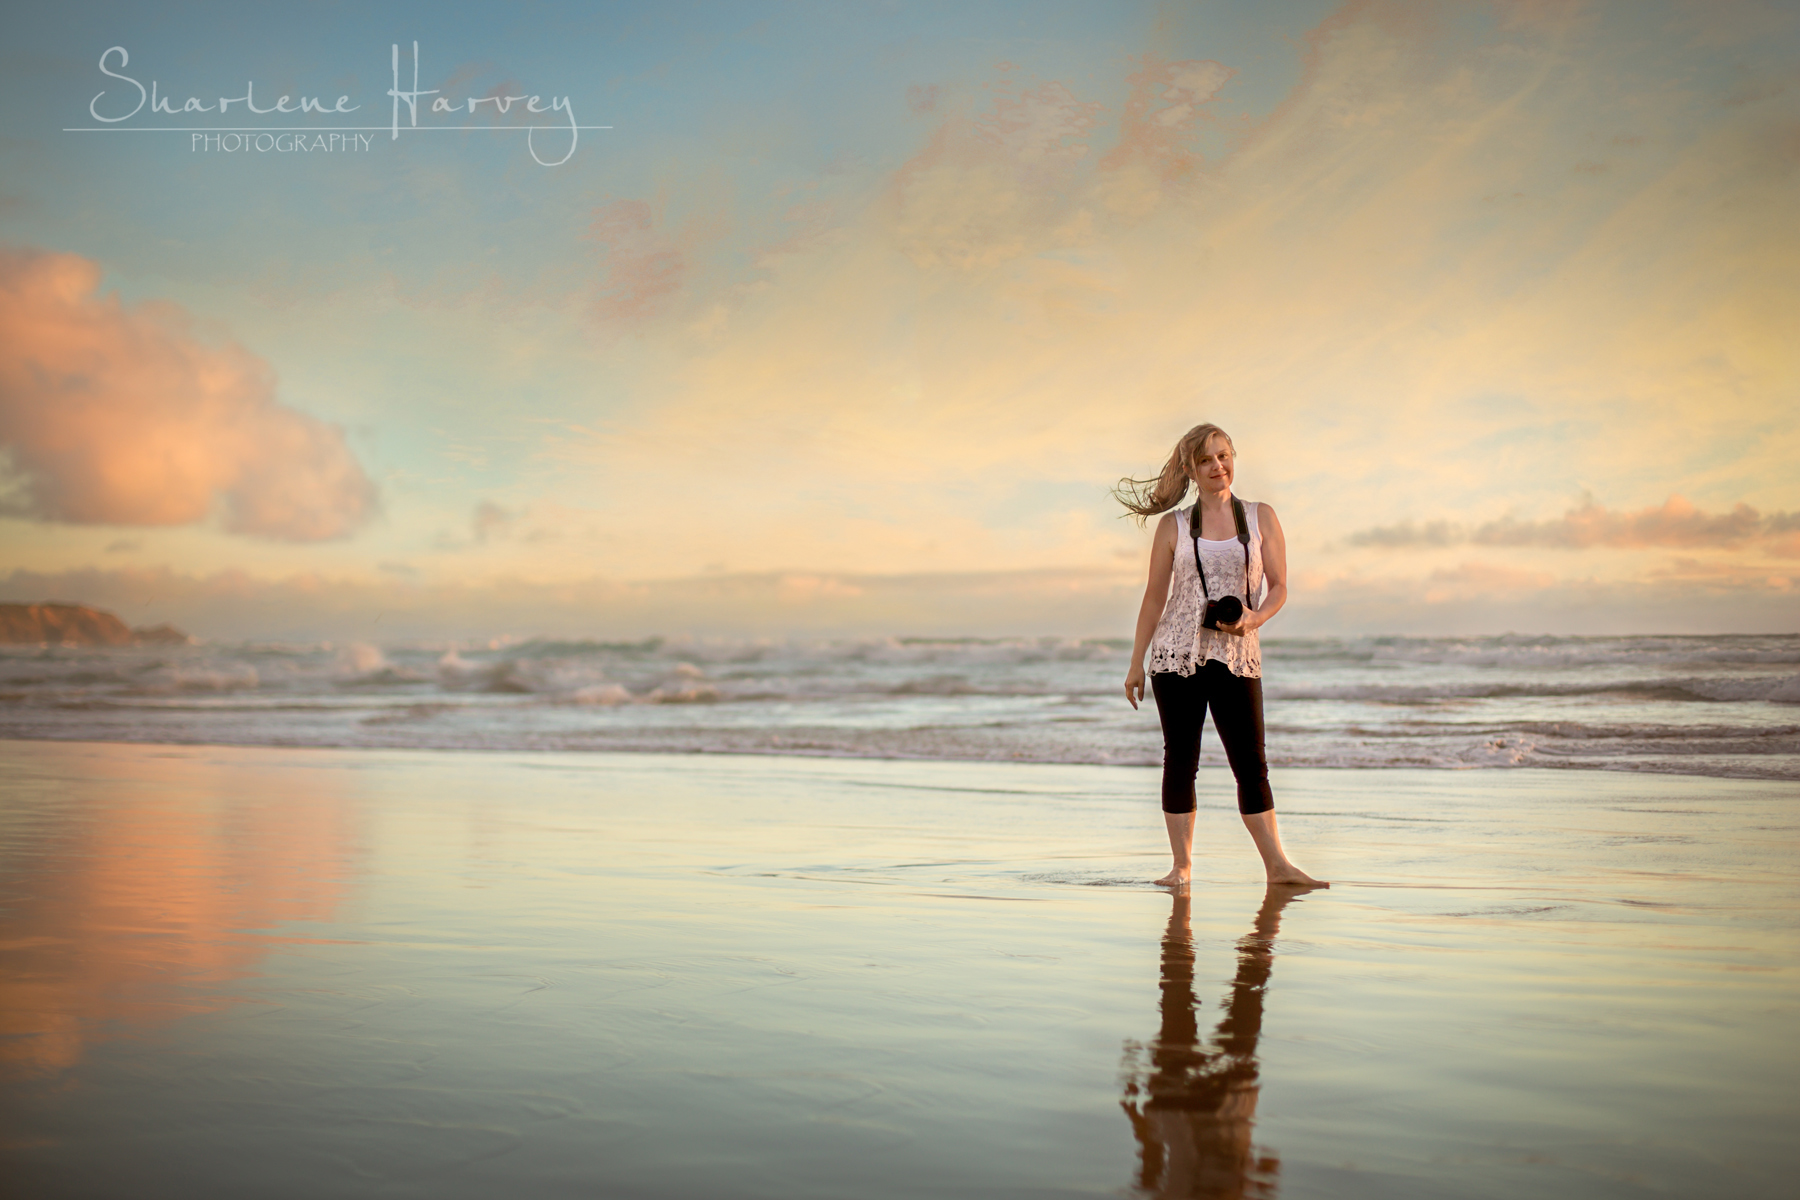
Likewise, if I’m doing an outdoor shoot, I will spend hours location hunting. Once I’ve found a possible site, I will go back there at the same time I plan to be taking the photos to see if the lighting is right. If it’s not, I’m back in the car searching until I find just the right spot. I’ve spent a lot of time and money on tutorials relating to location hunting. I’m still learning, but if I am to take myself seriously as a professional photographer, I feel it is absolutely imperative to continue to improve upon these skills. 


(To read more about the above session click here).
THE SESSION
The time has come to take the photographs. As you can see, a lot of thought and preparation has already taken place before I have even started.
There are so many things going on in my mind while I’m shooting. I use my camera in manual mode. This means I am completely in control of every single thing my camera does—from shutter speed to aperture, to ISO, even down to the correct temperature I want my images to be. I make all the choices and don’t leave any decisions up to my camera.
After years of experience, running my camera in manual mode has become second nature. However, I have to keep my wits about me, so I don’t accidentally forget to change the ISO or shutter speed, etc. as the situation changes.
As I am giving my subject directions, I’m also thinking about a stream of other things. For example, watching the lighting, fine-tuning the posing, and making artistic choices about composition. At the same time, my eye is constantly roaming around the viewfinder for anything that can be fixed in real life—like a strand of hair in the eyes, or an untucked shirt, or a forgotten watch on a ballerina—because leaving it to be fixed in Photoshop… ain’t nobody got time for that!
LENGTH OF A SESSION
If I’m taking photos for a dance competition, for example, I usually start photographing at 11 am and don’t finish until 6 pm, with a quick break somewhere in between.
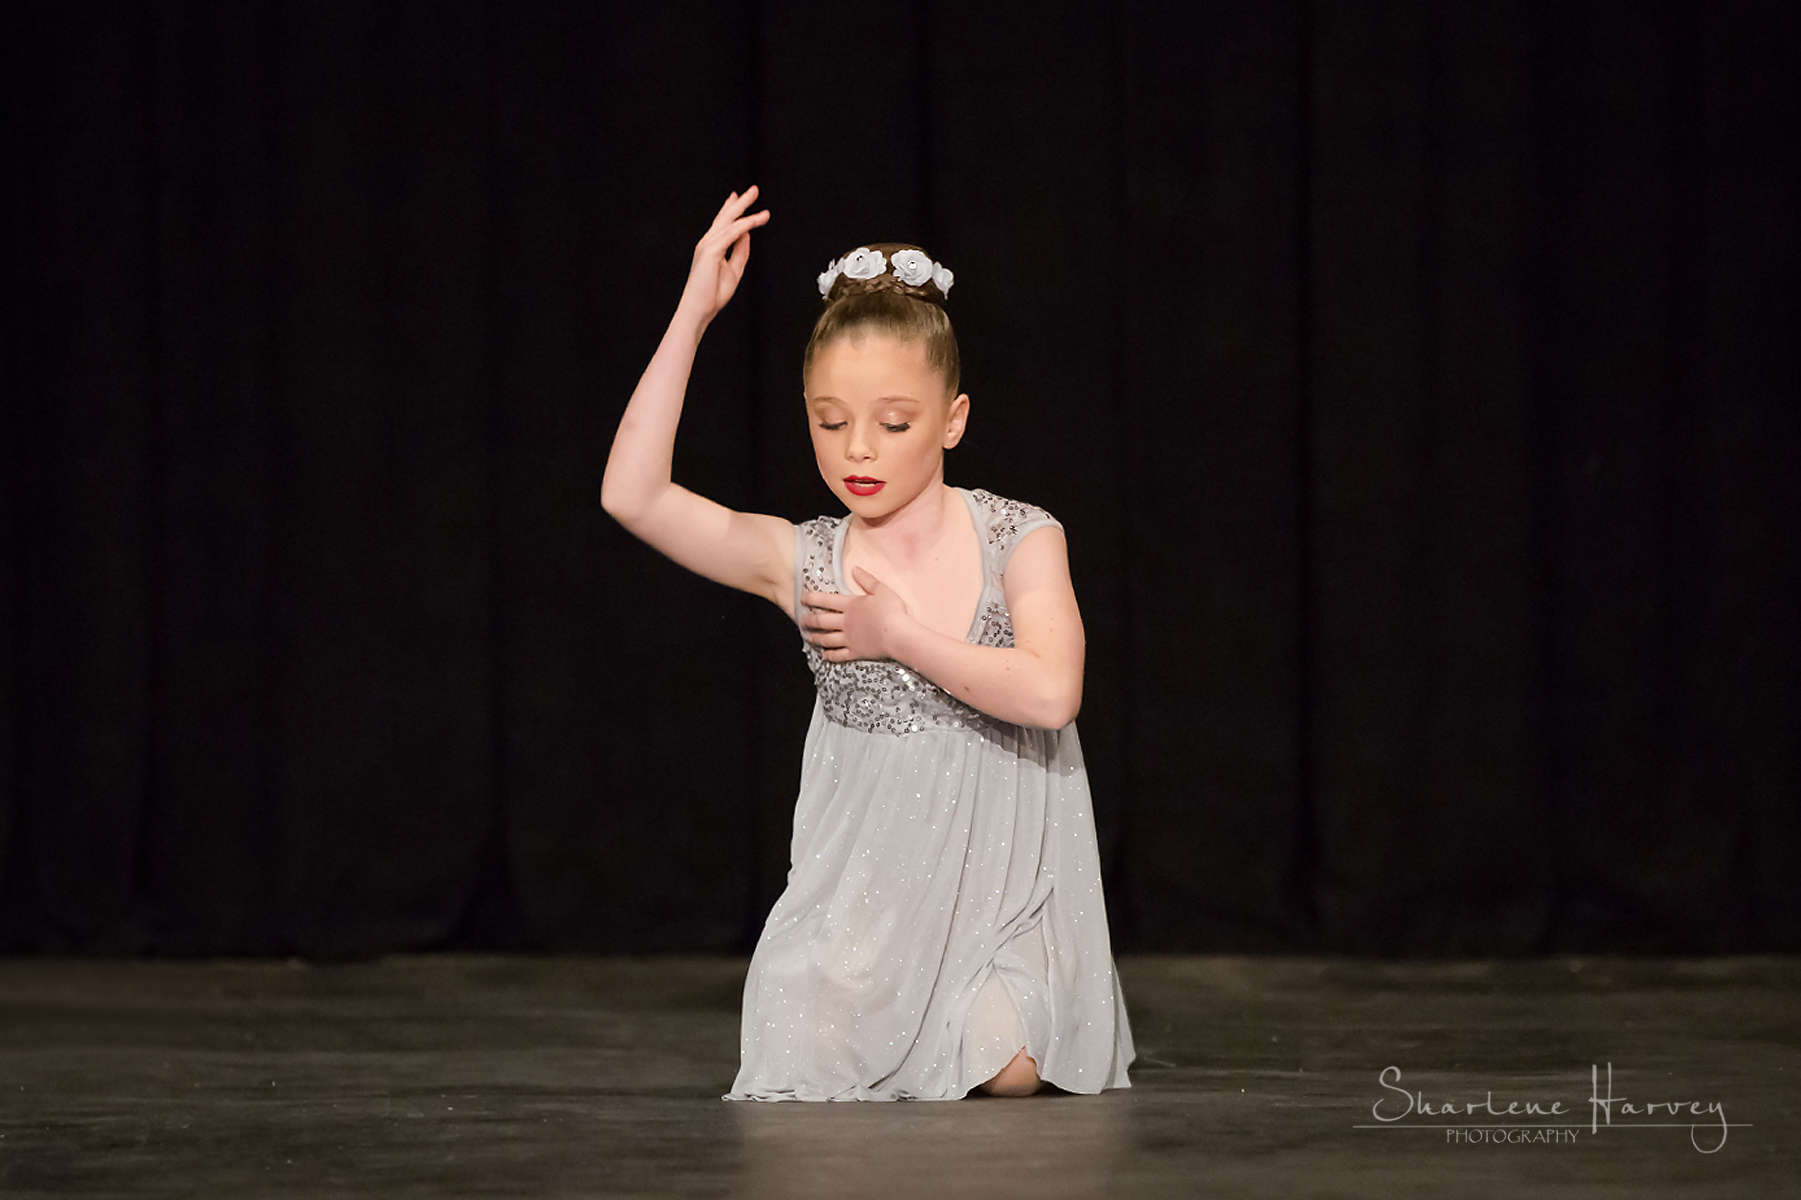
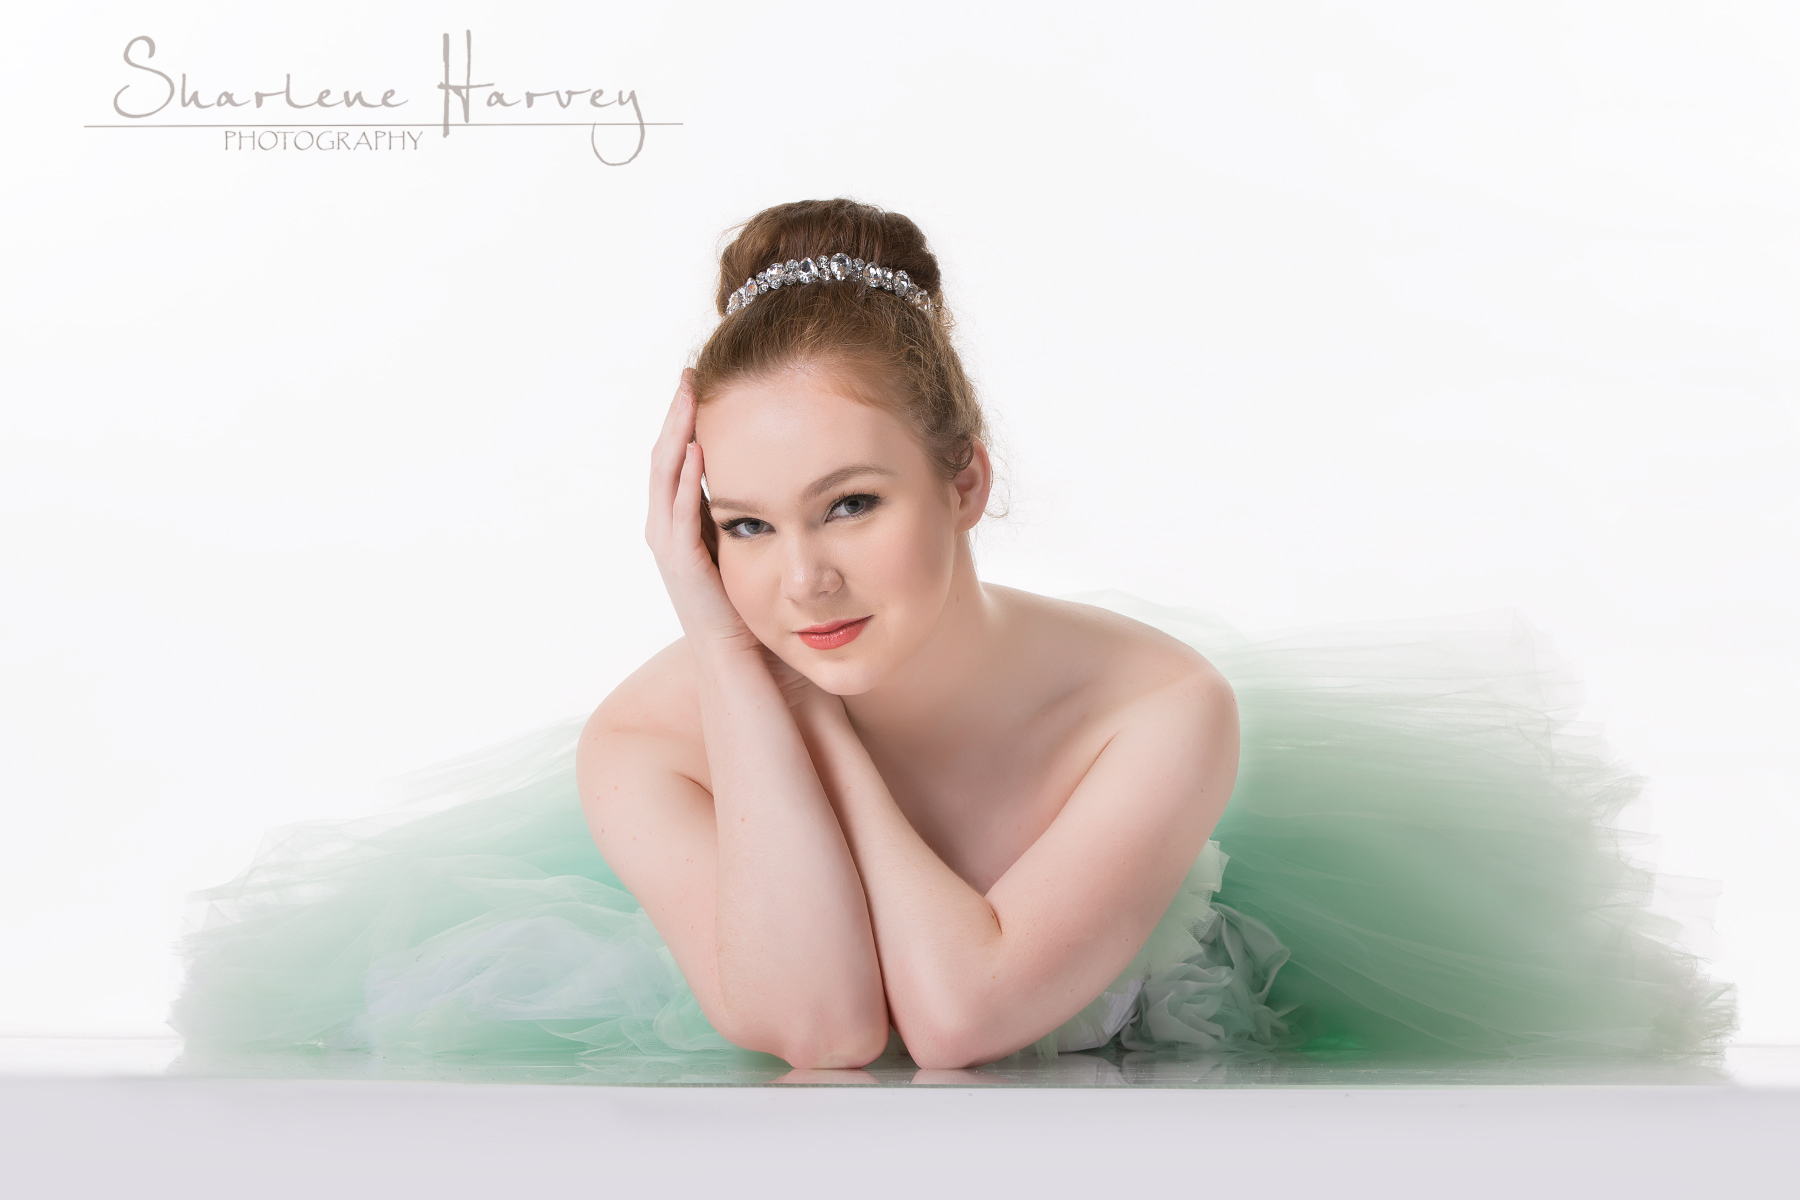
(The above photo of the very charismatic Karis was taken at Peninsula School of Dance’s recent Dance Competition)
 (The above images are from a website portfolio photography session at Peninsula School of Dance in Rosebud, Victoria)
If it’s a customized client shoot, the session can go for as long as 2 to 3 hours depending upon what transpires on the day.
On location, there is a small amount of packing up to do, as opposed to a studio session, which will take an hour or more to pack up after everyone else has long gone.
AFTER THE SESSION
EDITING
For me, this is where I spend many hours. Shooting is only a quarter of the overall picture.
Editing begins with uploading all the photos onto my computer. As I scroll through every single one, I start culling any with blinking or closed eyes, or poses that didn’t work, or ones with technical imperfections, until finally, I end up with a selection of the very best.
From there, I will spend anywhere from half an hour or more on each image. I treat every single photo as a piece of artwork and edit as though I’m painting by hand. It has taken me hundreds of hours of training to get to the level I’m currently at.
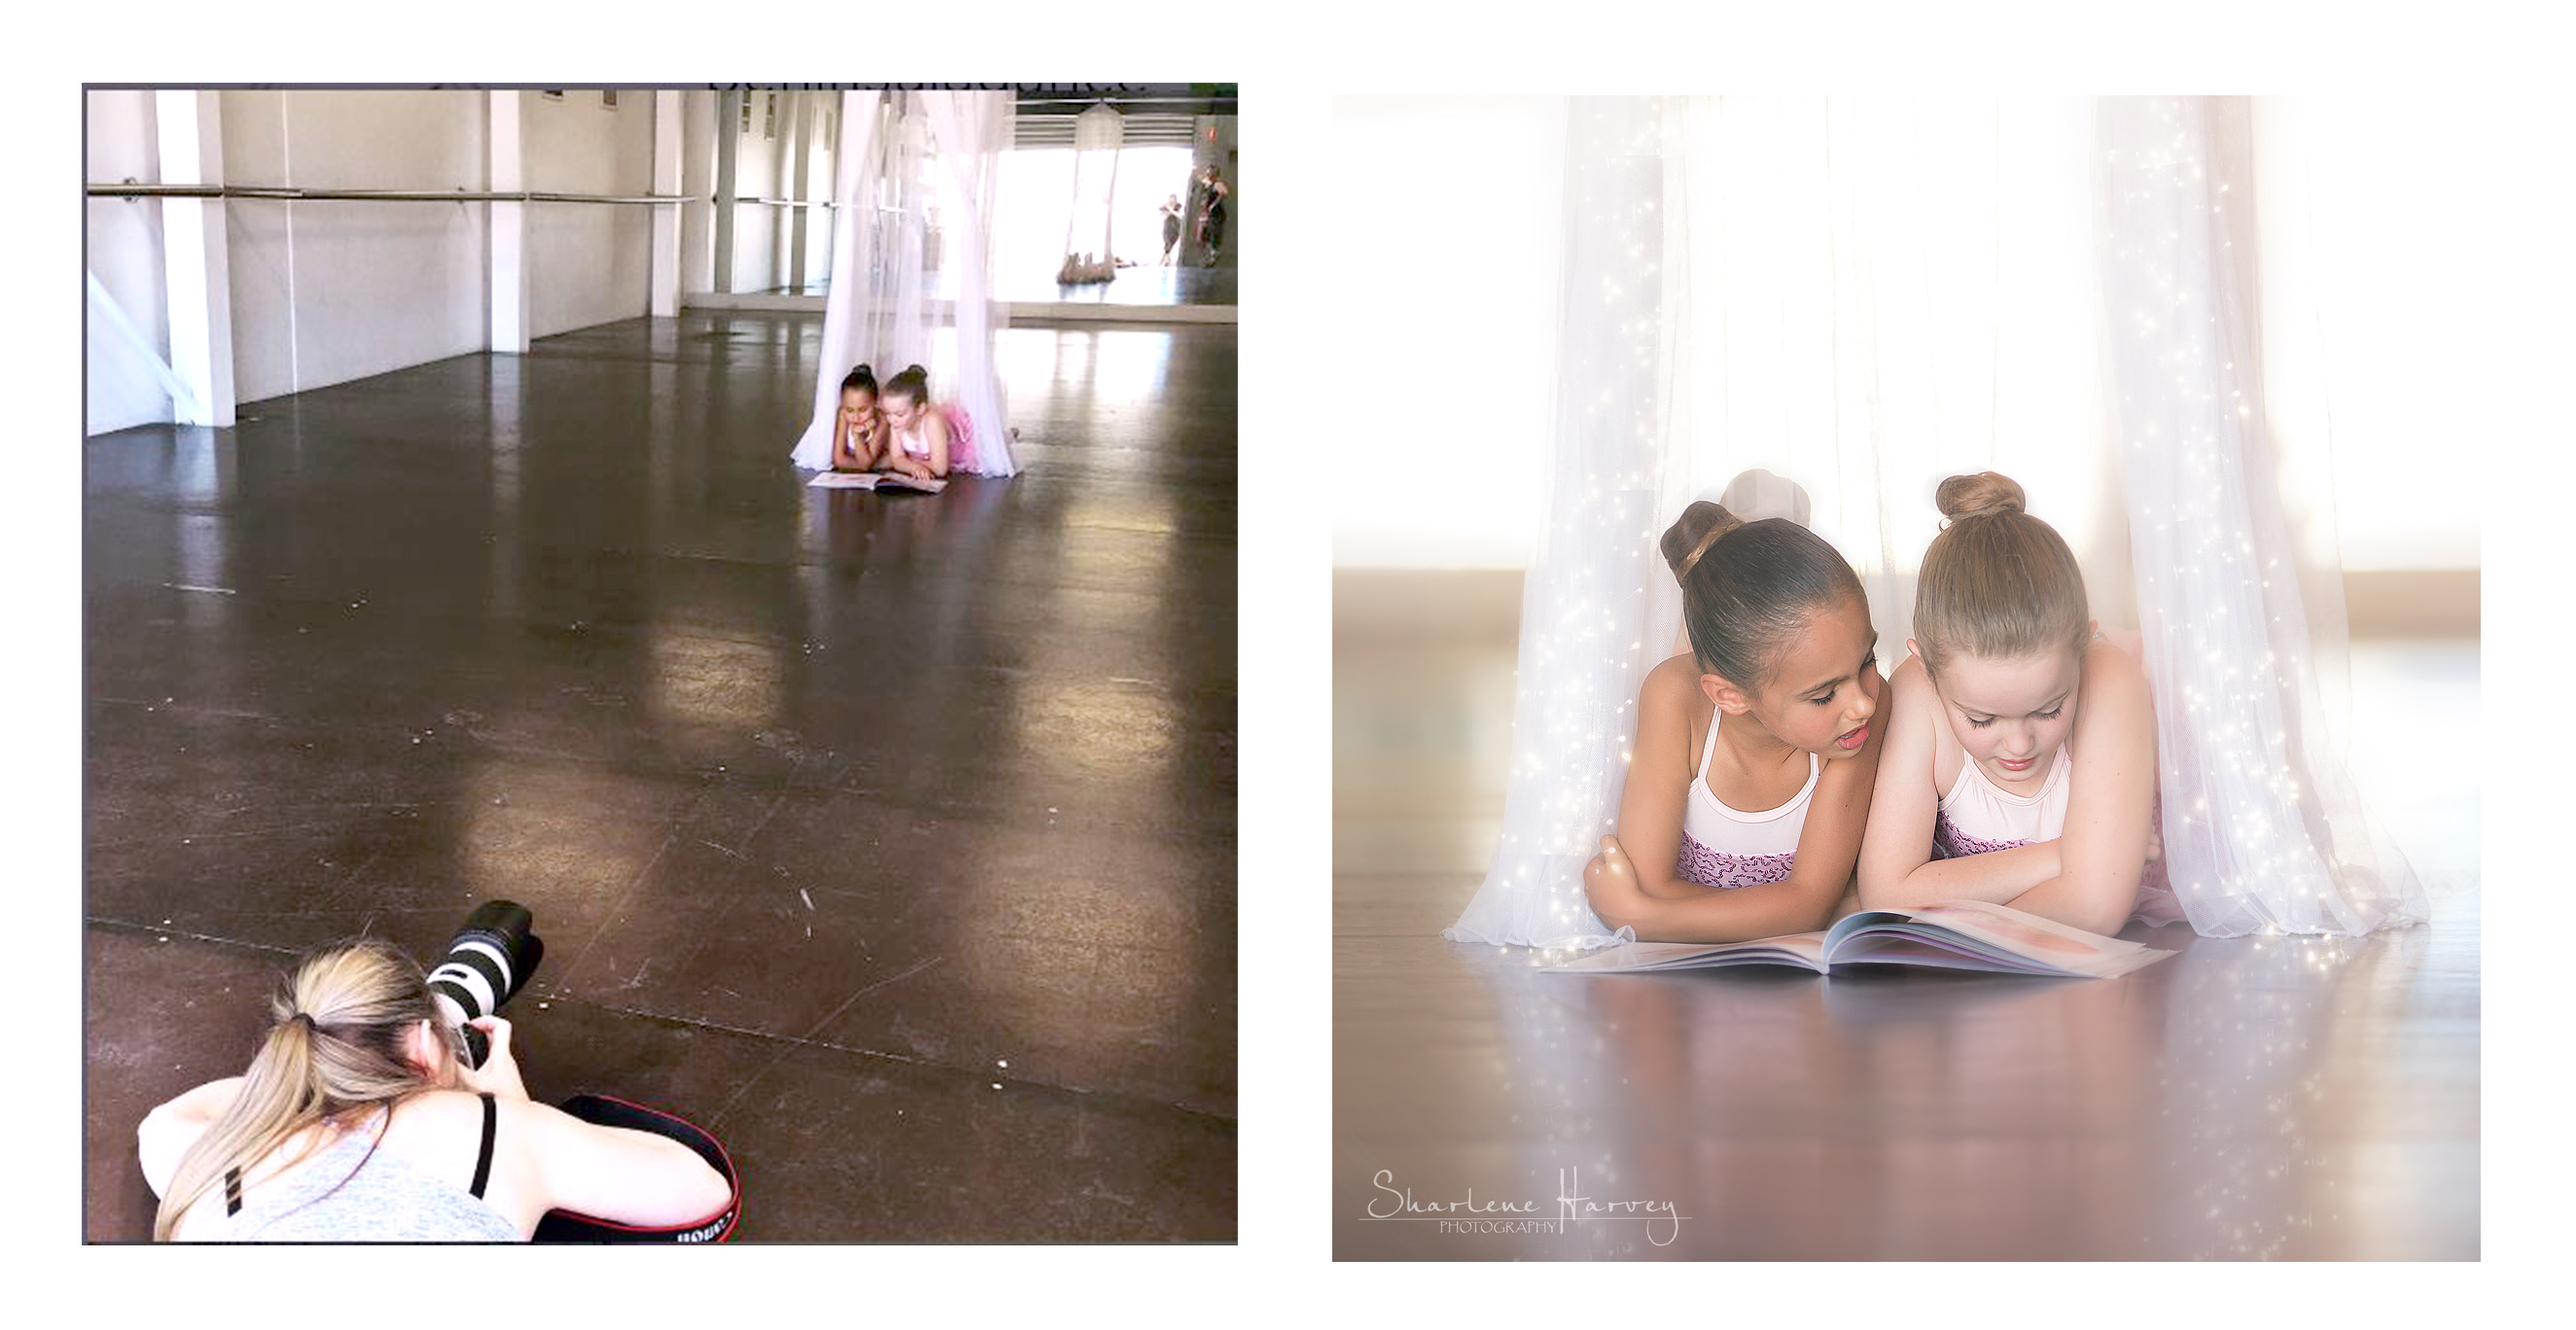
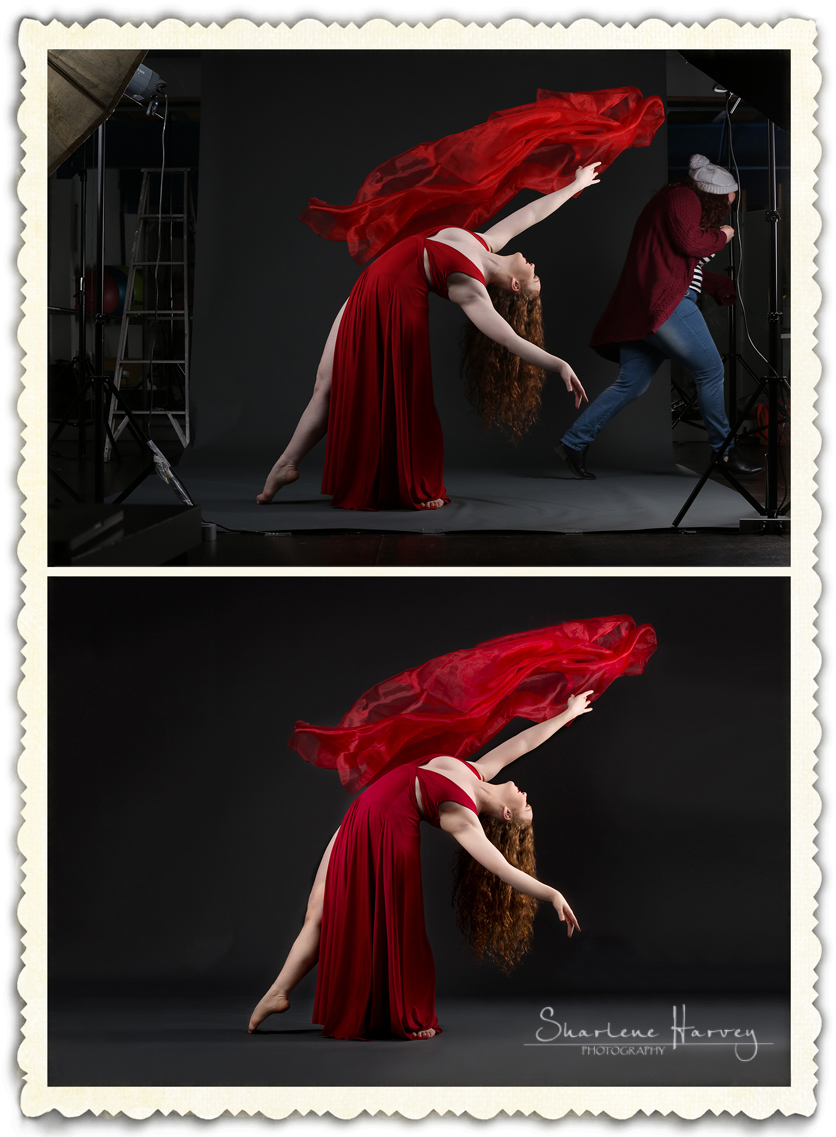
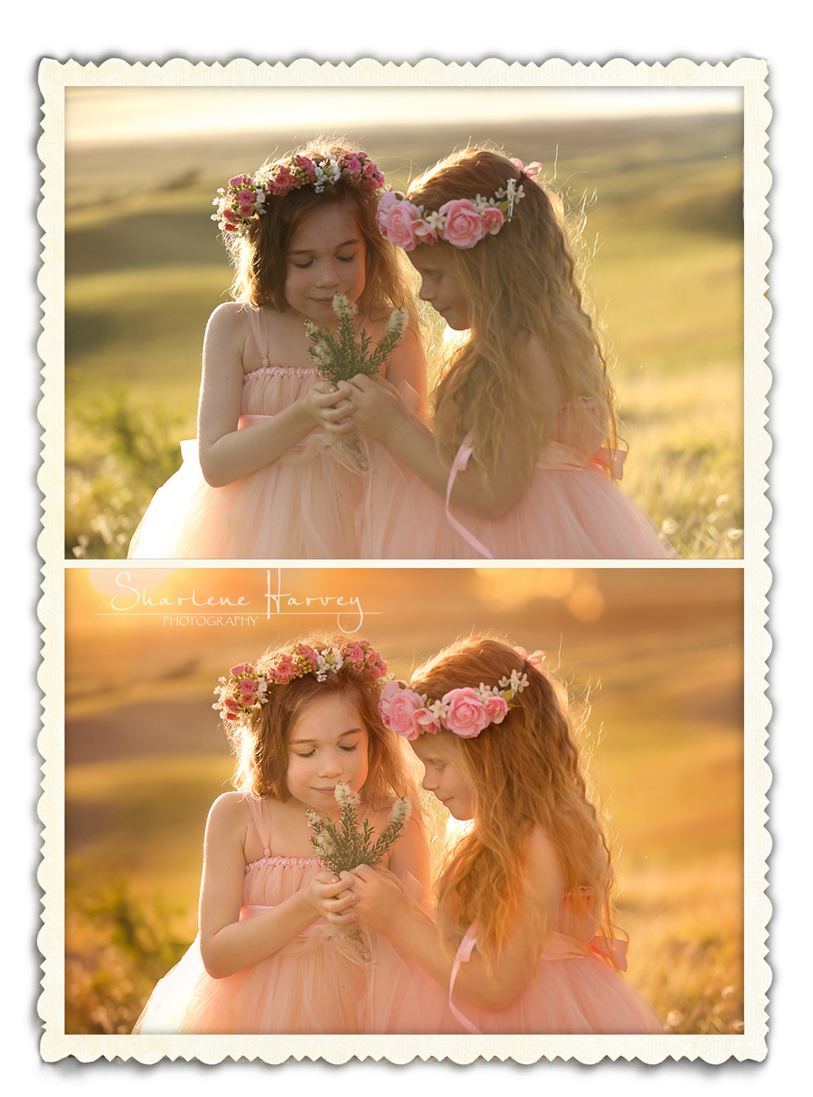
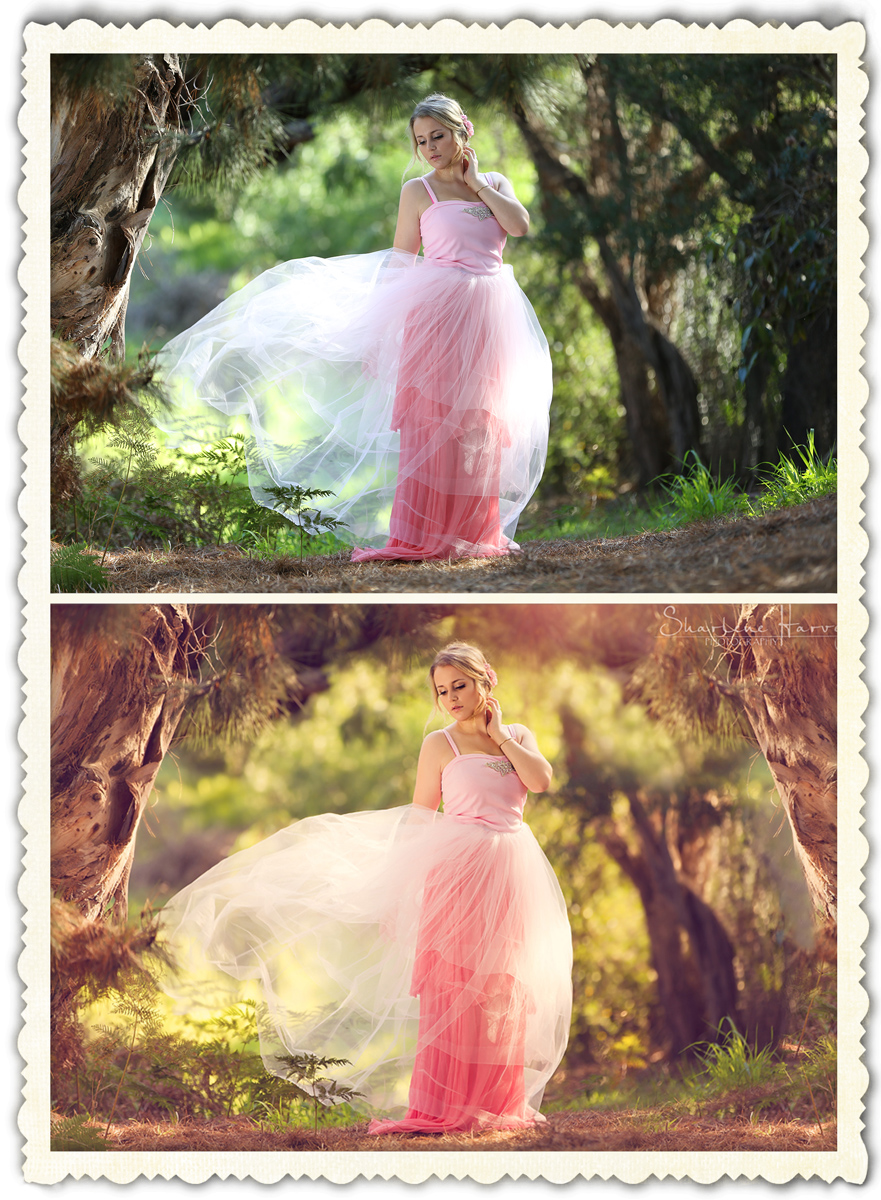
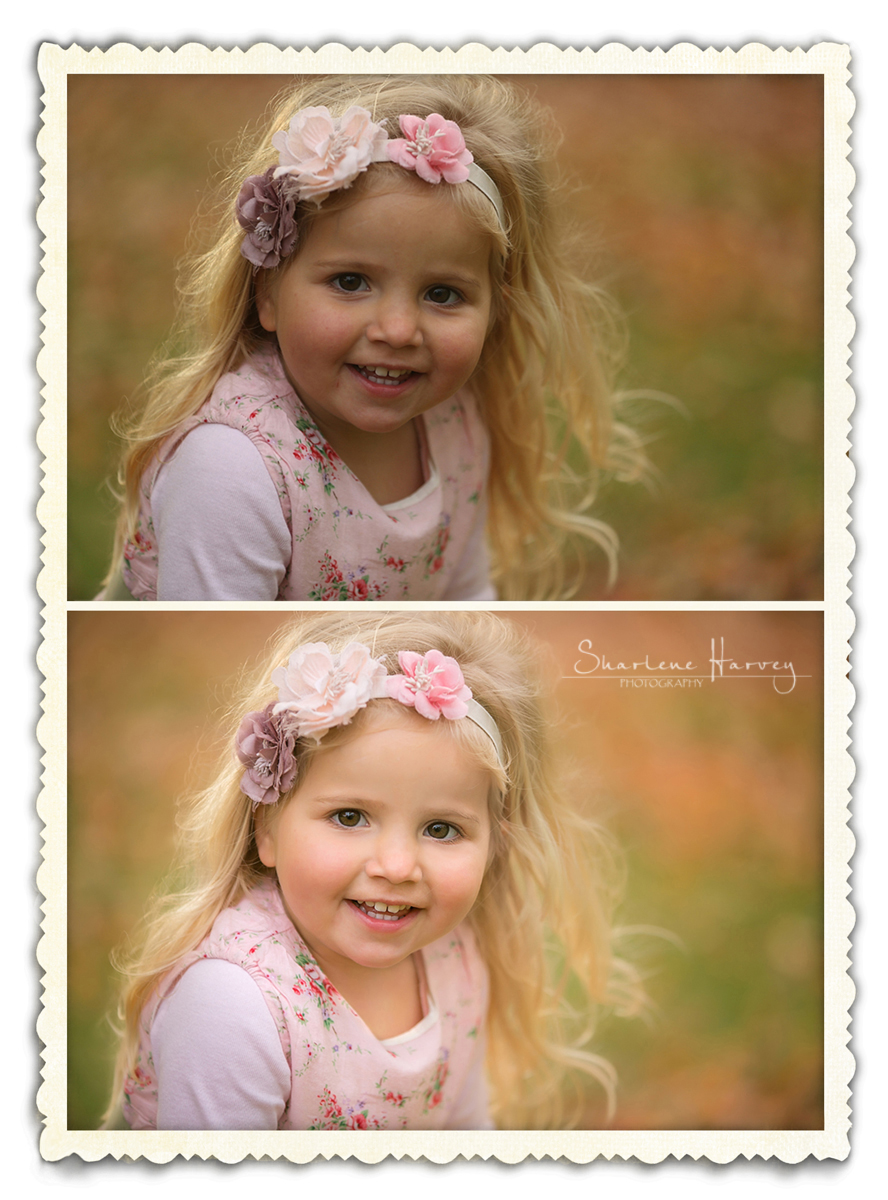
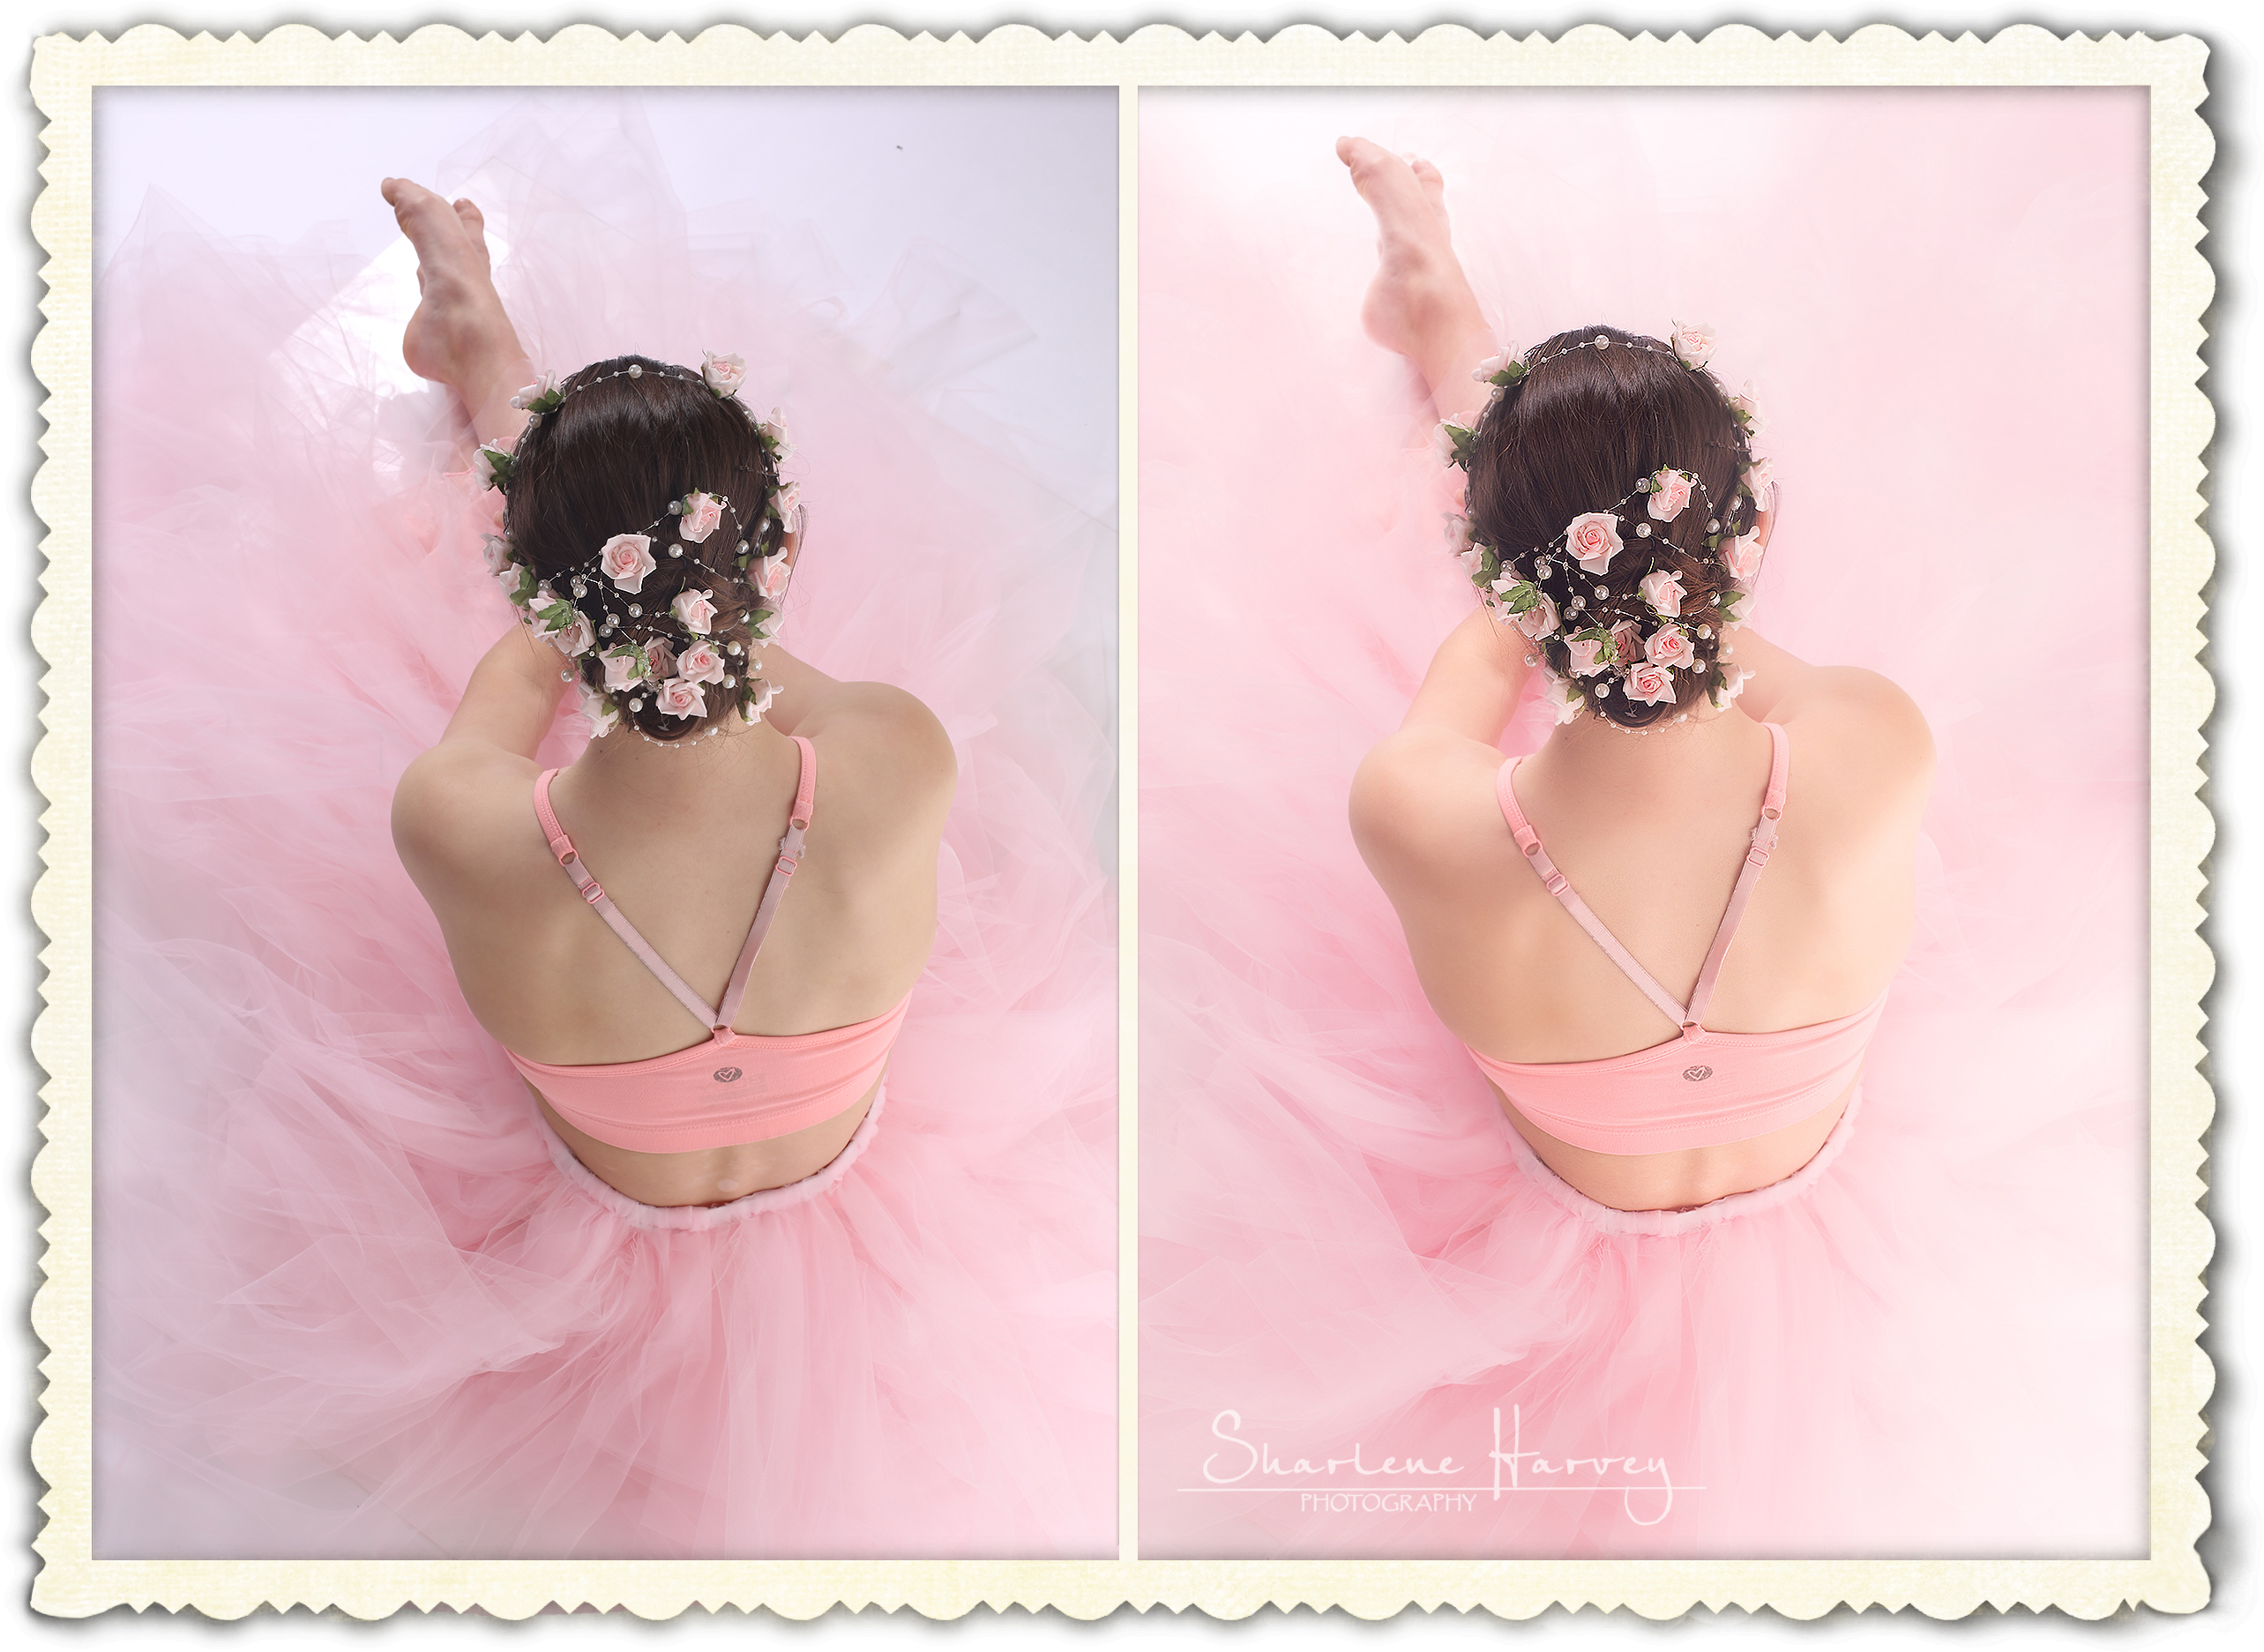
Here are a few before and after’s examples:
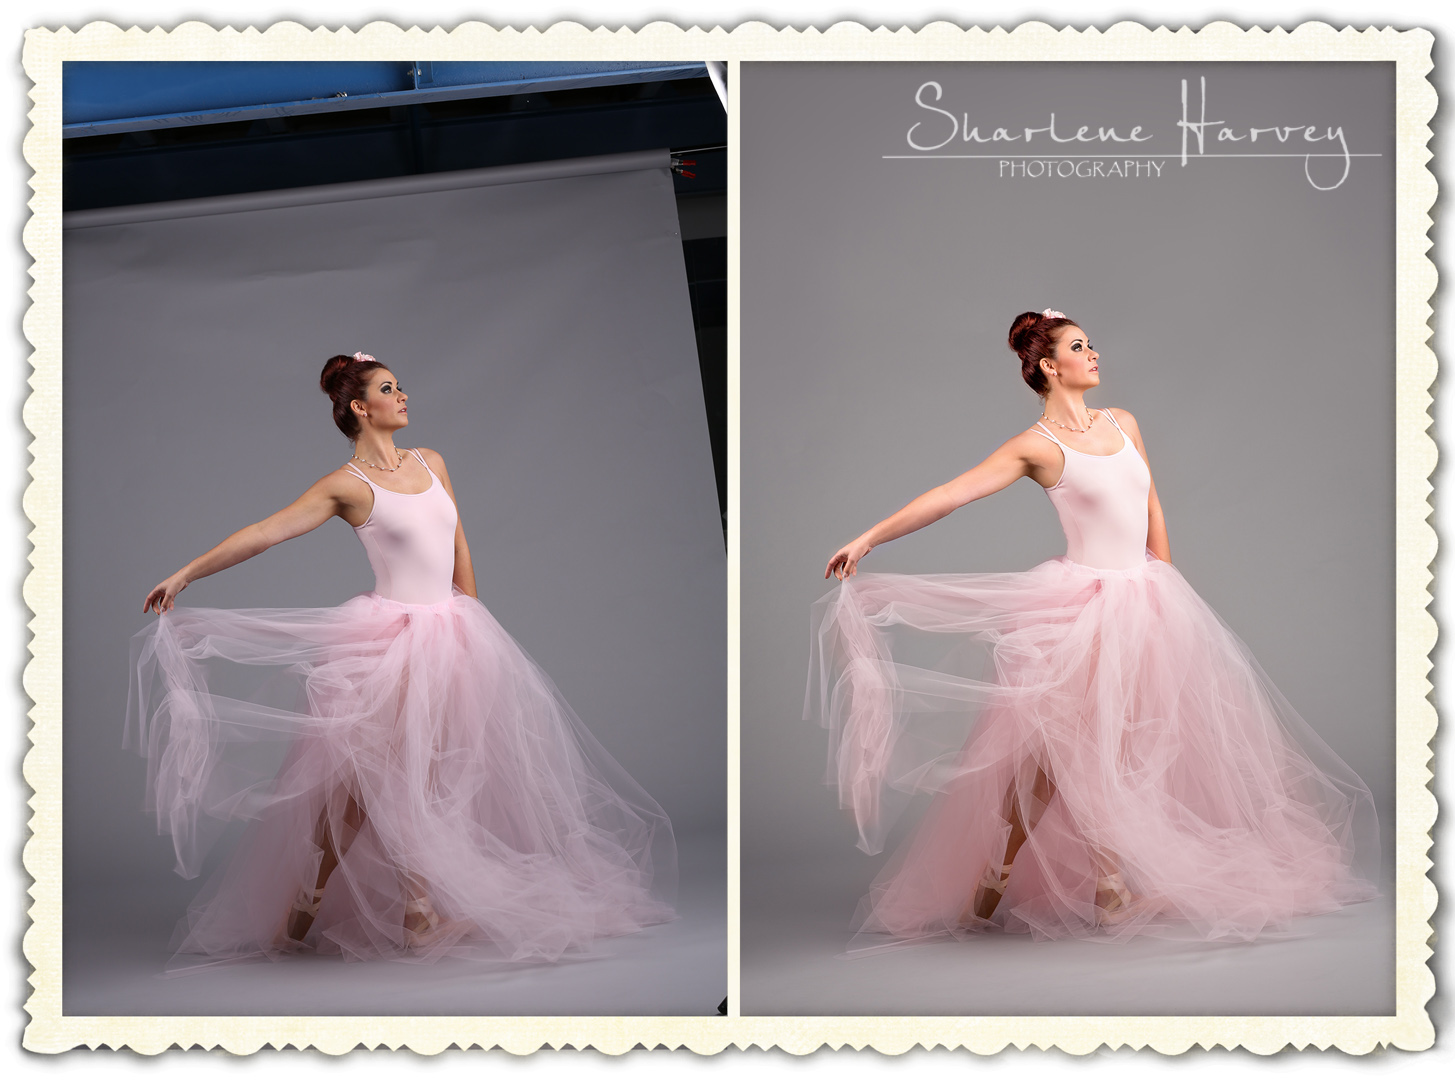
AFTER THE SESSION – BALLET CONCERTS AND COMPETITIONS
For ballet concerts or competitions, I won’t do such an intensive edit as a customized shoot, but I still do edit each photo.
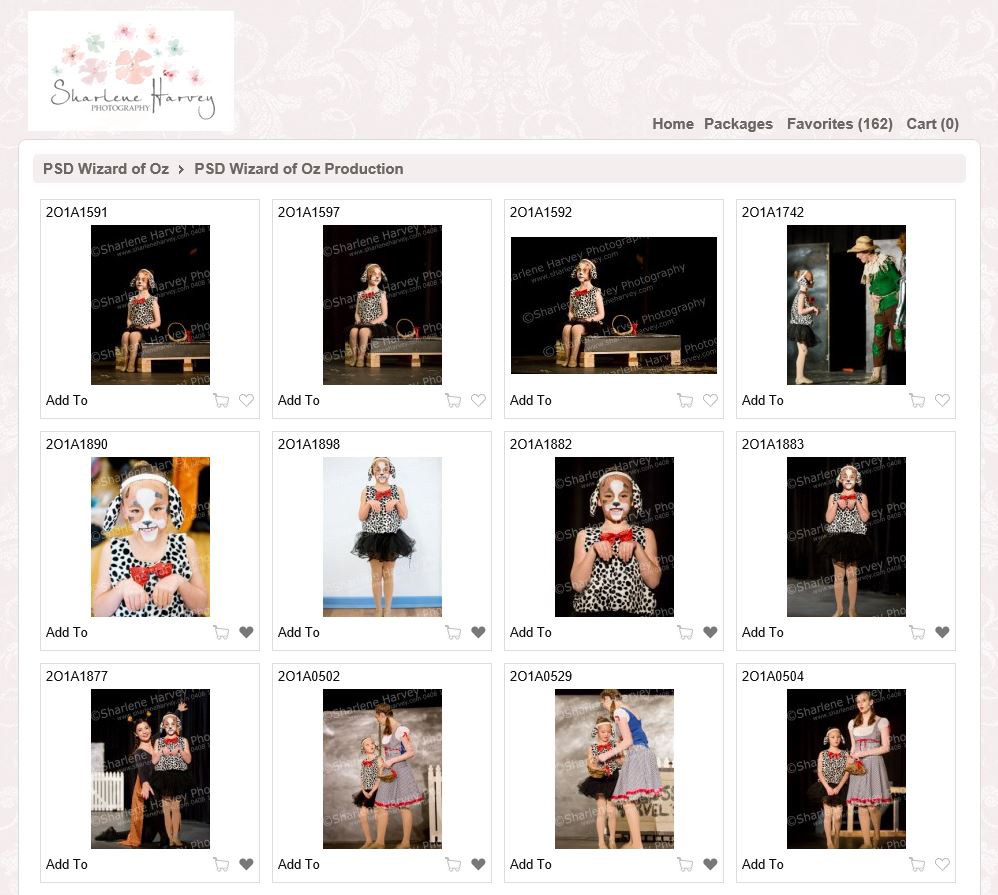
If I’m doing an online gallery, once I’ve culled and edited the images, I resize and watermark the photos to suit my website before uploading them.
Once all the orders are in, I will spend hours going through each one and putting the selected photos in a folder. I will give them one last final inspection to make sure I haven’t missed anything before I send them off to a professional lab for printing.
Once I receive the prints, it takes a few more hours to sort through them and place them with their respective orders.
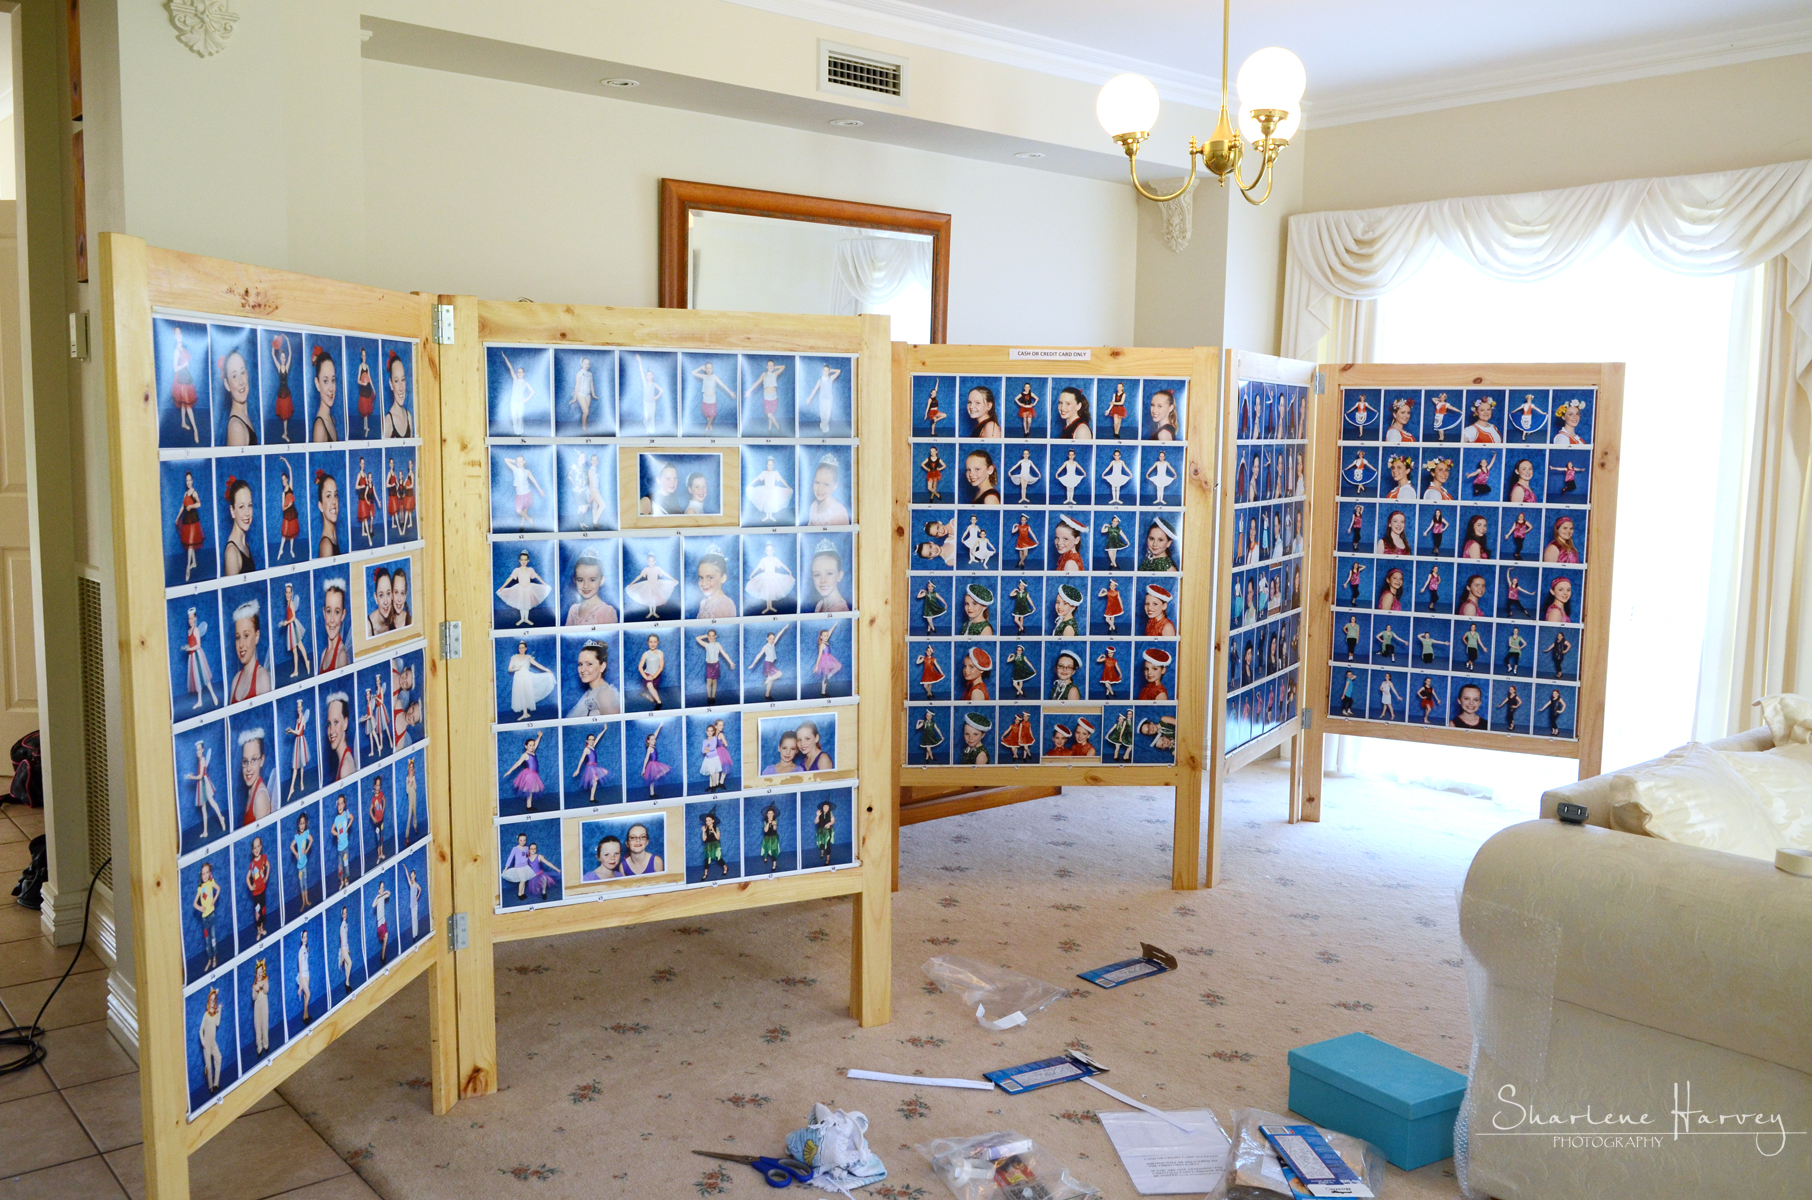
When I used to sell photos at concerts, the job was much more involved.
After culling and editing, I would print the photos professionally before mounting them onto boards for viewing by customers at the concert.
Mounting them took up to three hours alone.
I once took note of the number of hours I spent photographing a dance competition recently. I stopped counting after 30 hours. It was at that point I realized not only how many hours Andrew Sinclair, and all other dance photographers devoted to their trade, but also the amount of expenses that were involved.
So the next time you receive prints from a photographer with a certain price tag attached to them, you may look at those prints and think of the paper cost. But hopefully, you will now realise that for the photographer, the costs associated with each print include so much more.
Not only is there labour involved, but there is also the cost of equipment and accessories, maintenance and/or upgrade, training, insurance, petrol and car expenses, electricity, branding, website costs, printing, subscriptions, memberships, computer hardware, software programs like Photoshop and Lightroom, telephone expenses, office equipment, packaging, and product samples—just to name a few.
I have a new appreciation for the price of a portrait, but that only came about because I found myself on the other side of the camera. That being said, how can anyone else learn the reality without becoming a photographer?
Well, I hope this post enlightened you on exactly what goes on behind the scene, so you also have a better understanding of the value of the trade.
If you have stuck with me until the end, I hope you have enjoyed reading this post and have found it useful.
Thank you for taking the time to visit my blog.
Warm wishes, Sharlene Harvey
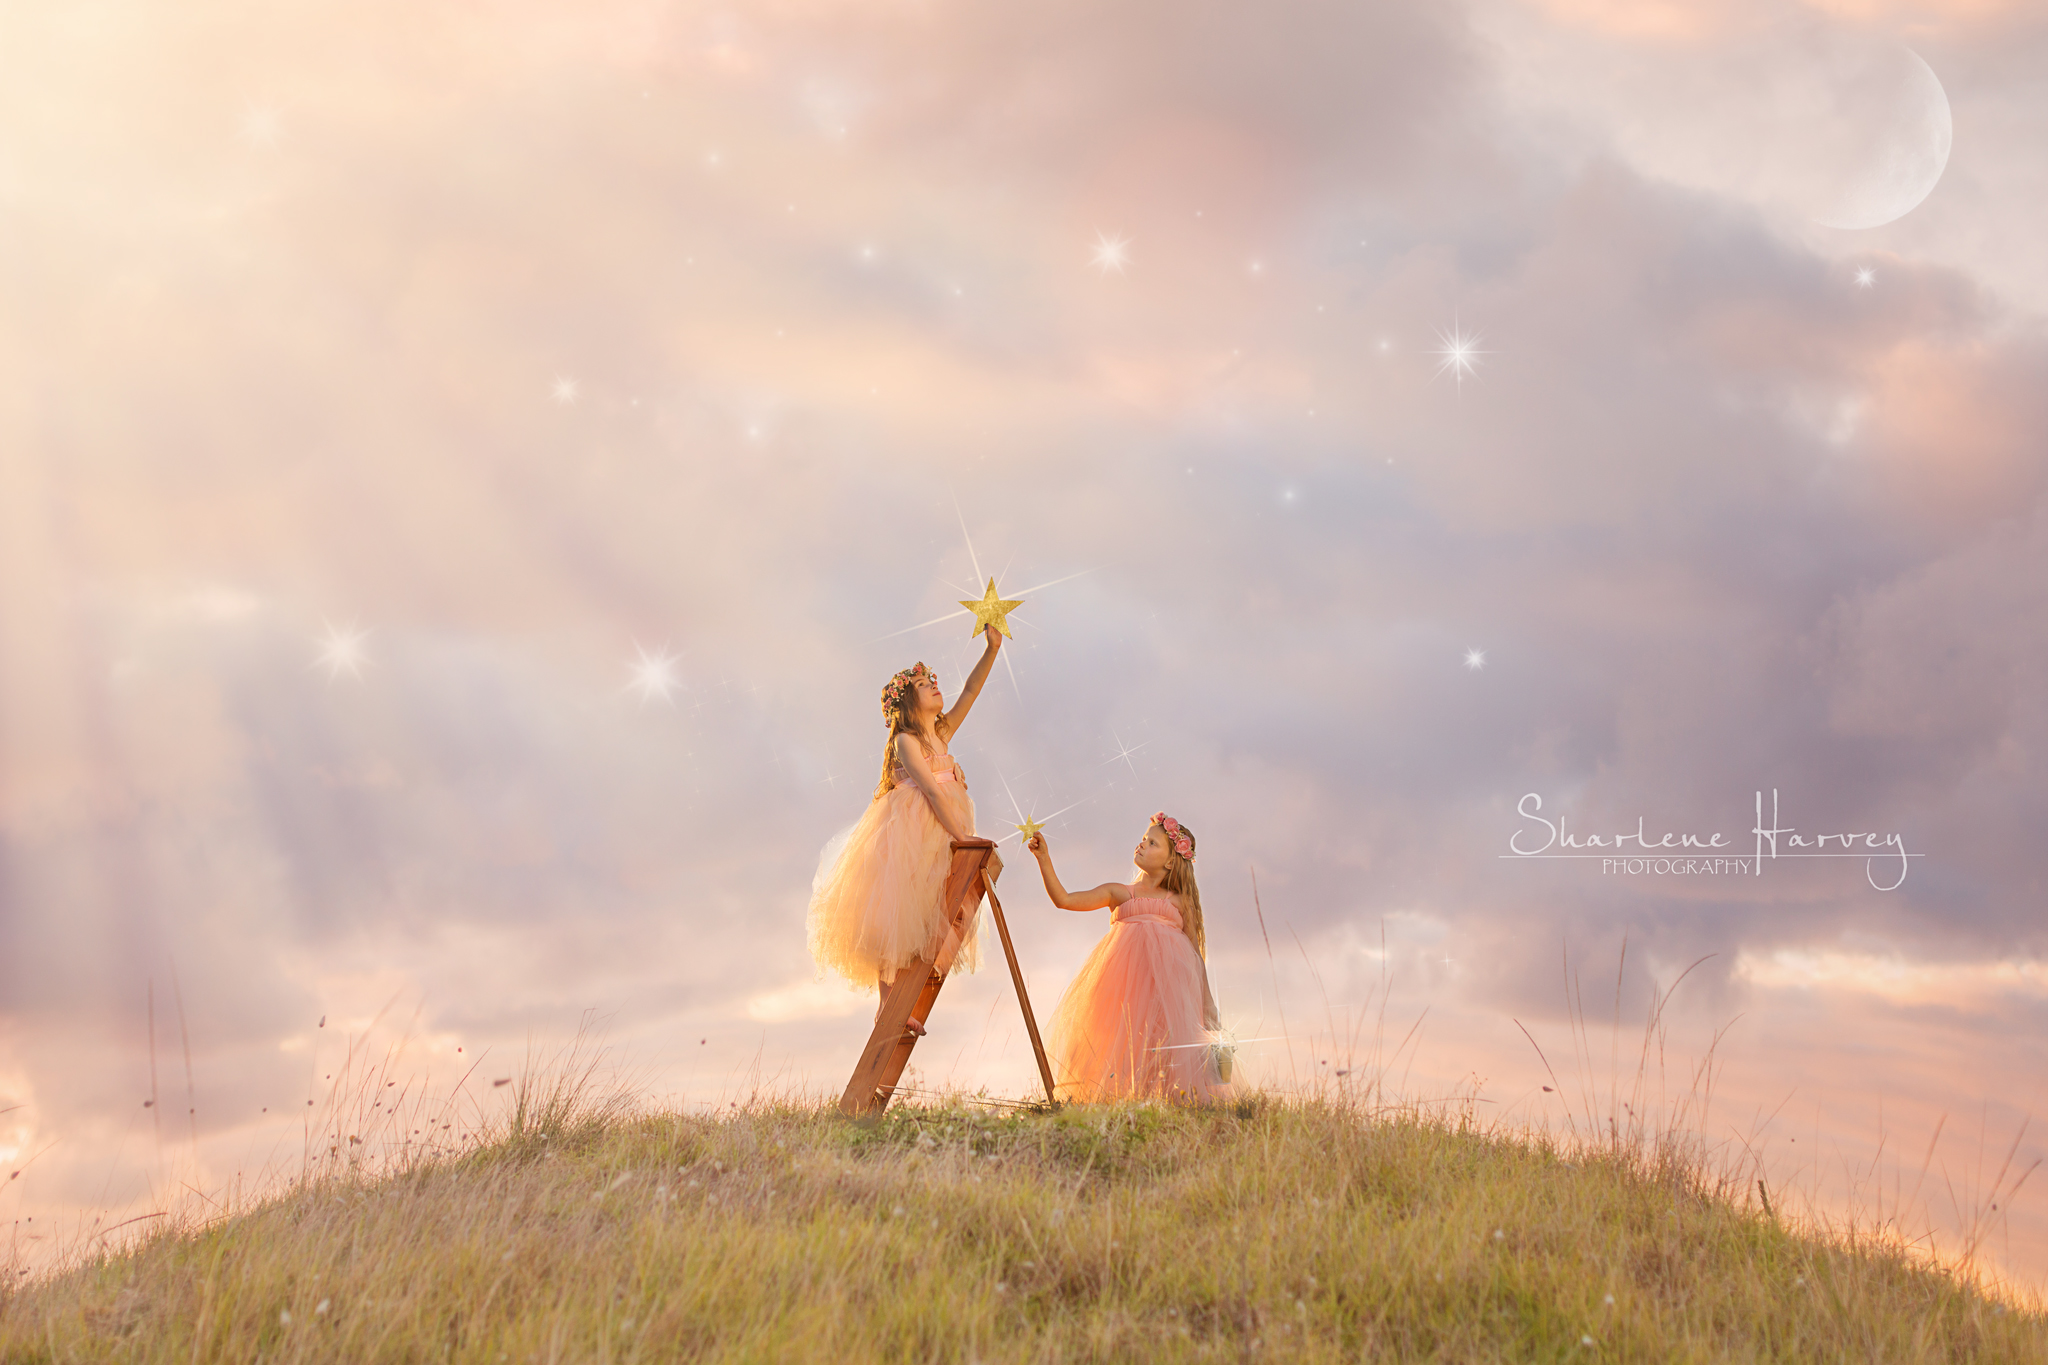
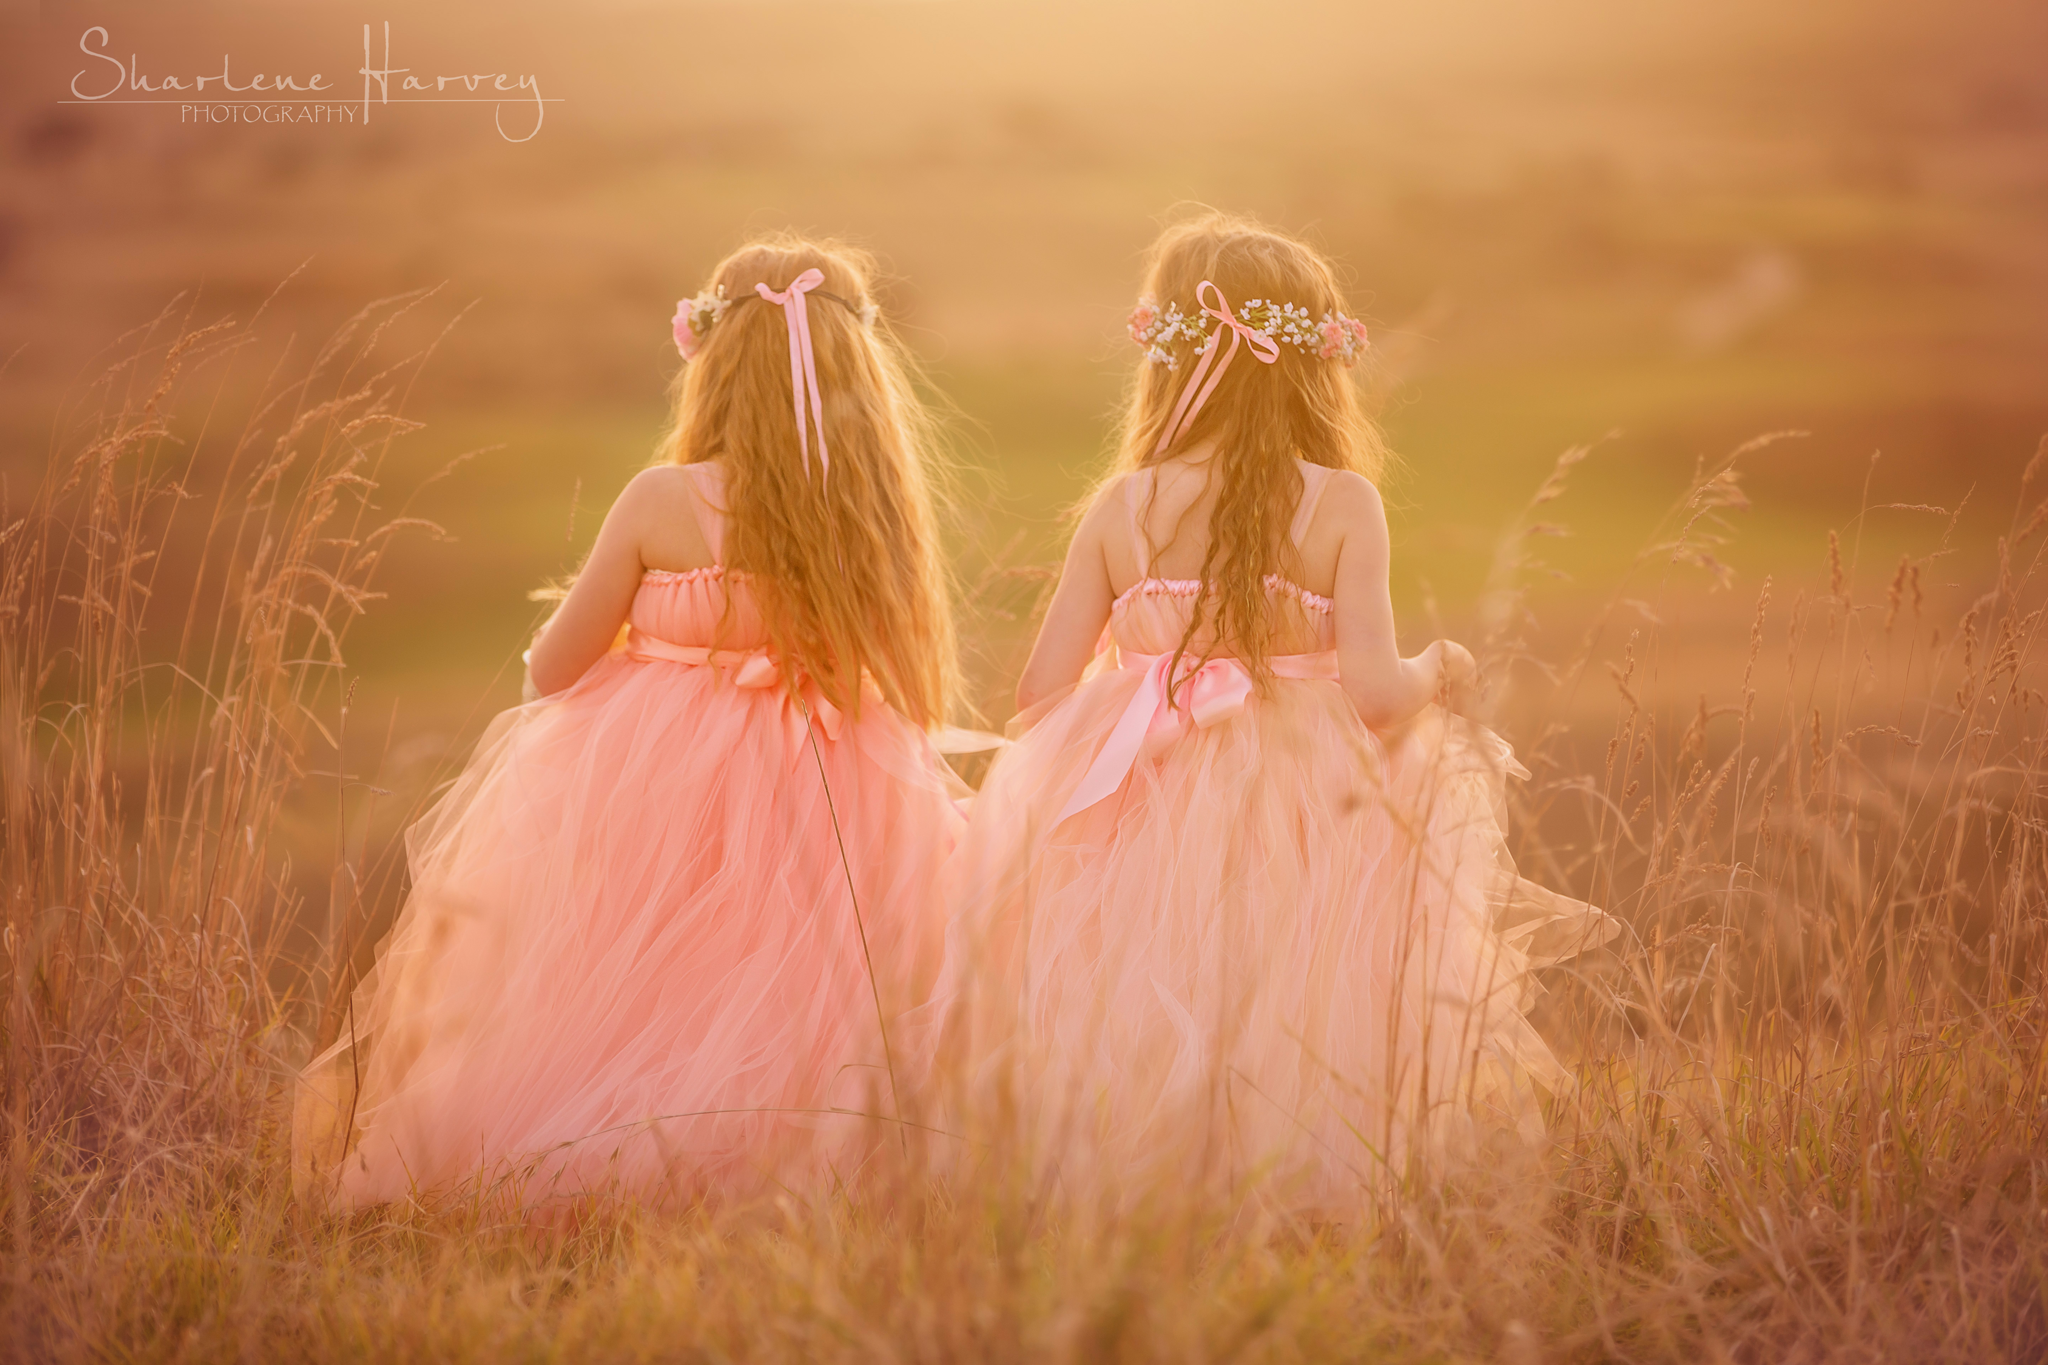
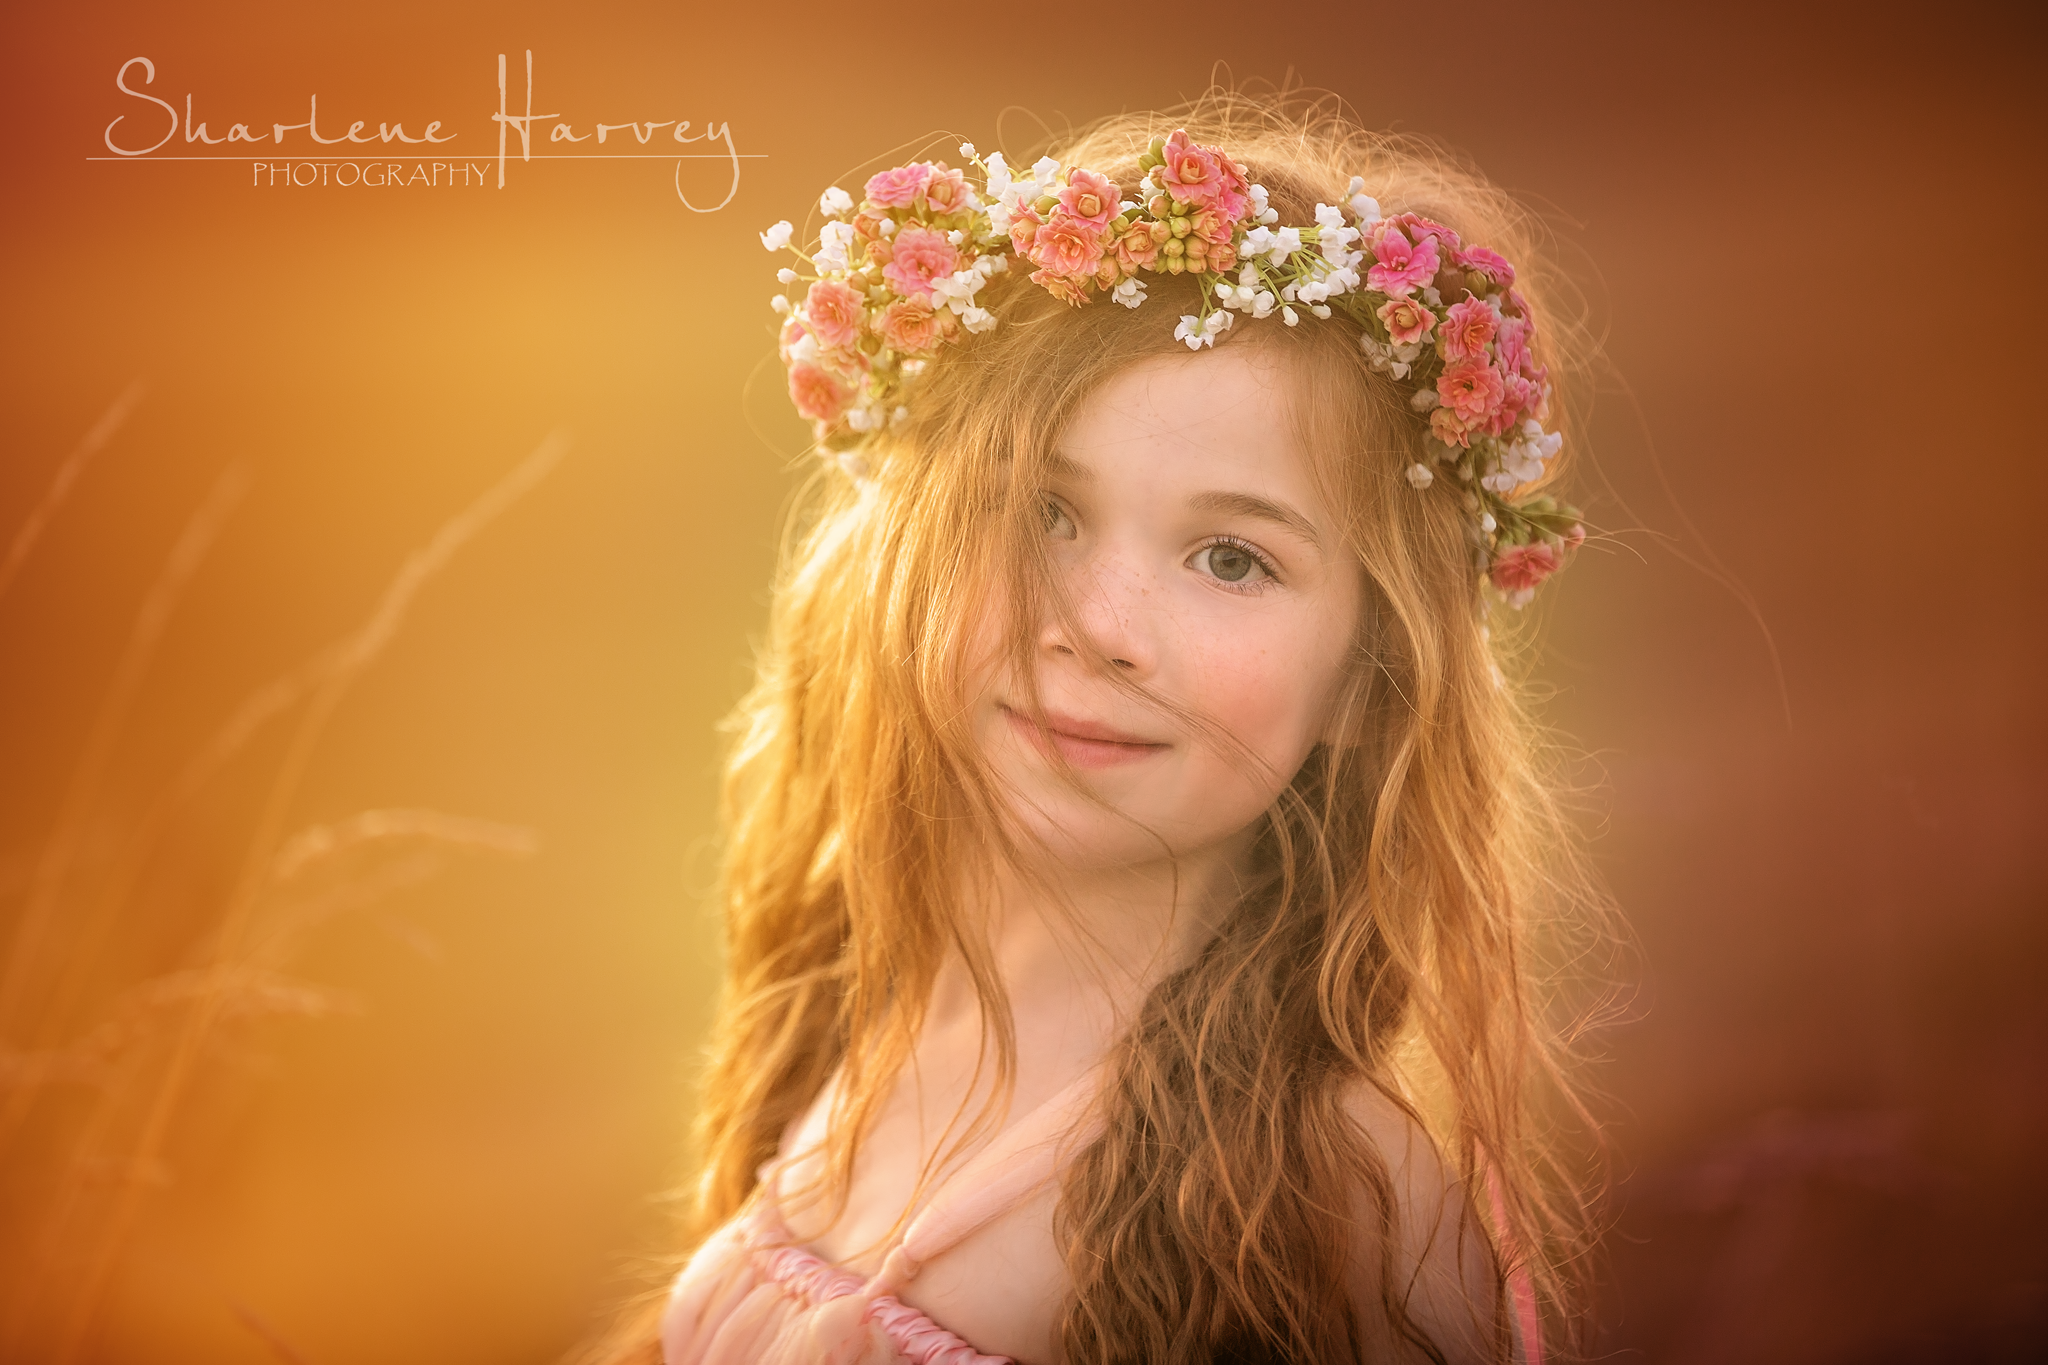
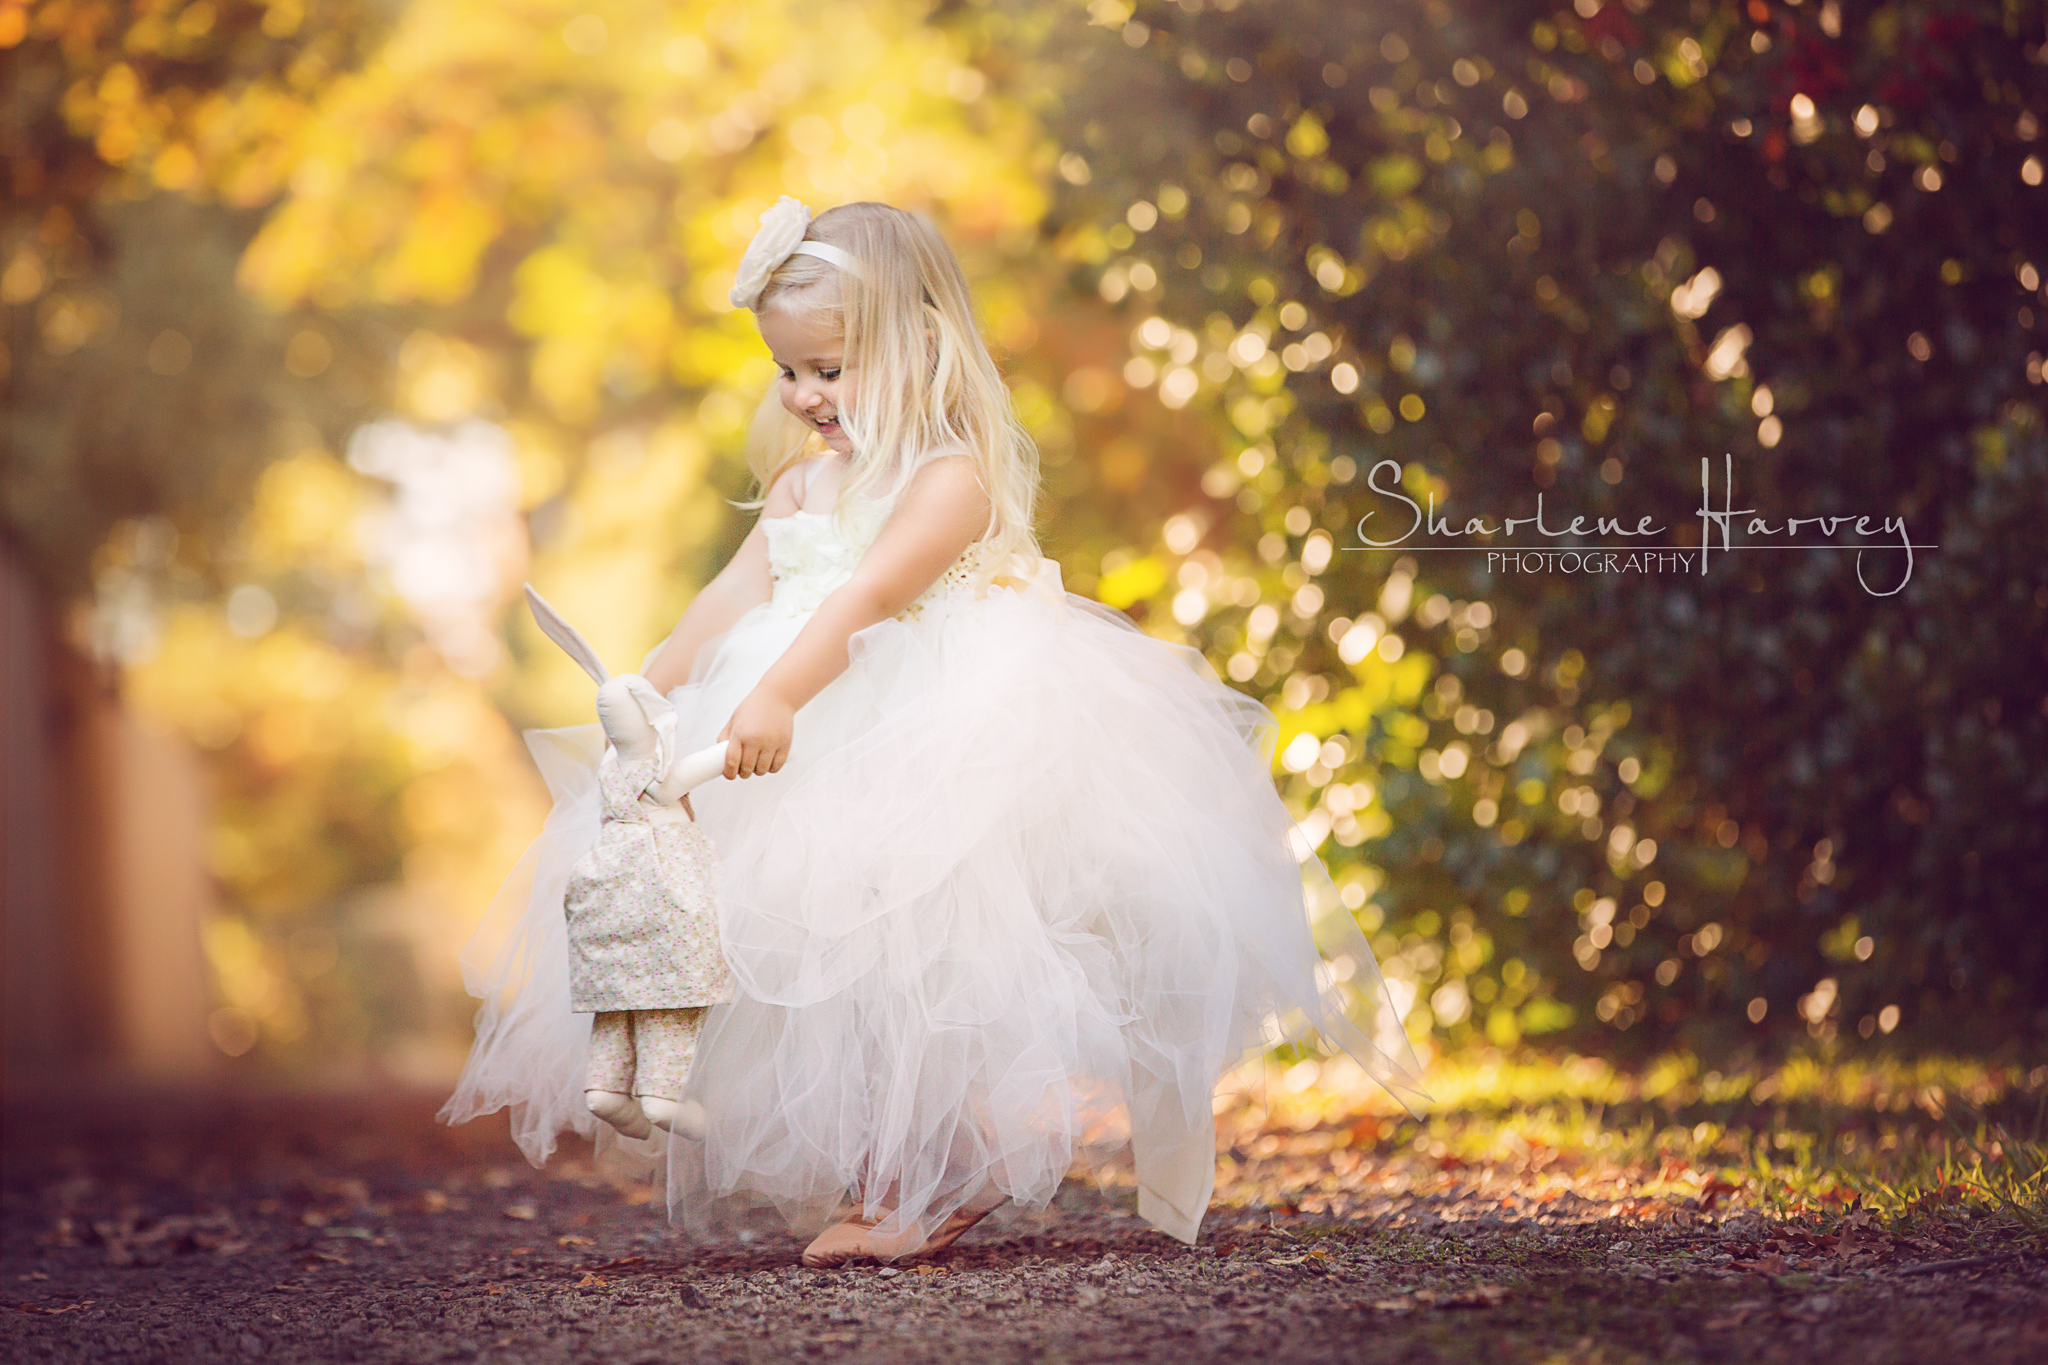
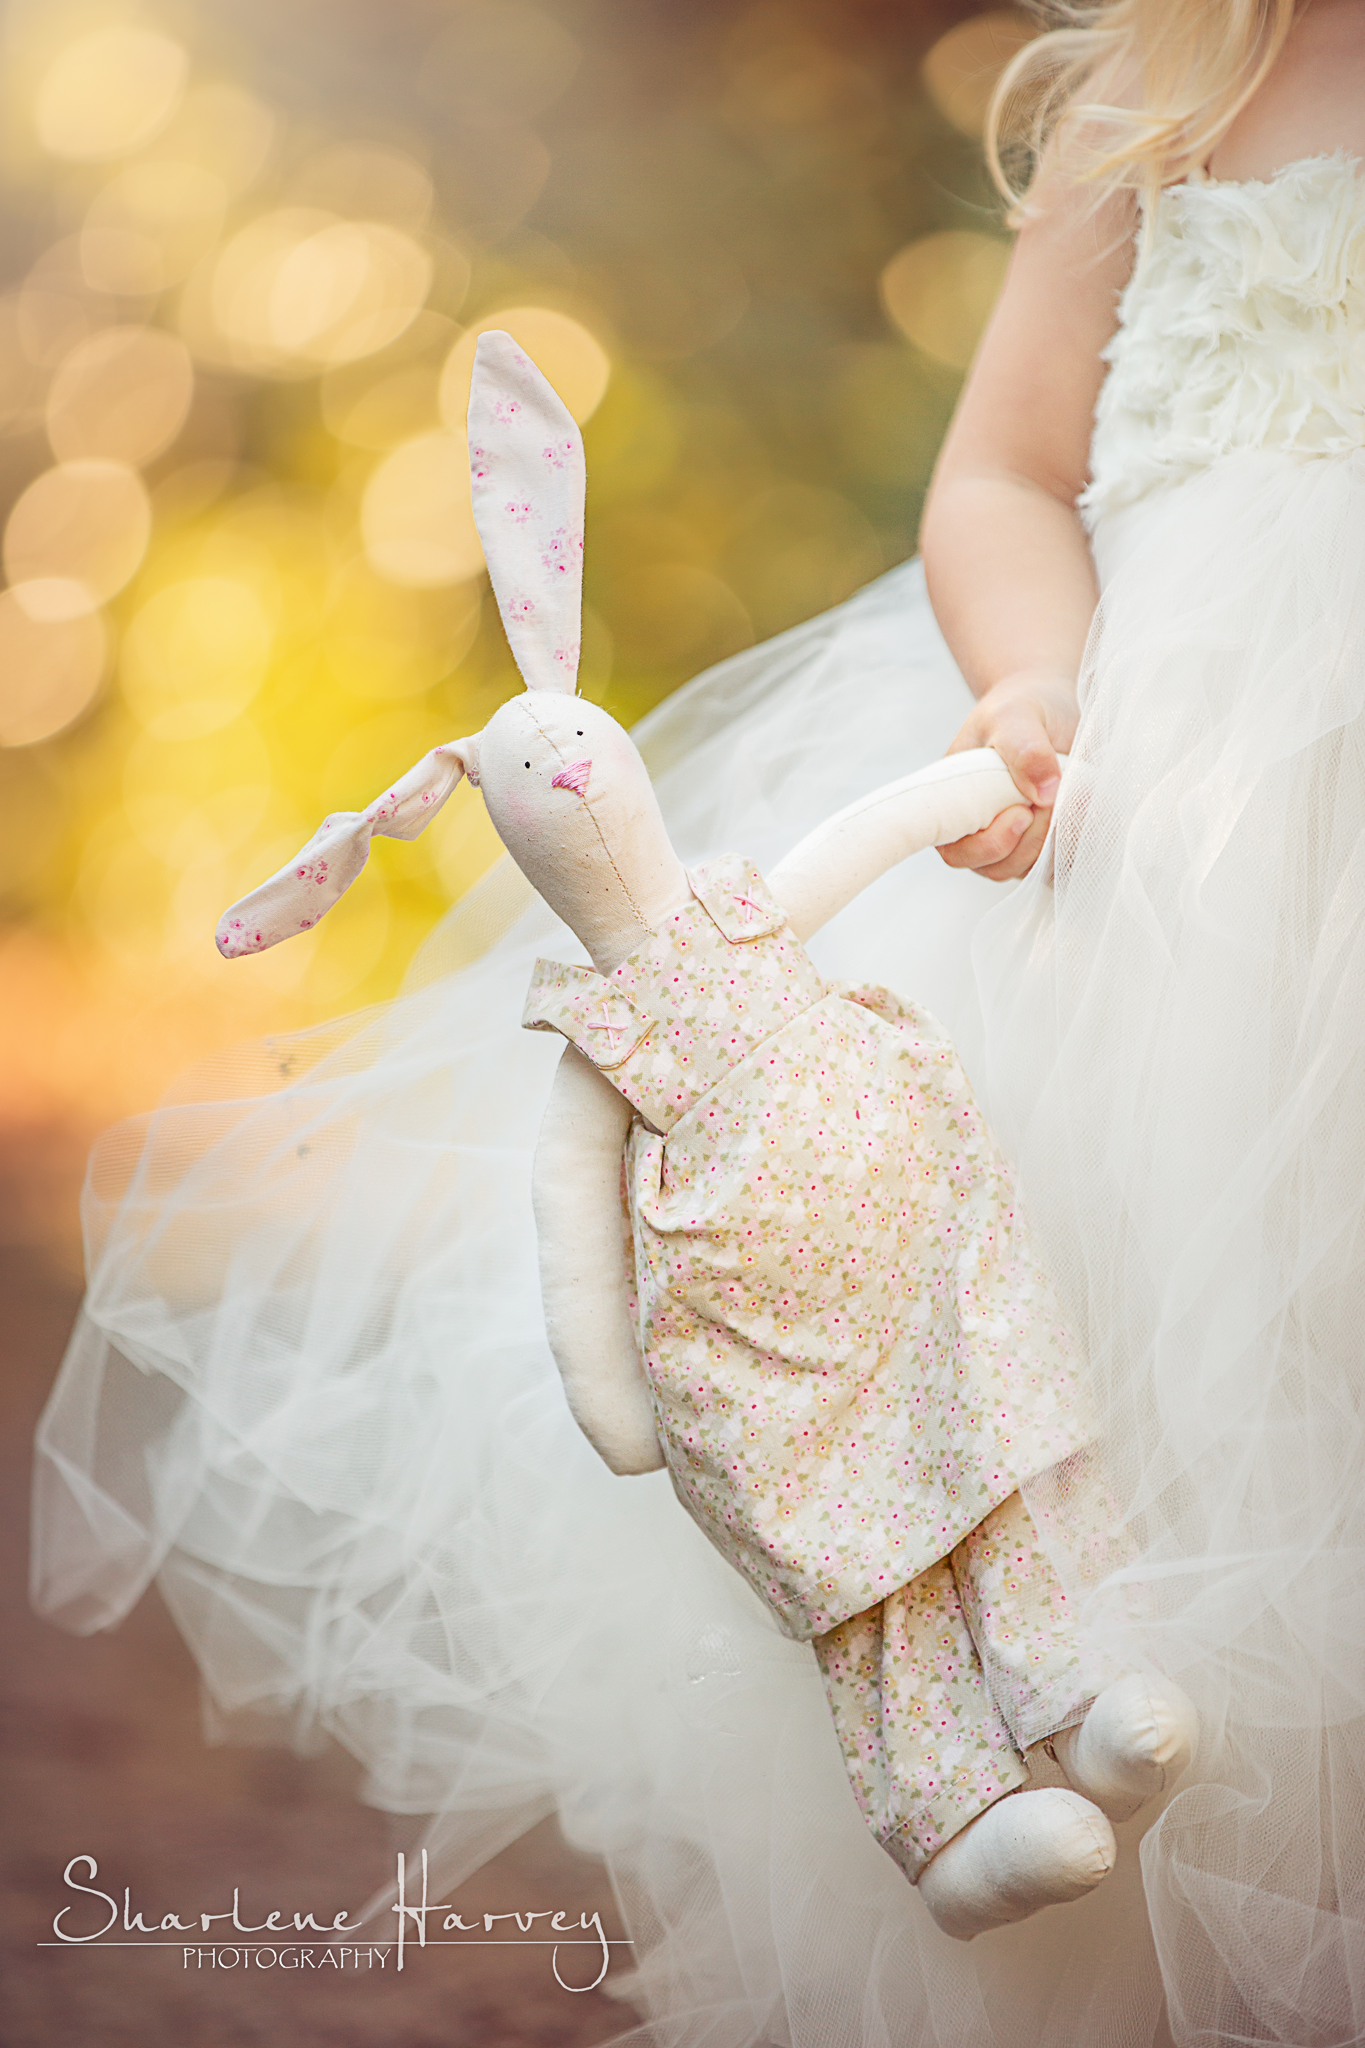
Beautiful Children’s Concept Session
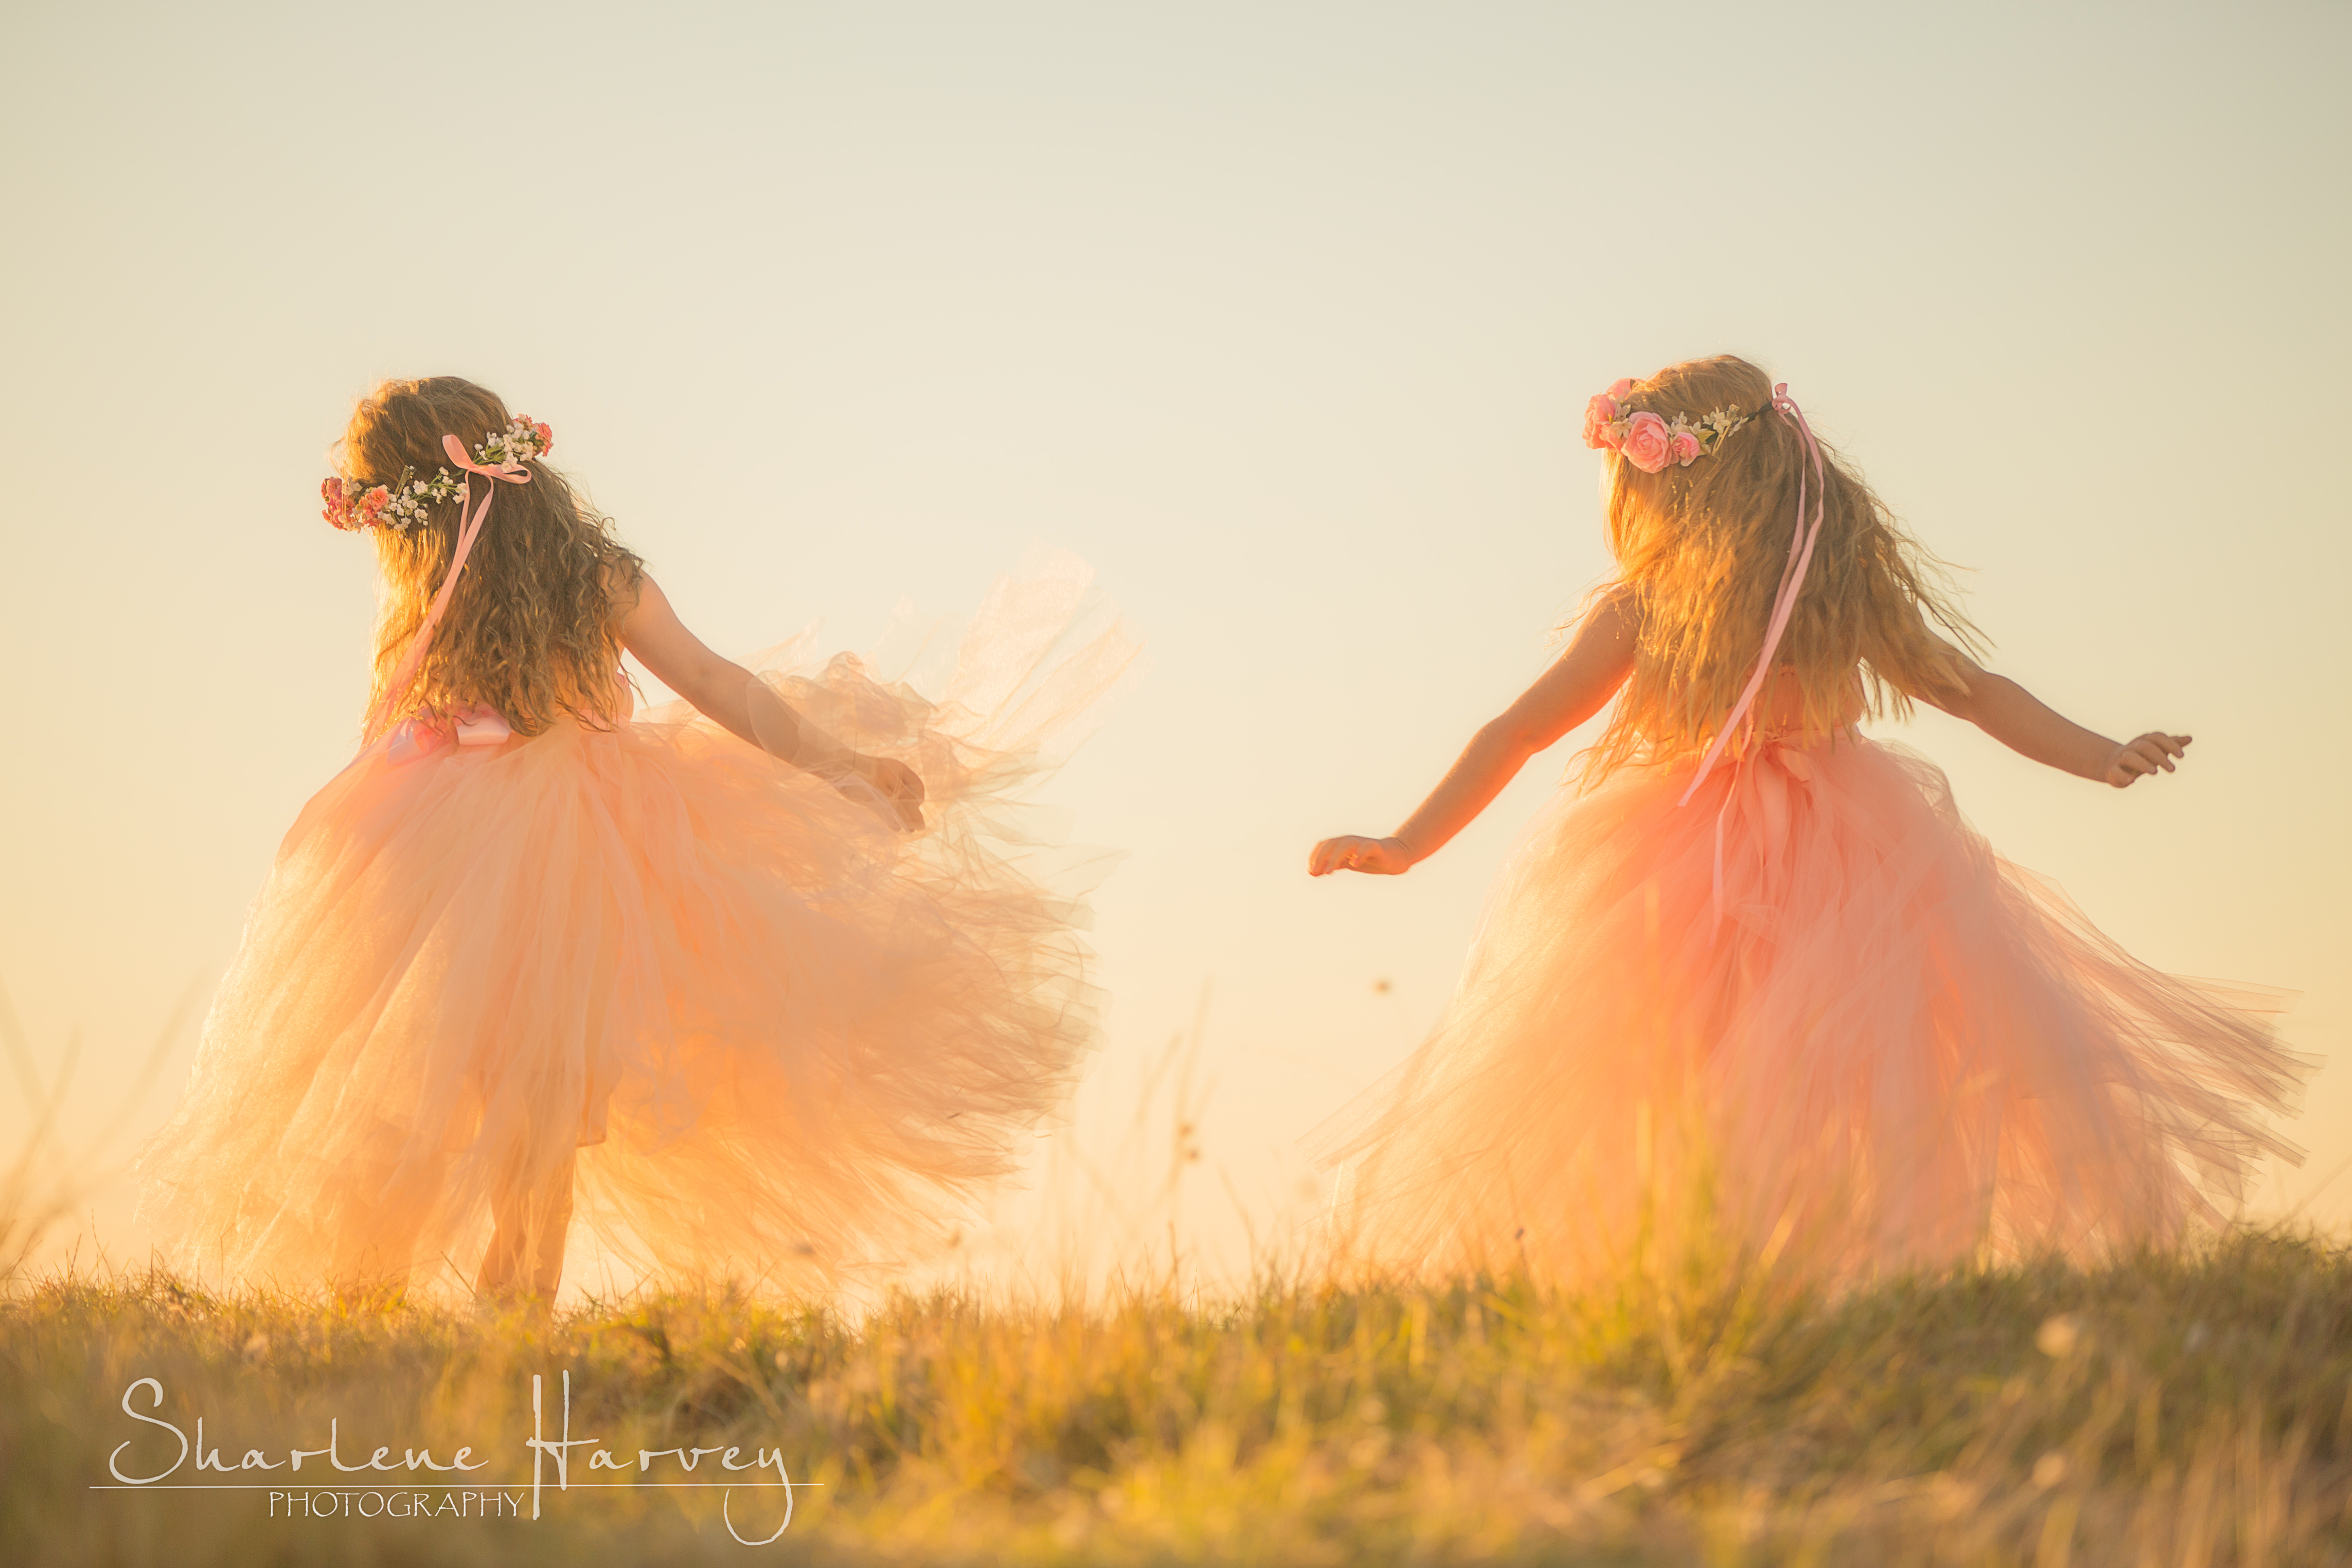
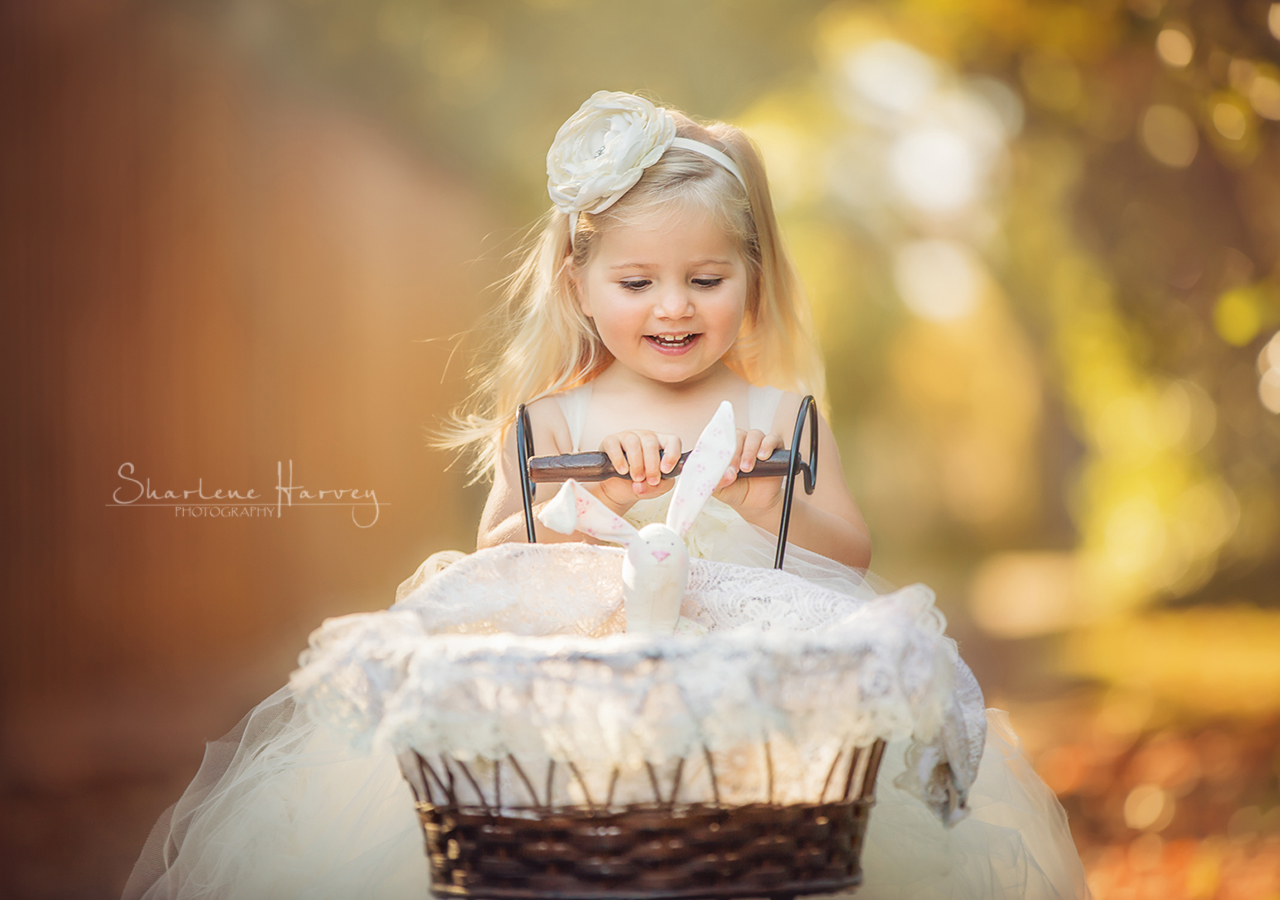
It was an absolute glorious evening the night I photographed this children’s concept session. I couldn’t have asked for a better golden hour or two more gorgeous girls who had an absolutely ball as I took them through a journey of games, dancing, dreaming and capturing stars.
I’m really excited to share the finer details and a behind the scenes sneak peak of what goes on when I conduct one of my special concept photographic sessions. 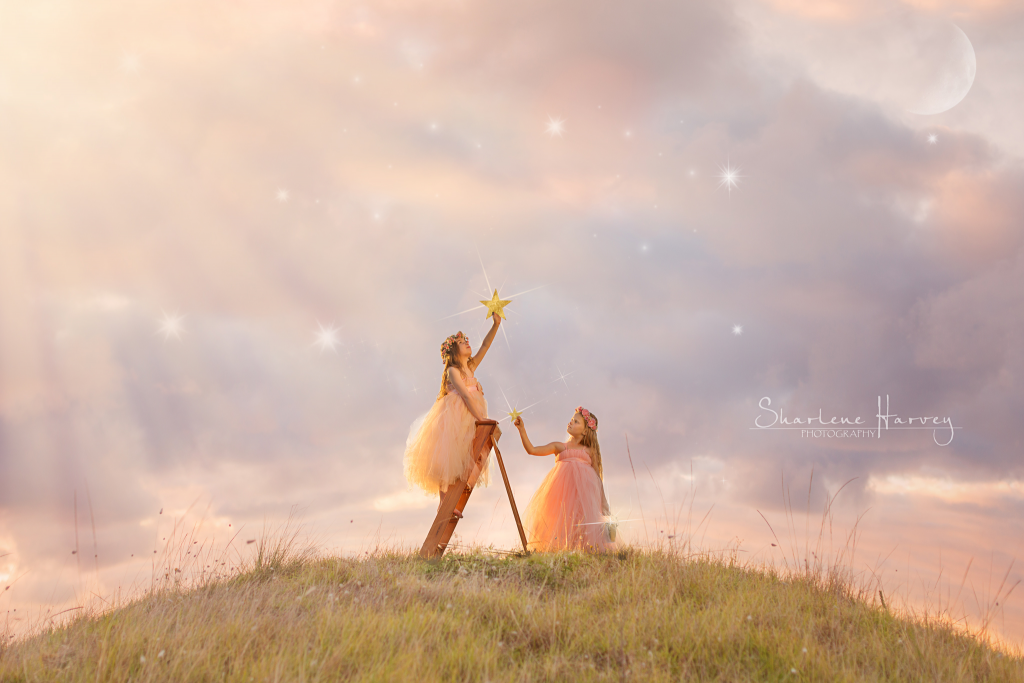
I absolutely LOVE doing concept shoots. When I’m brain storming an idea for a concept shoot, I put a lot of time and thought into the session. I usually have a very clear idea of the end picture and the story that I’m aiming to achieve.
I’m also a dancer, so for me it’s a bit like choreographing a dance for a stage production, which includes costumes, props and a beautiful backdrop to act as our stage. I spend a lot of time in the car driving around the Mornington Peninsula to source the perfect location to suit the type of session I’m shooting. I’ll often take my props to see if the colour tones of the location suits the overall look I’m after.
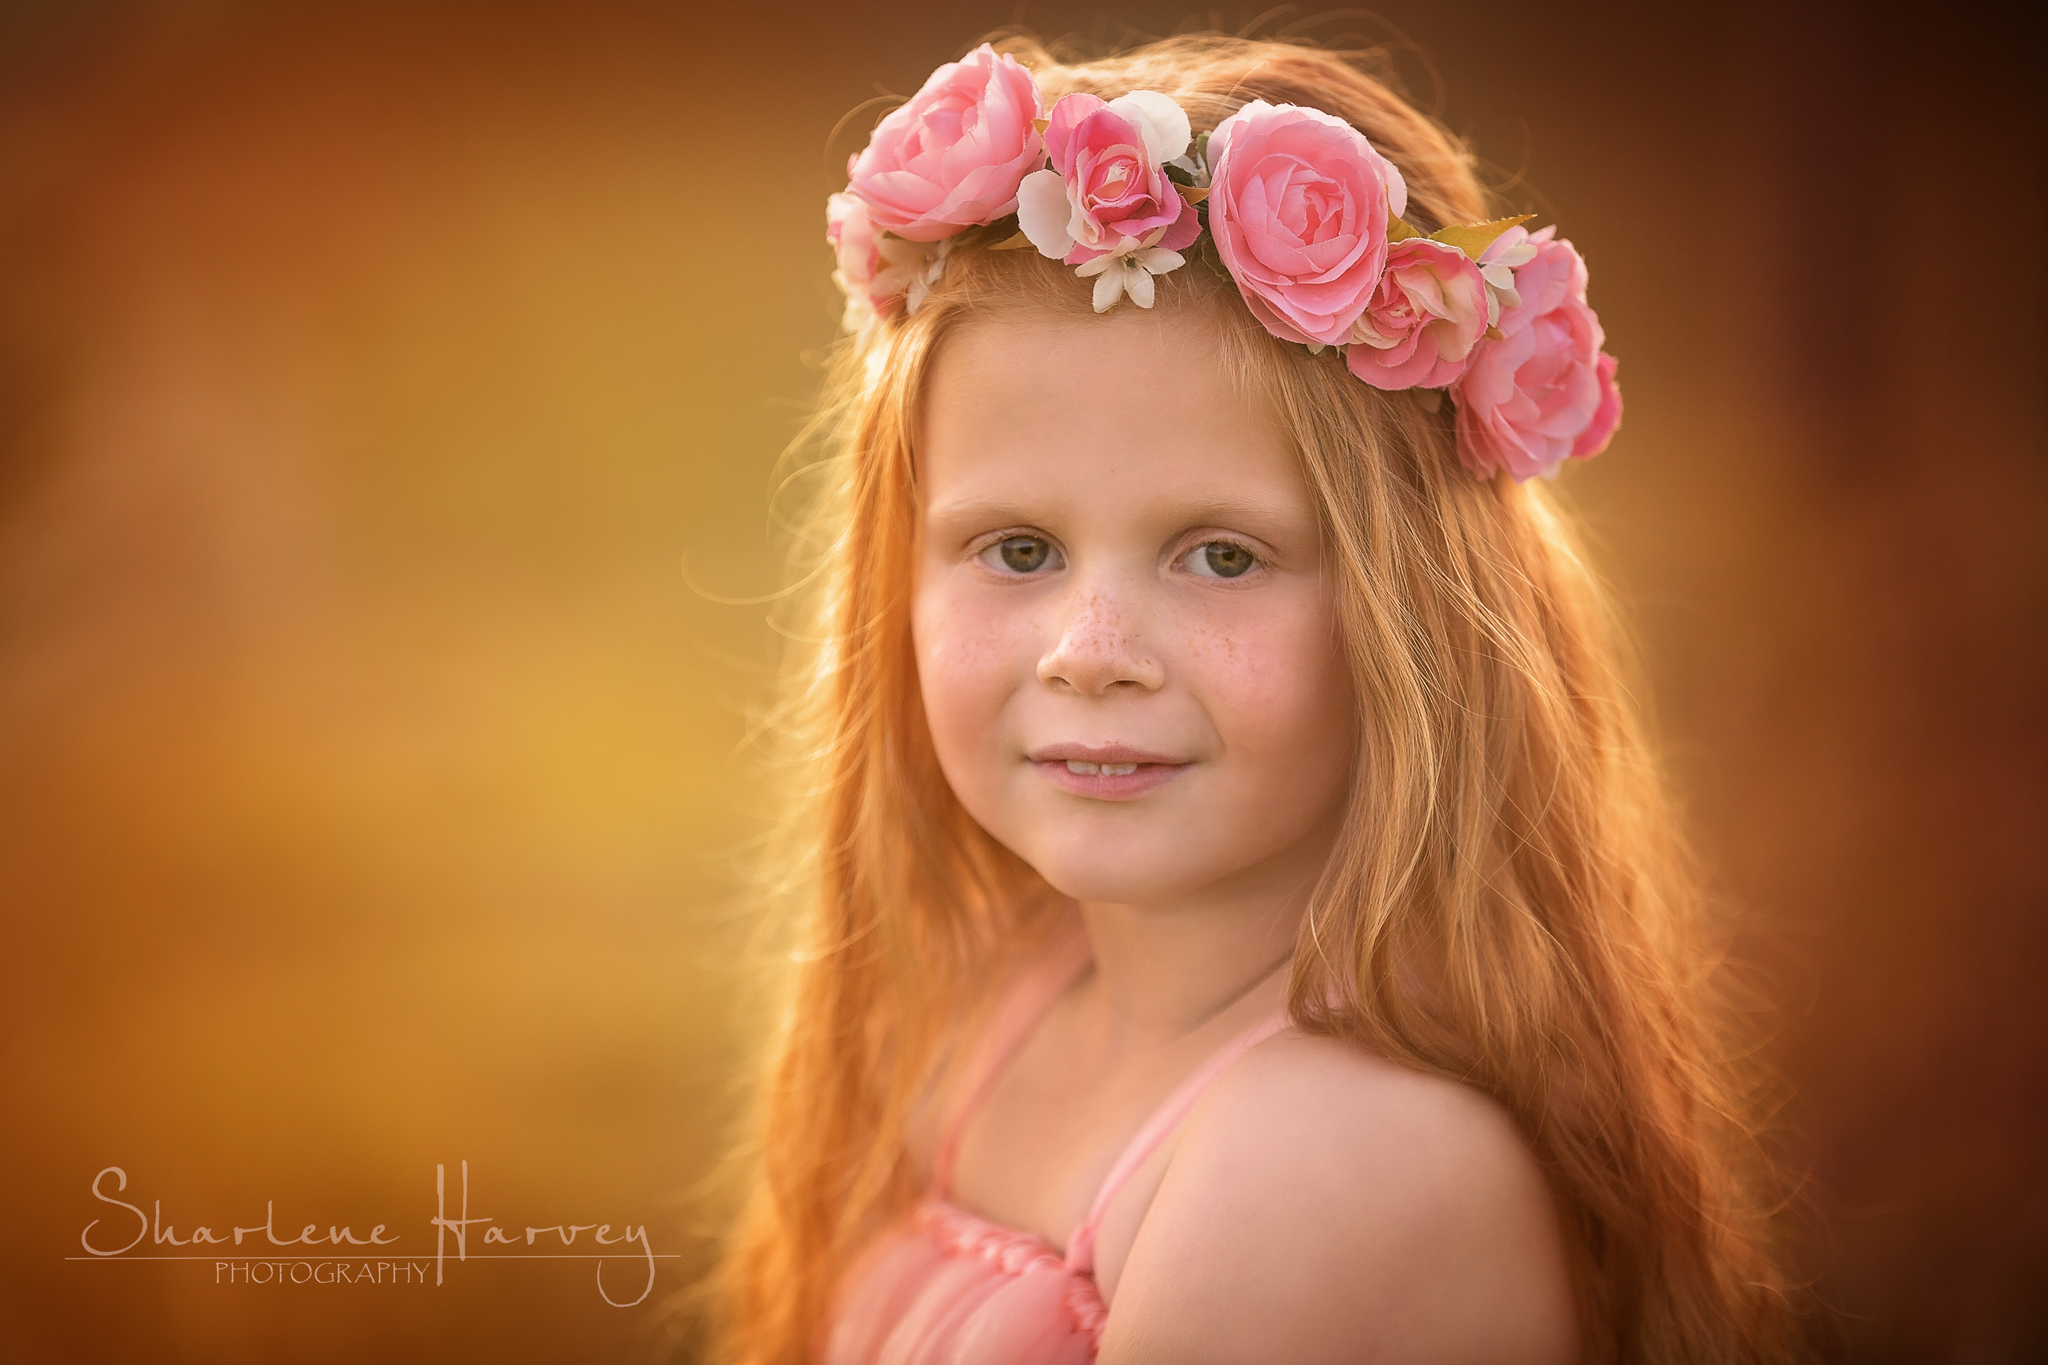
I also love hand crafting props and so for this particular session I handmade the floral head pieces, stars and spray painted the bucket silver.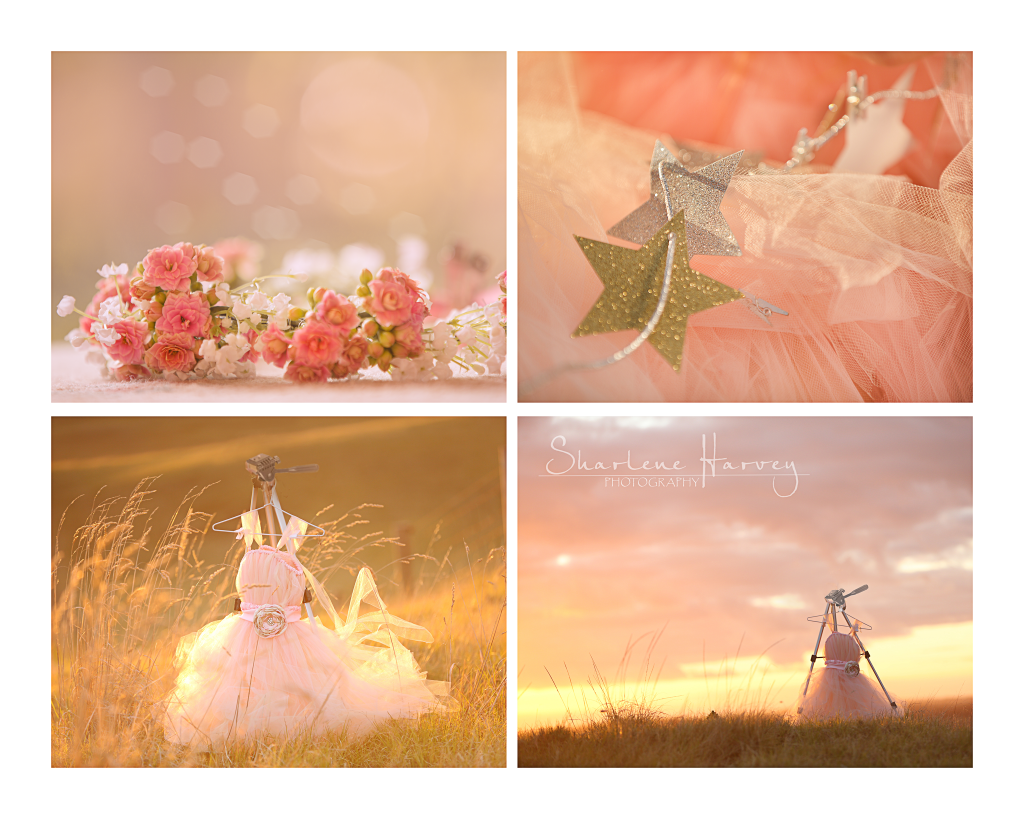

When the girls first arrived, they hadn’t seen the beautiful tulle dresses or floral head pieces that they were going to wear. I can still see their delighted faces when I showed them! They were excited to put them on and get started on our photographic journey.
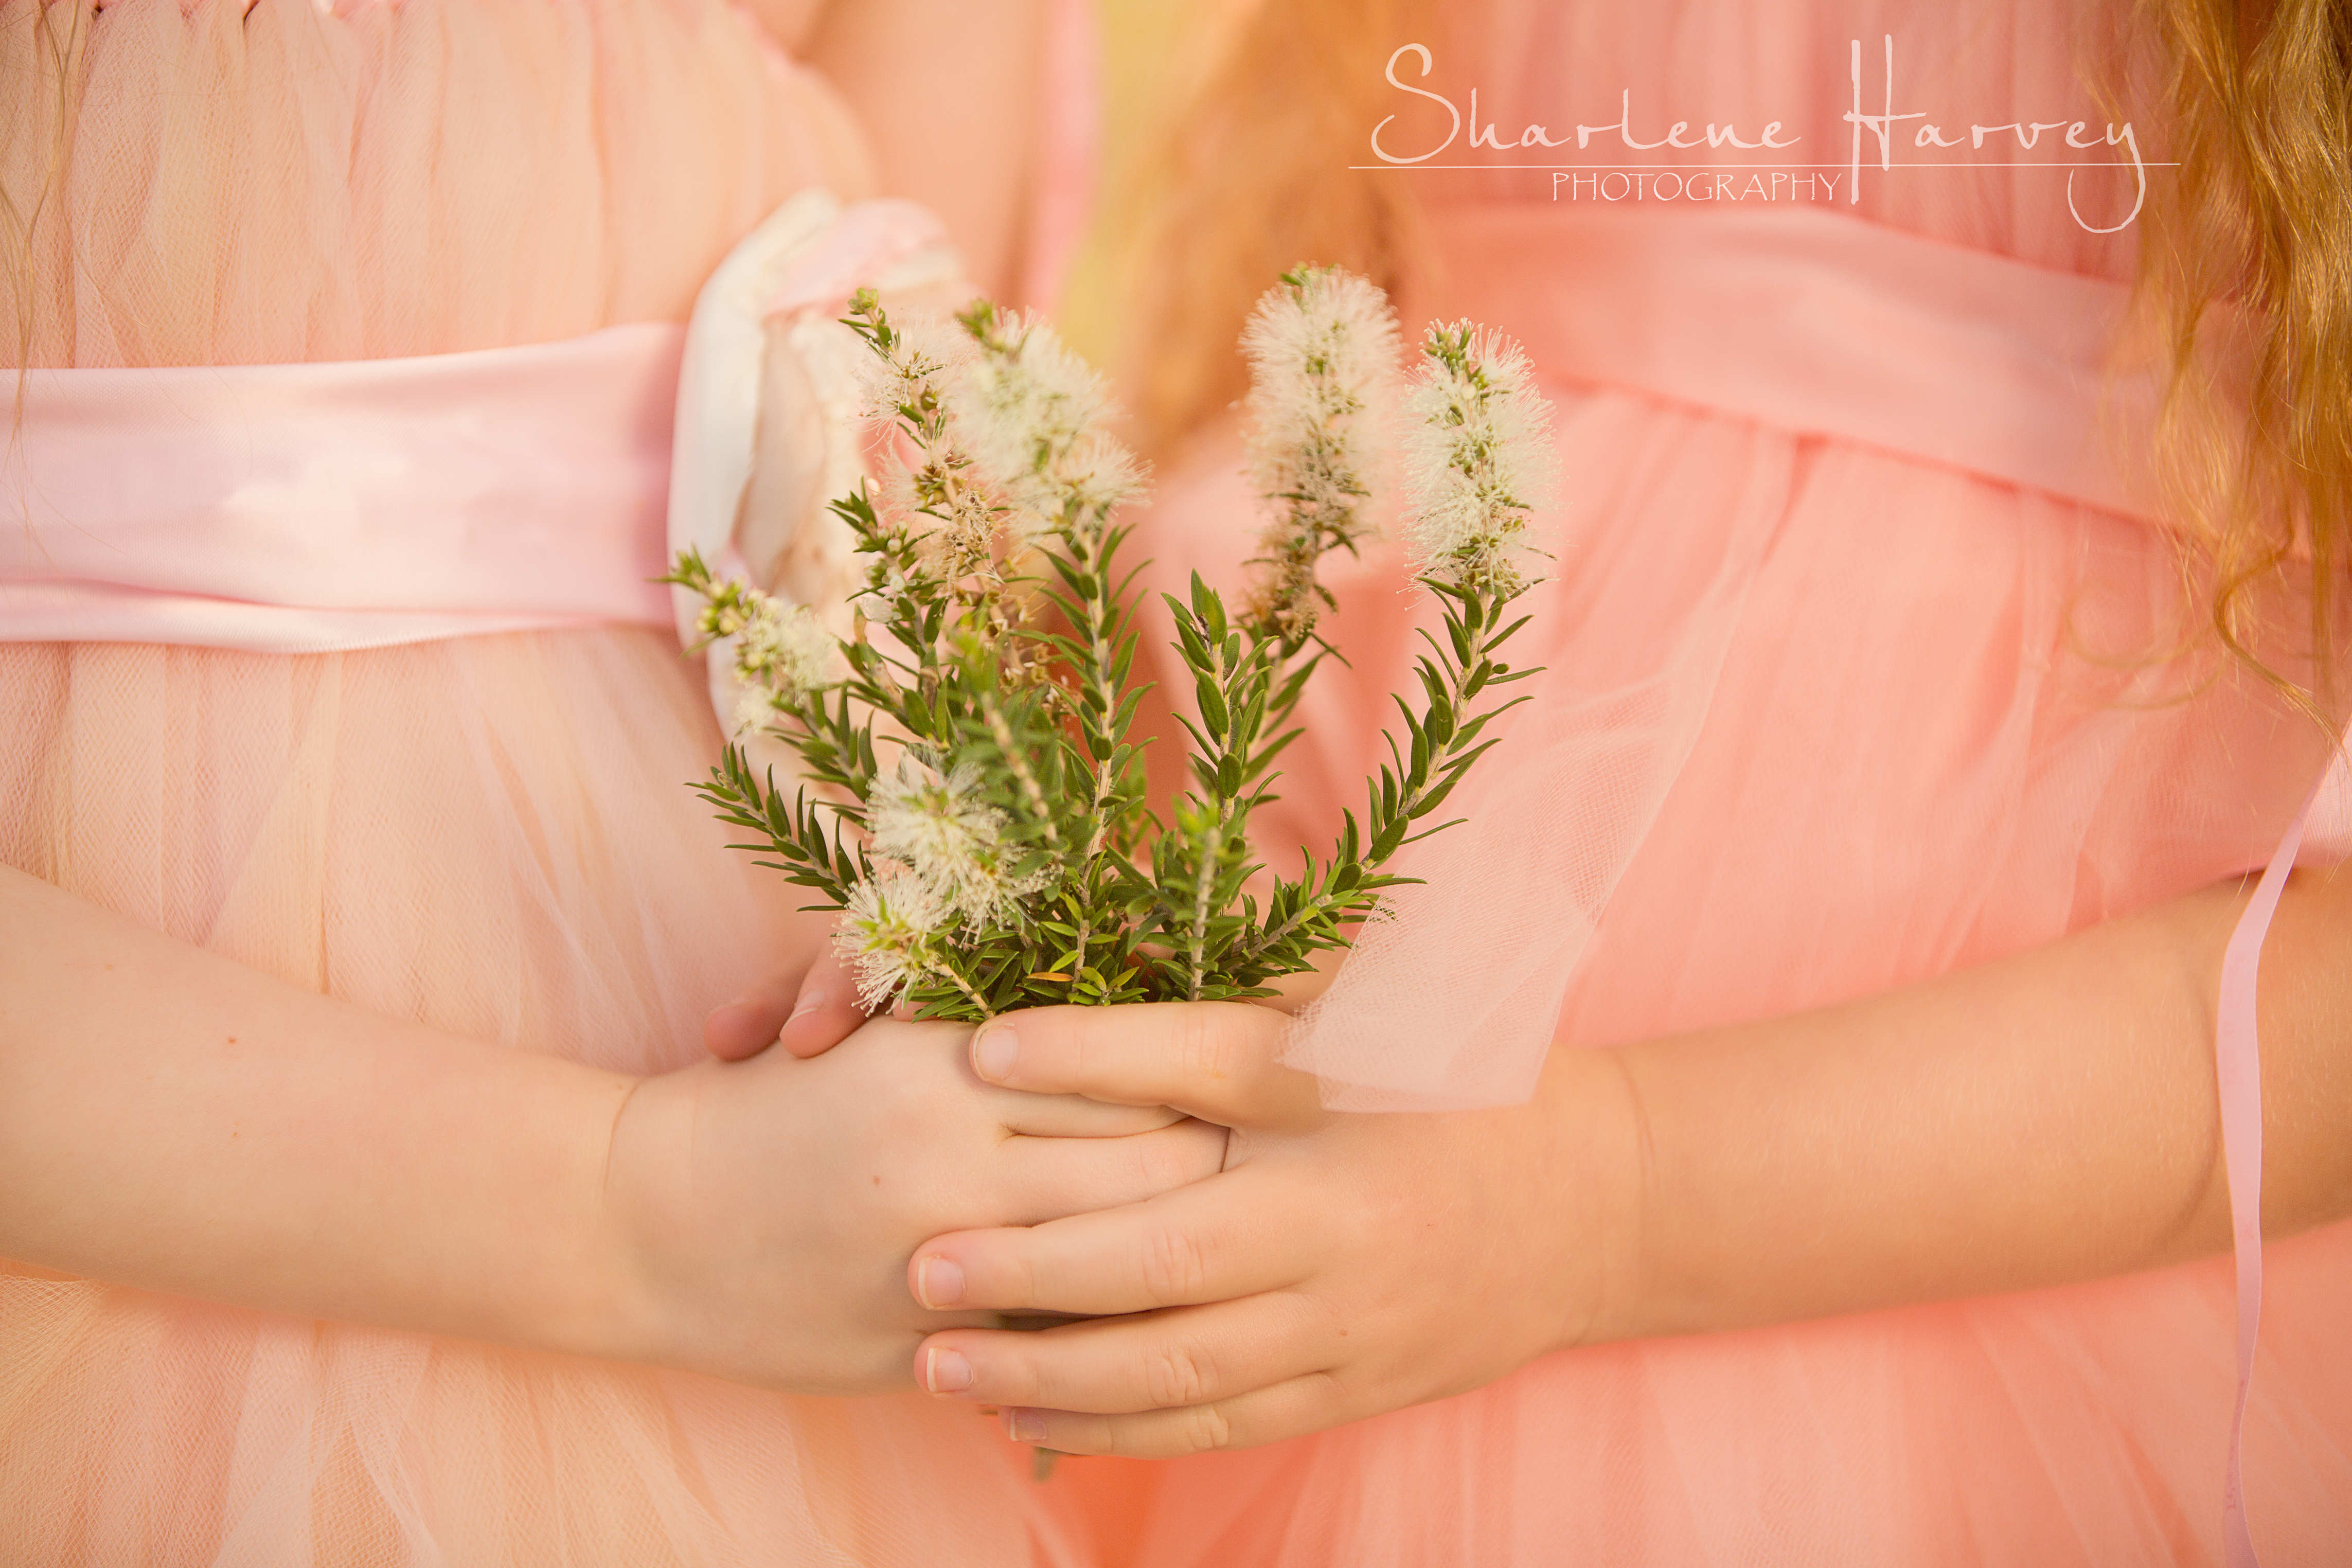
Once dressed, I set them to task to capturing stars that had fallen from the sky, followed by some skipping, patty cake and special friend hugs.
We even had time to stop and smell the roses and dream a little dream.
To find out more details on booking a session CONTACT ME
Here are some more images from the session. Enjoy …


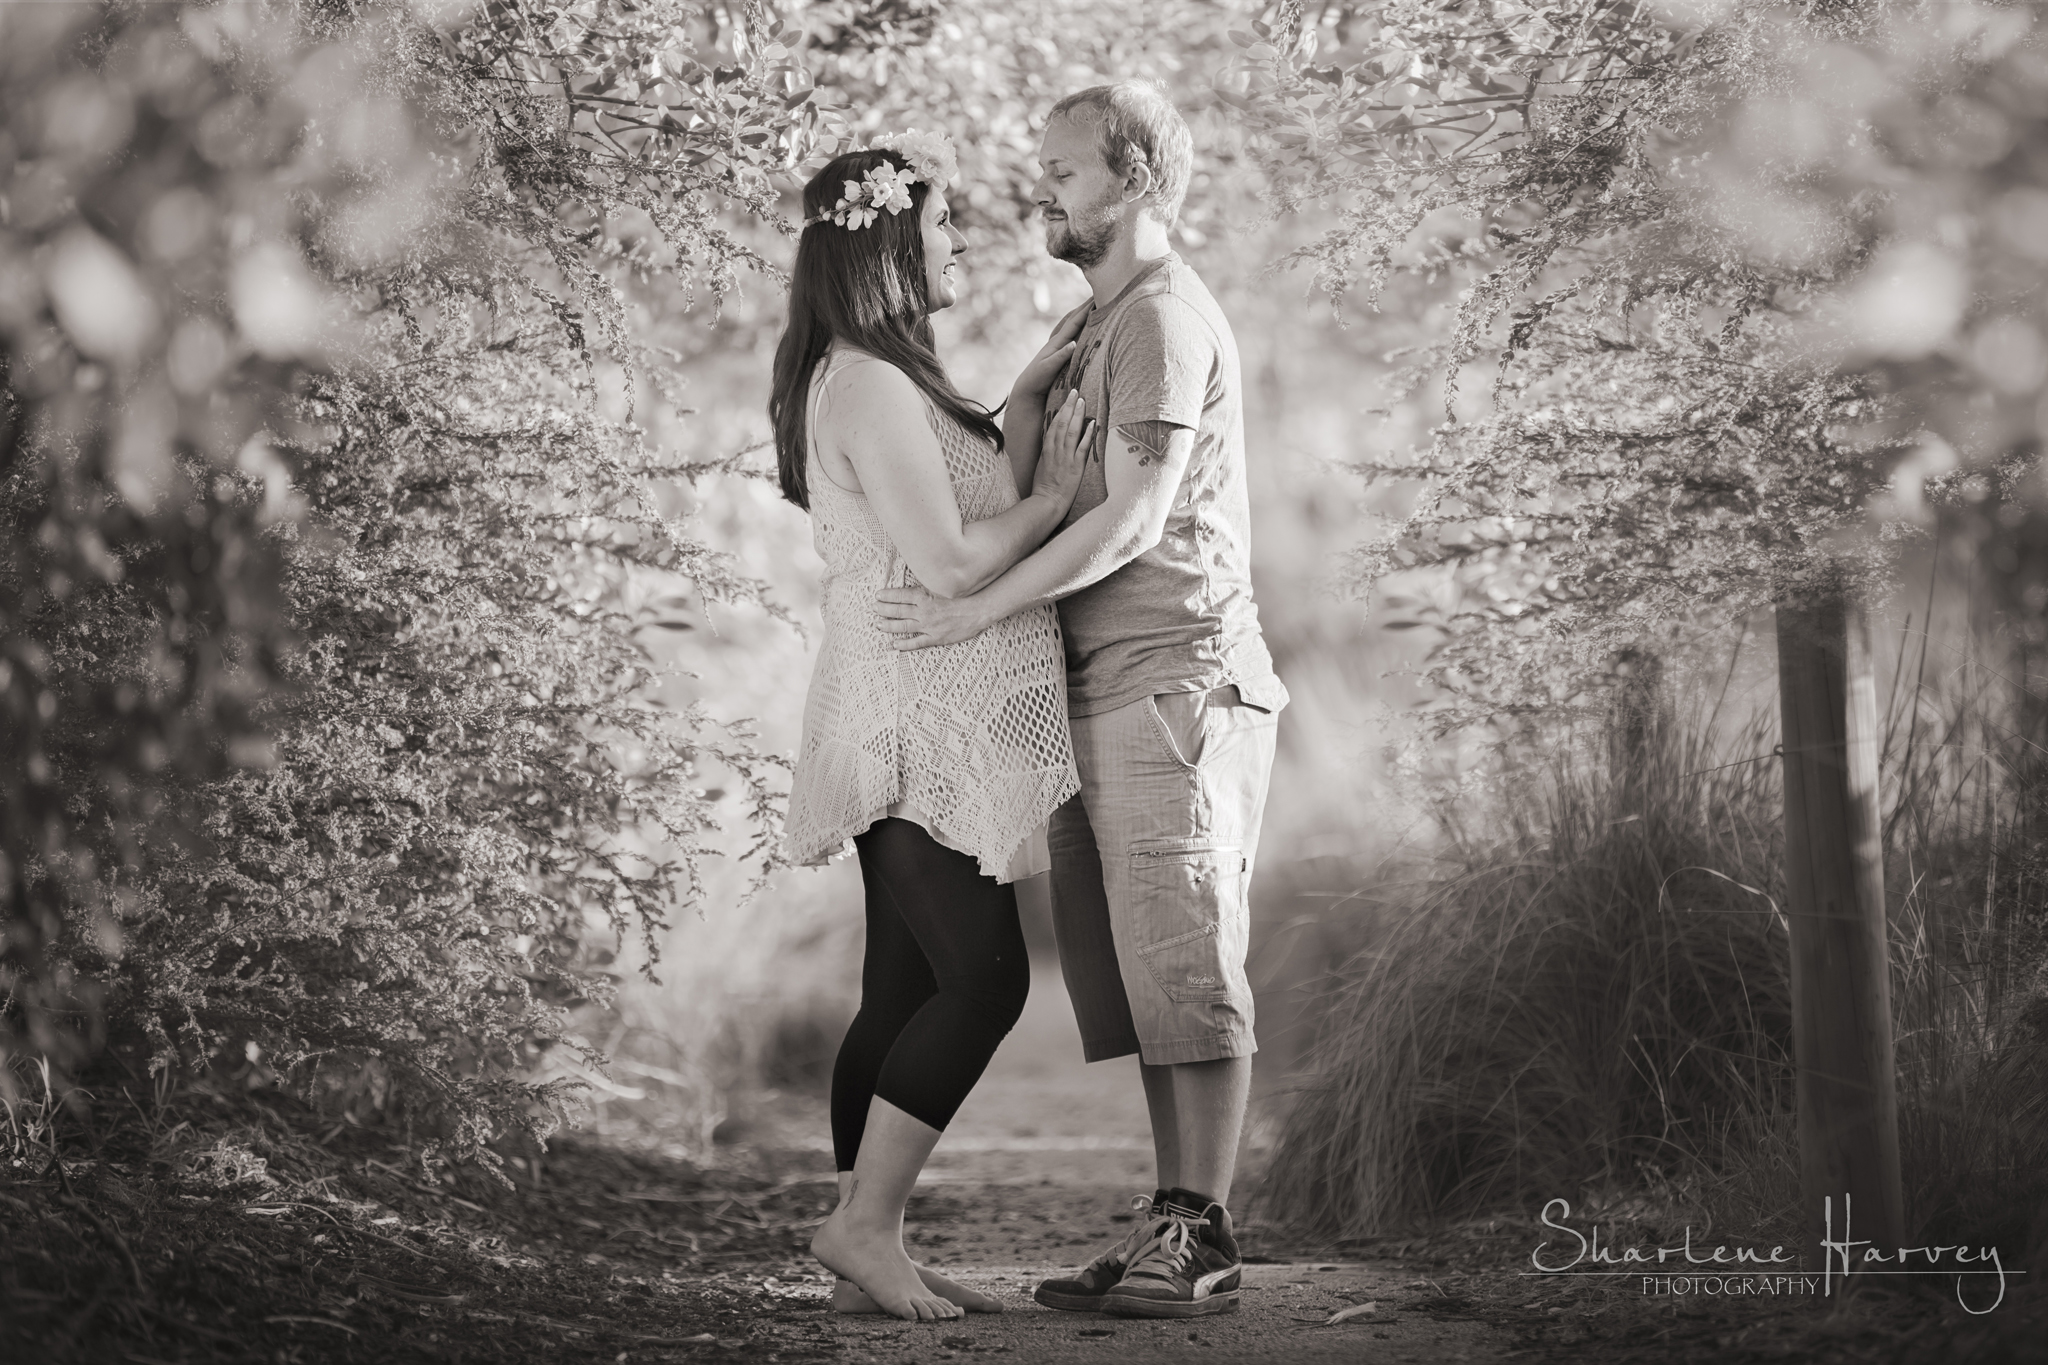
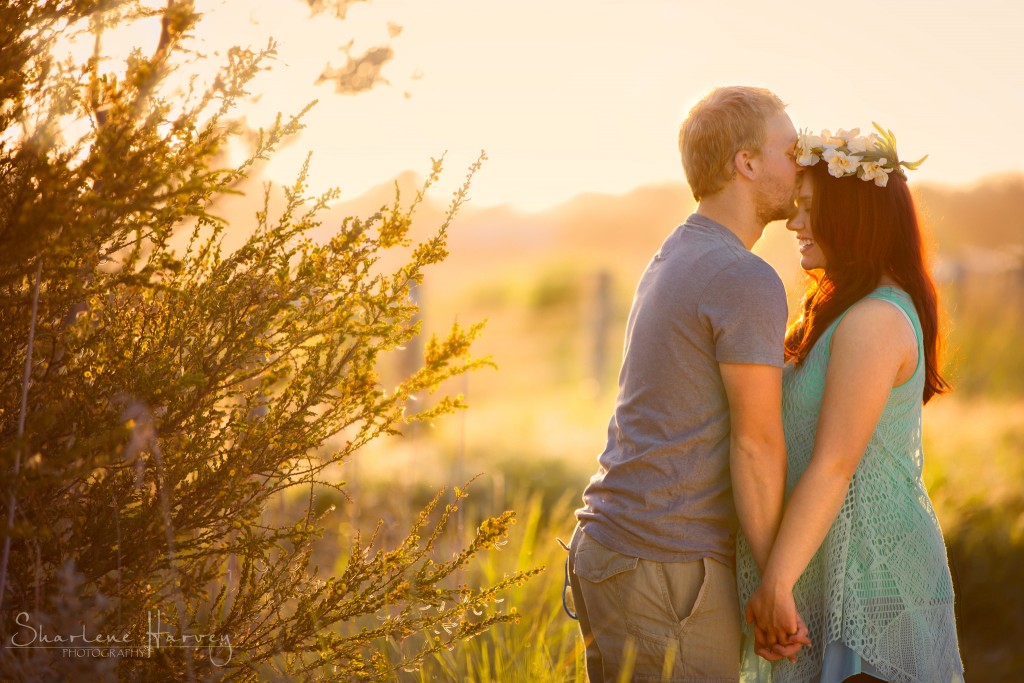
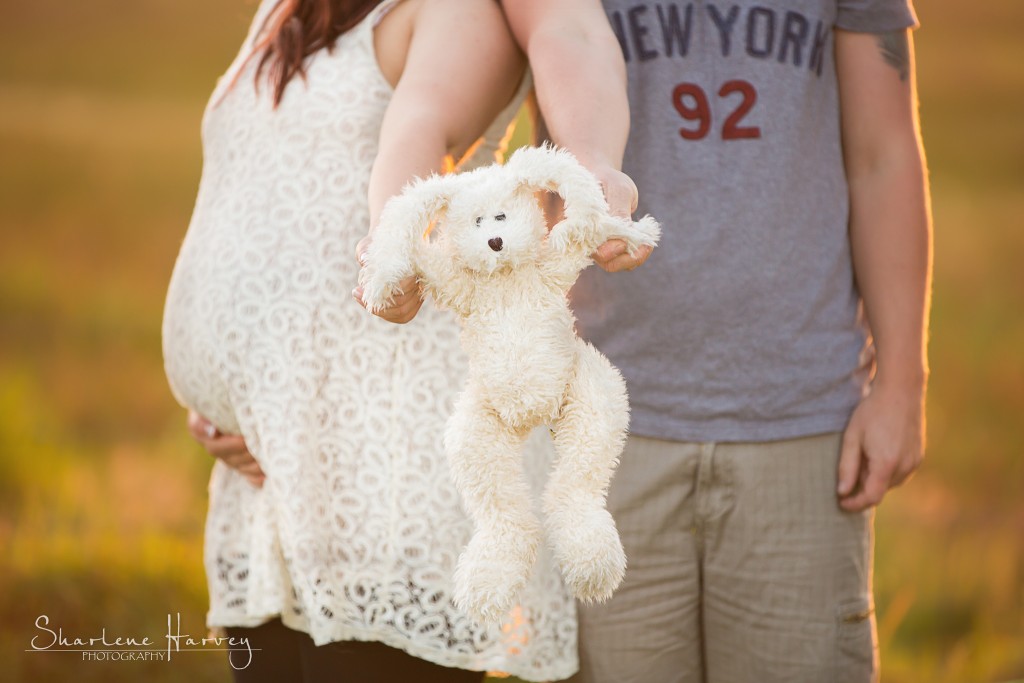
Stunning Outdoor Maternity Photographs | Mornington Peninsula Photographer
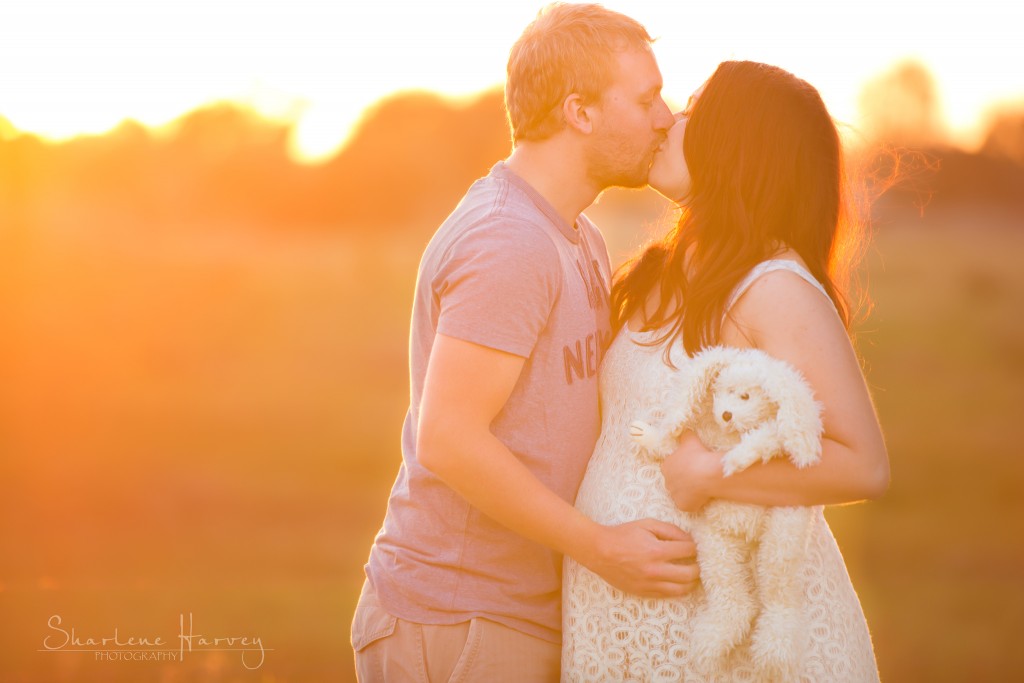
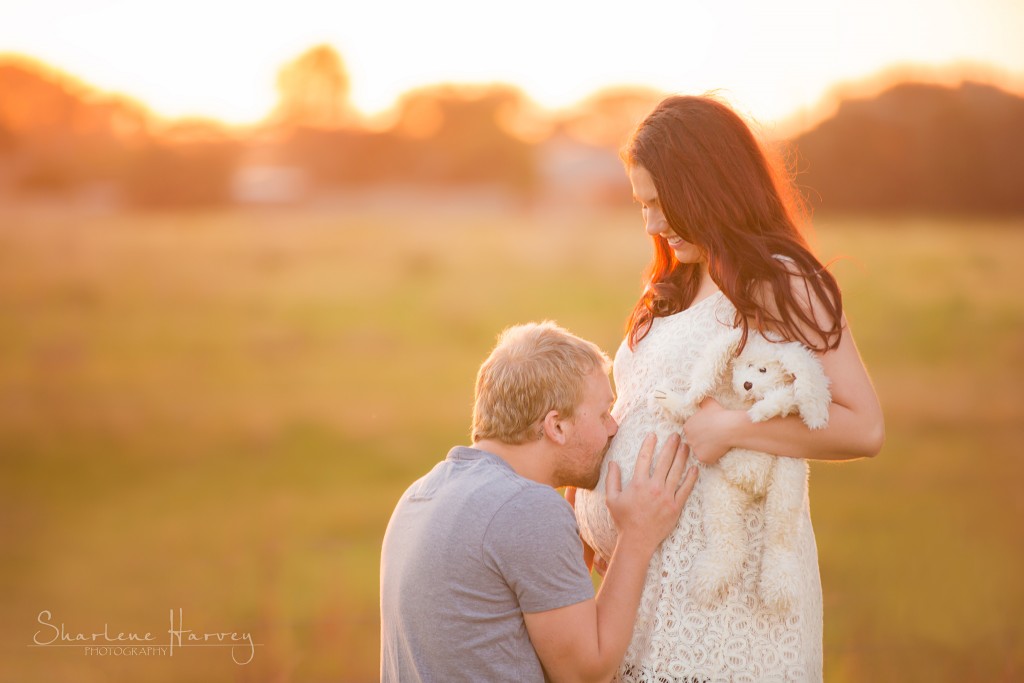
This maternity session with expecting parents-to-be took place outdoors on the beautiful Mornington Peninsula.
The beautiful mumma was 36 weeks pregnant and matched the glow of the beautiful evening light and oh what a beautiful night it was.
We had a little bit of fun with our pregnancy session and set up a clothes line with cute baby clothes and set dad to work.
To book a maternity session contact me.
Here are a few images from the session. Enjoy …


FOLLOW ME ON: FACEBOOK
Beautiful Studio Maternity Portraits | Mornington Peninsula Photographer
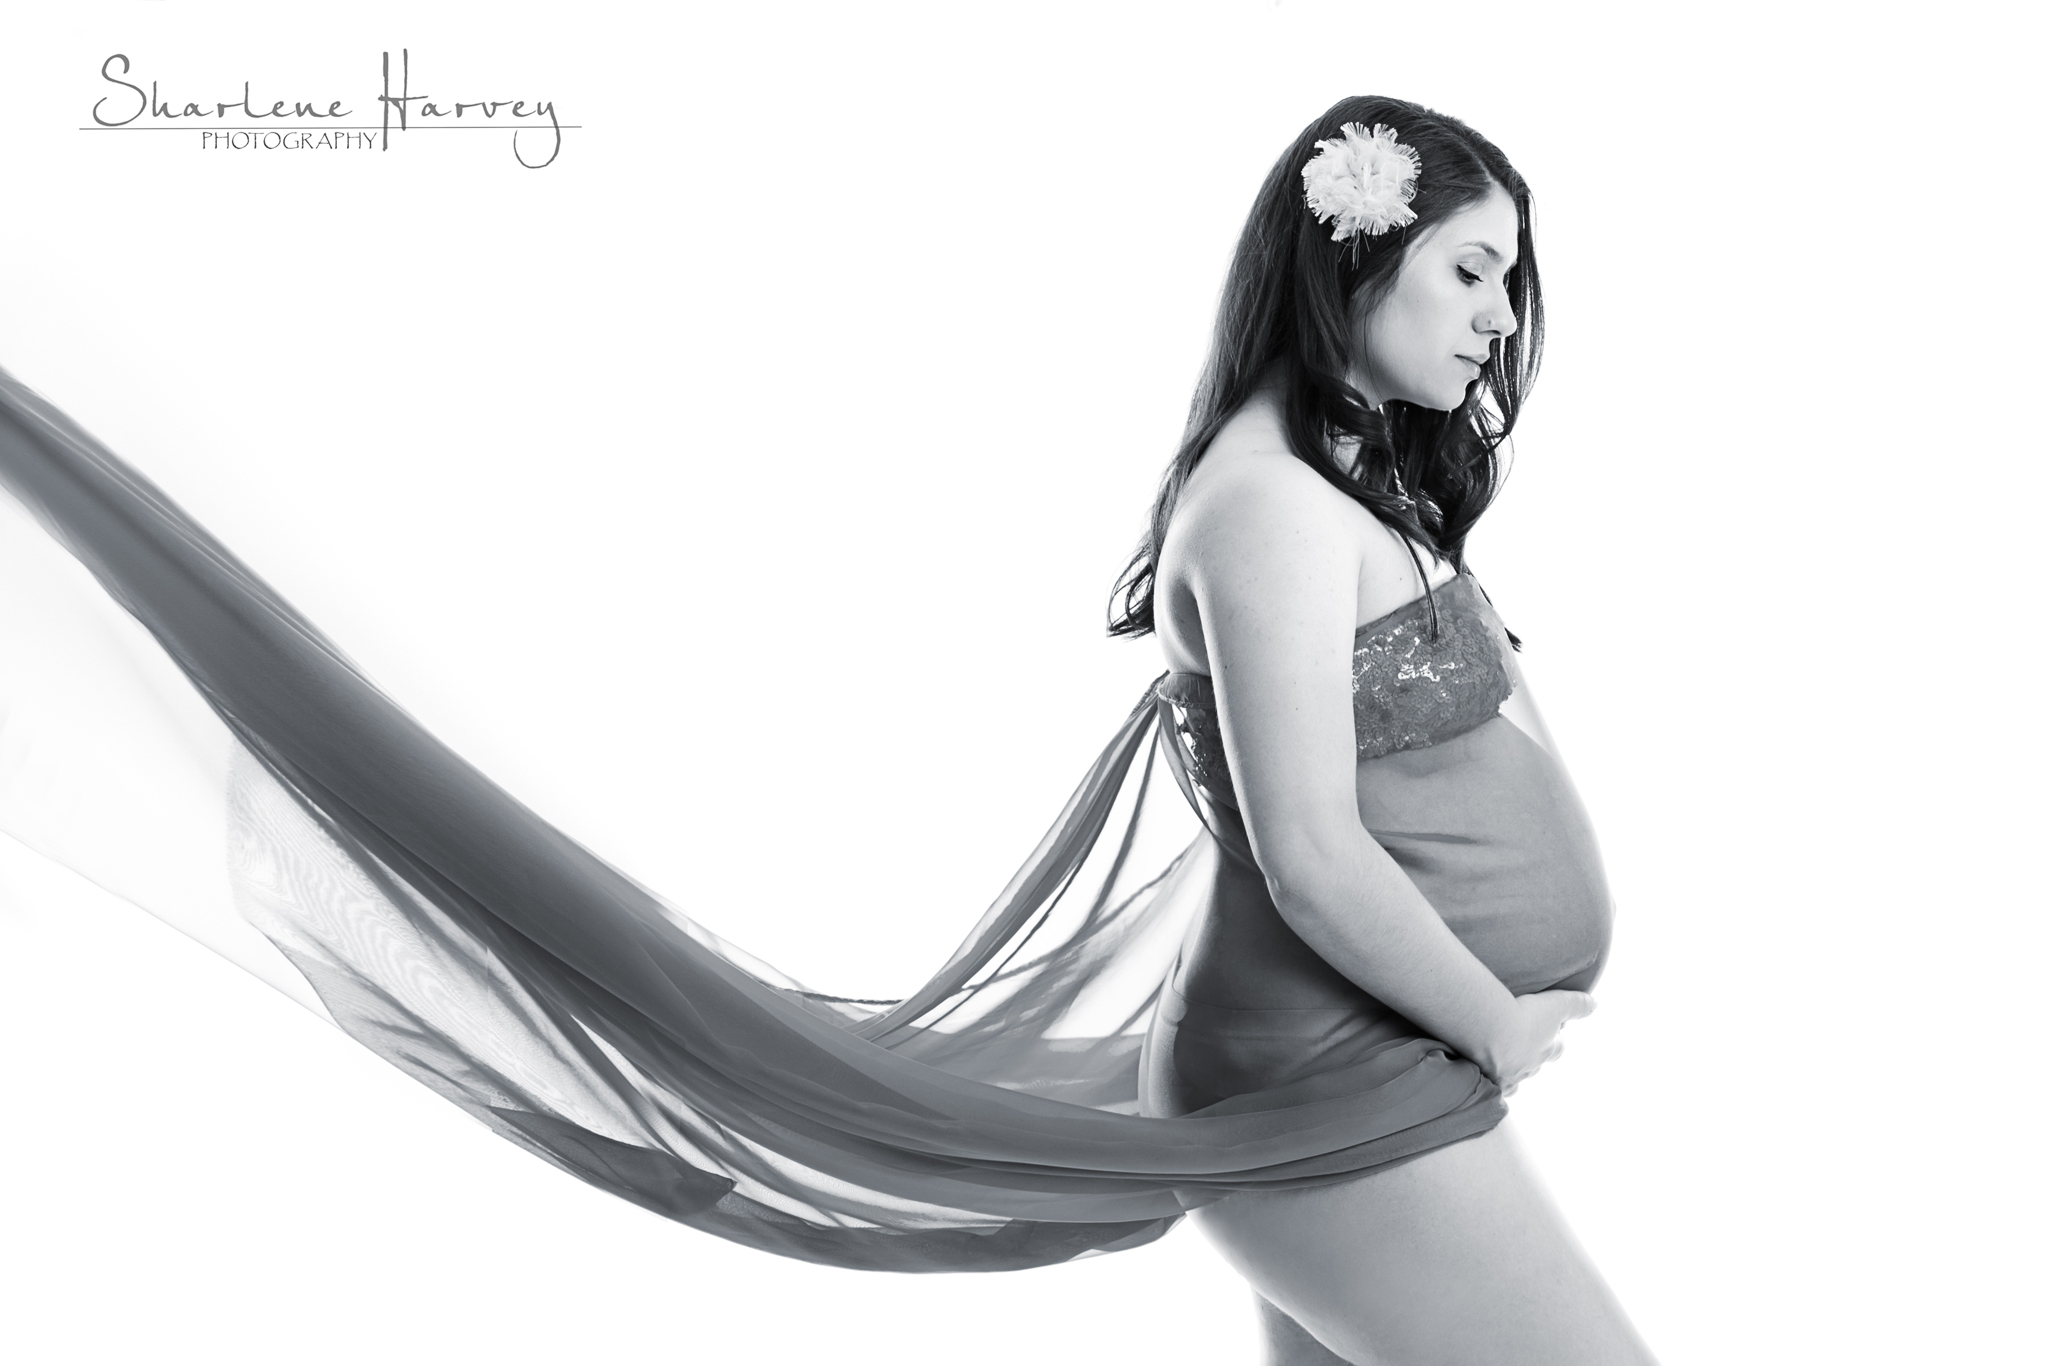
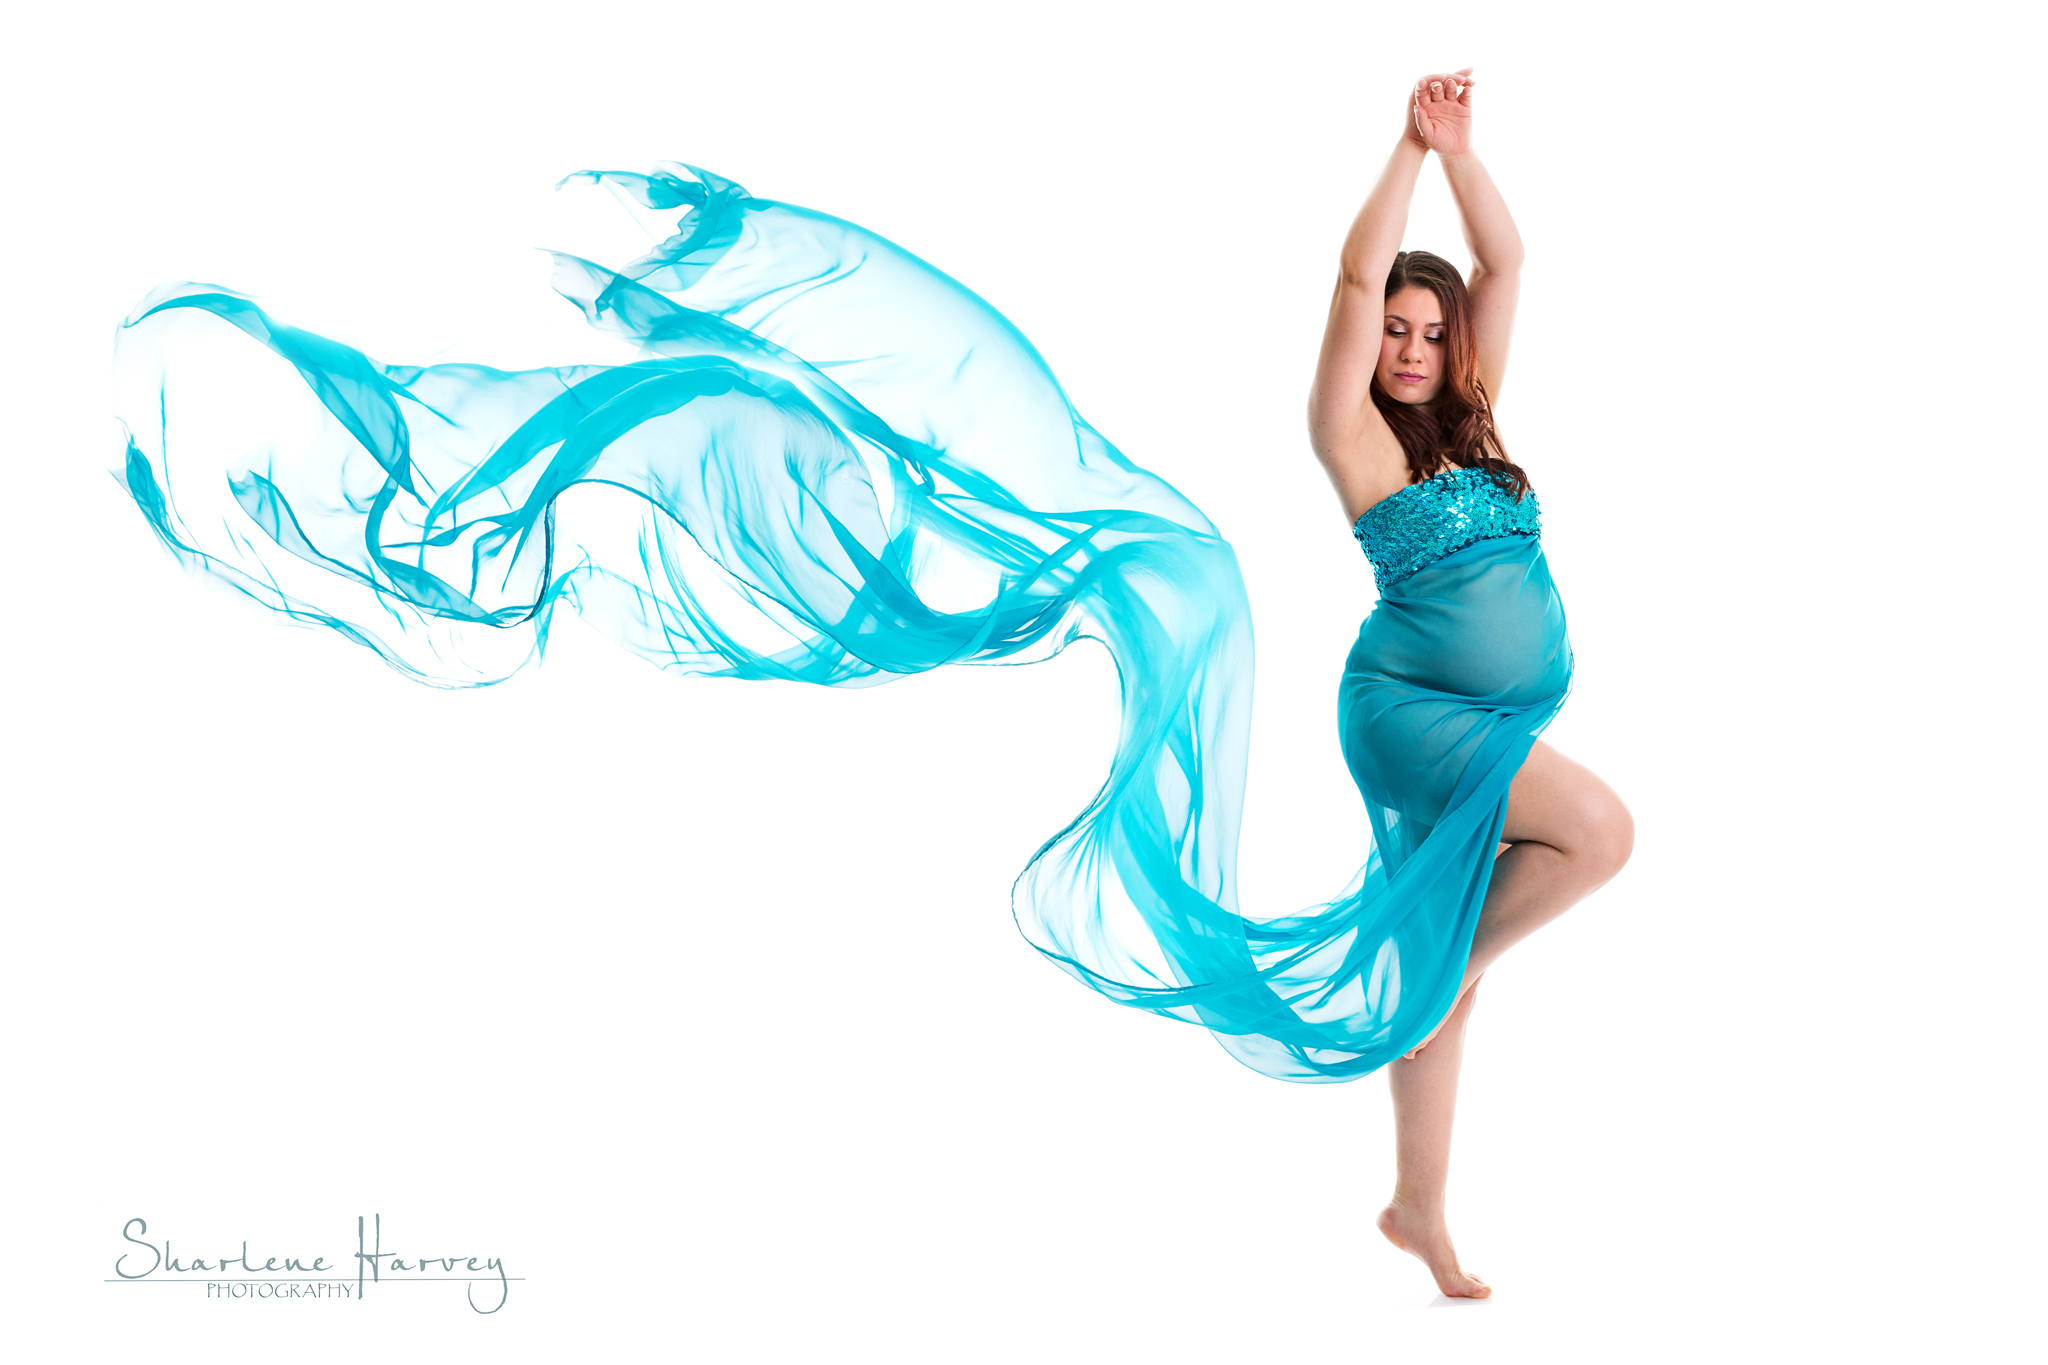
I had a fabulous time photographing these expecting parents-to-be for their maternity session on the Mornington Peninsula.
At 36 weeks pregnant, the beautiful mum was glowing. They have been busy for the last years with a marriage, new house and now a gorgeous baby on the way and I’m so happy that they chose me to capture their special pregnancy moment.
We had lots of fun using a studio setup as our backdrop with high-key lighting to help contrast my subject’s gorgeous baby-belly. My beautiful mama-to-be is also a dancer so it was great to incorporate a few portraits that had a artist dancer feel to them.
To book a maternity session contact me.
Here are a few images from the session. Enjoy …


FOLLOW ME ON: FACEBOOK
beautiful autumn family photos (Mornington Peninsula Photographer)
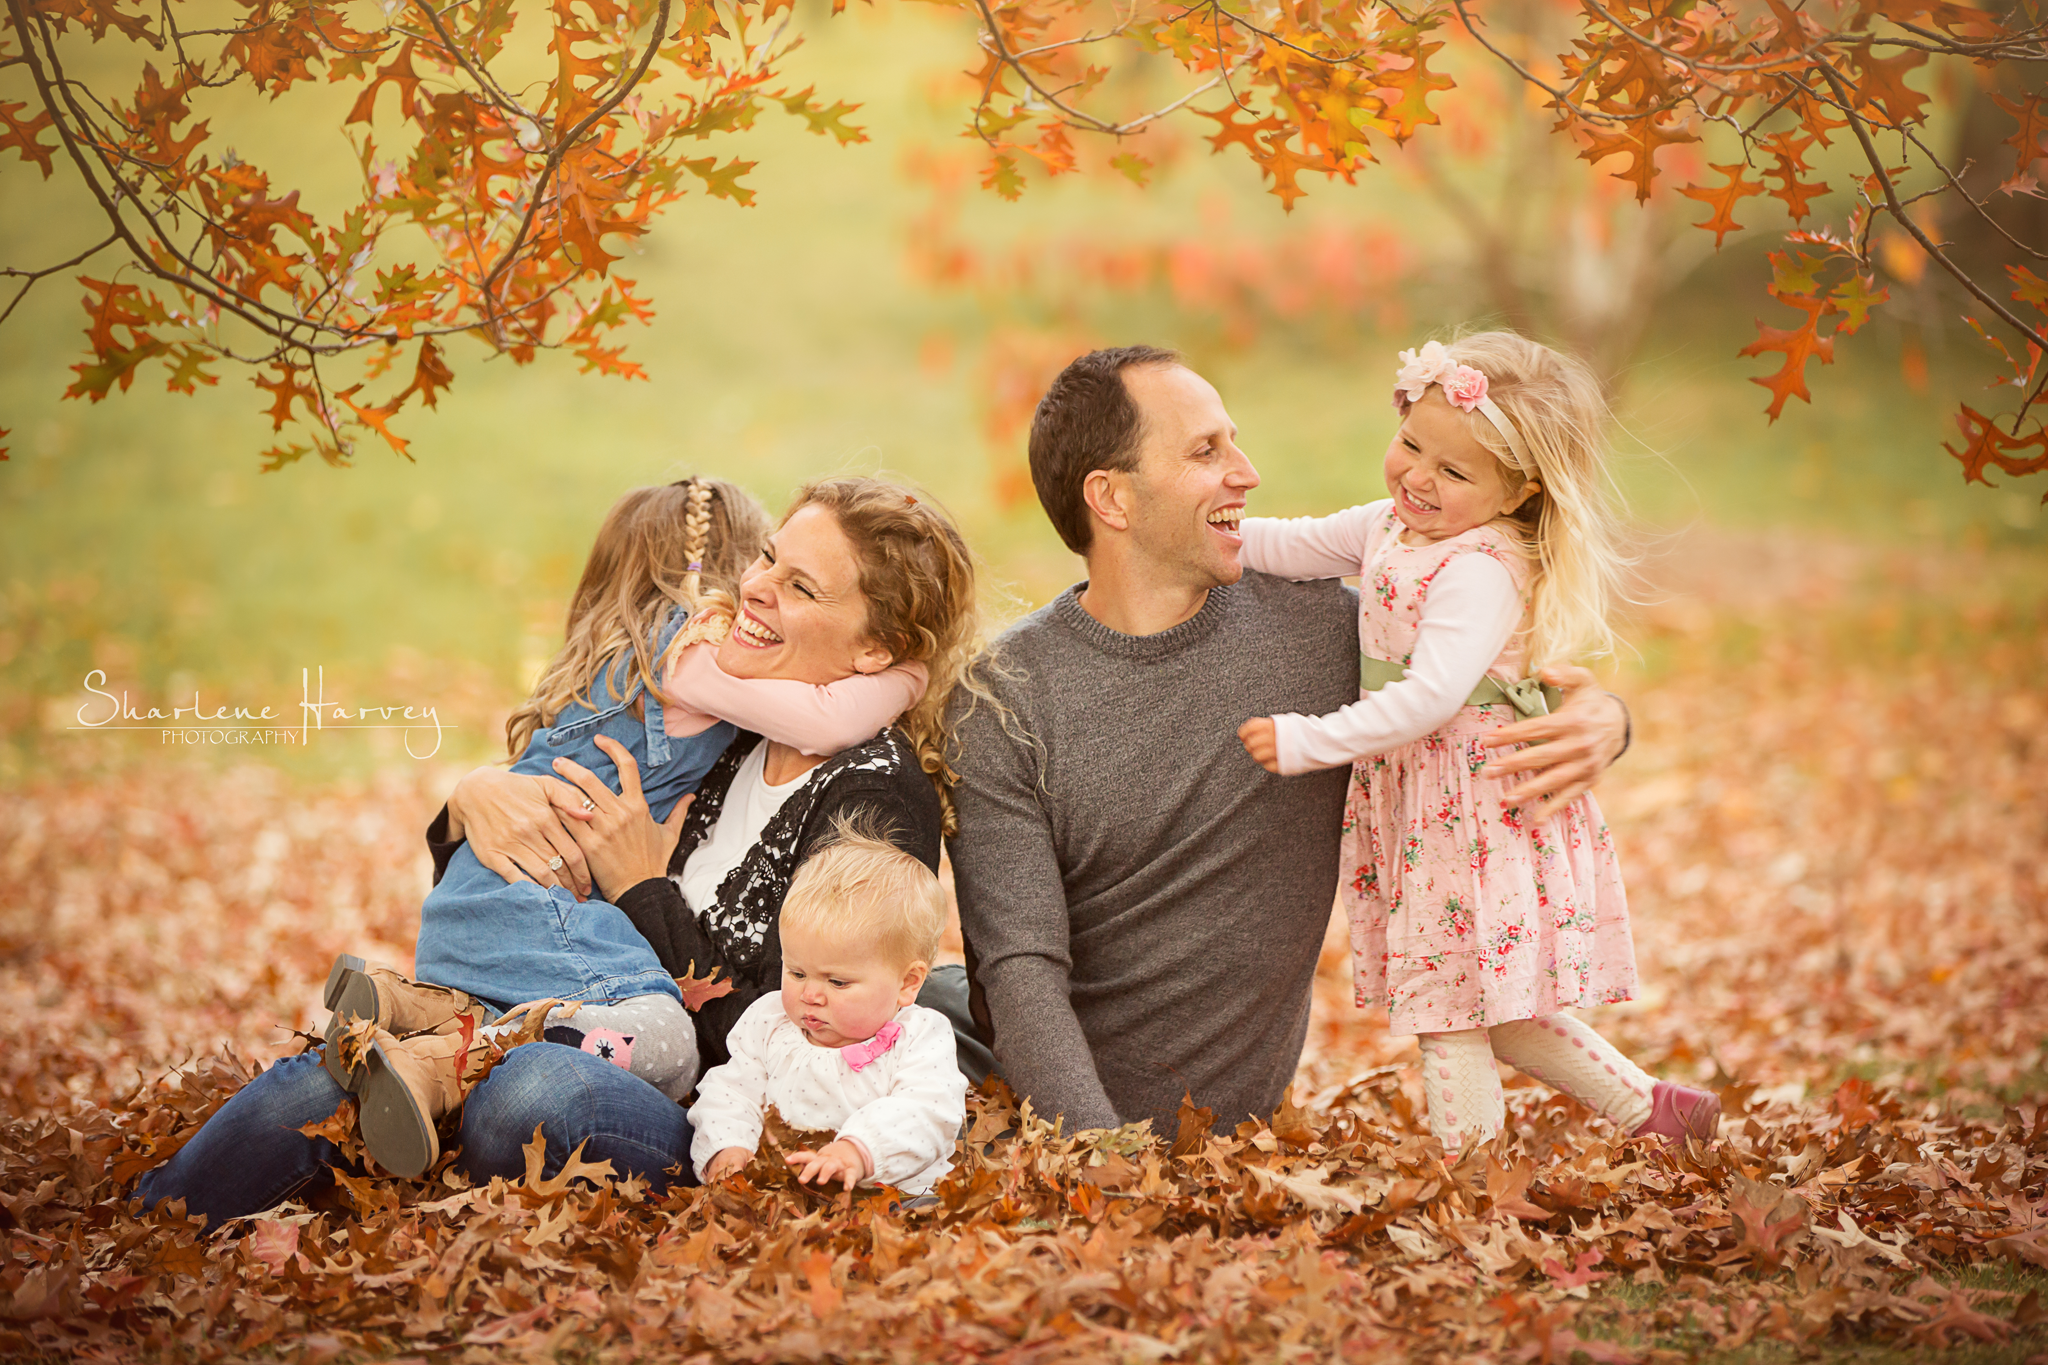
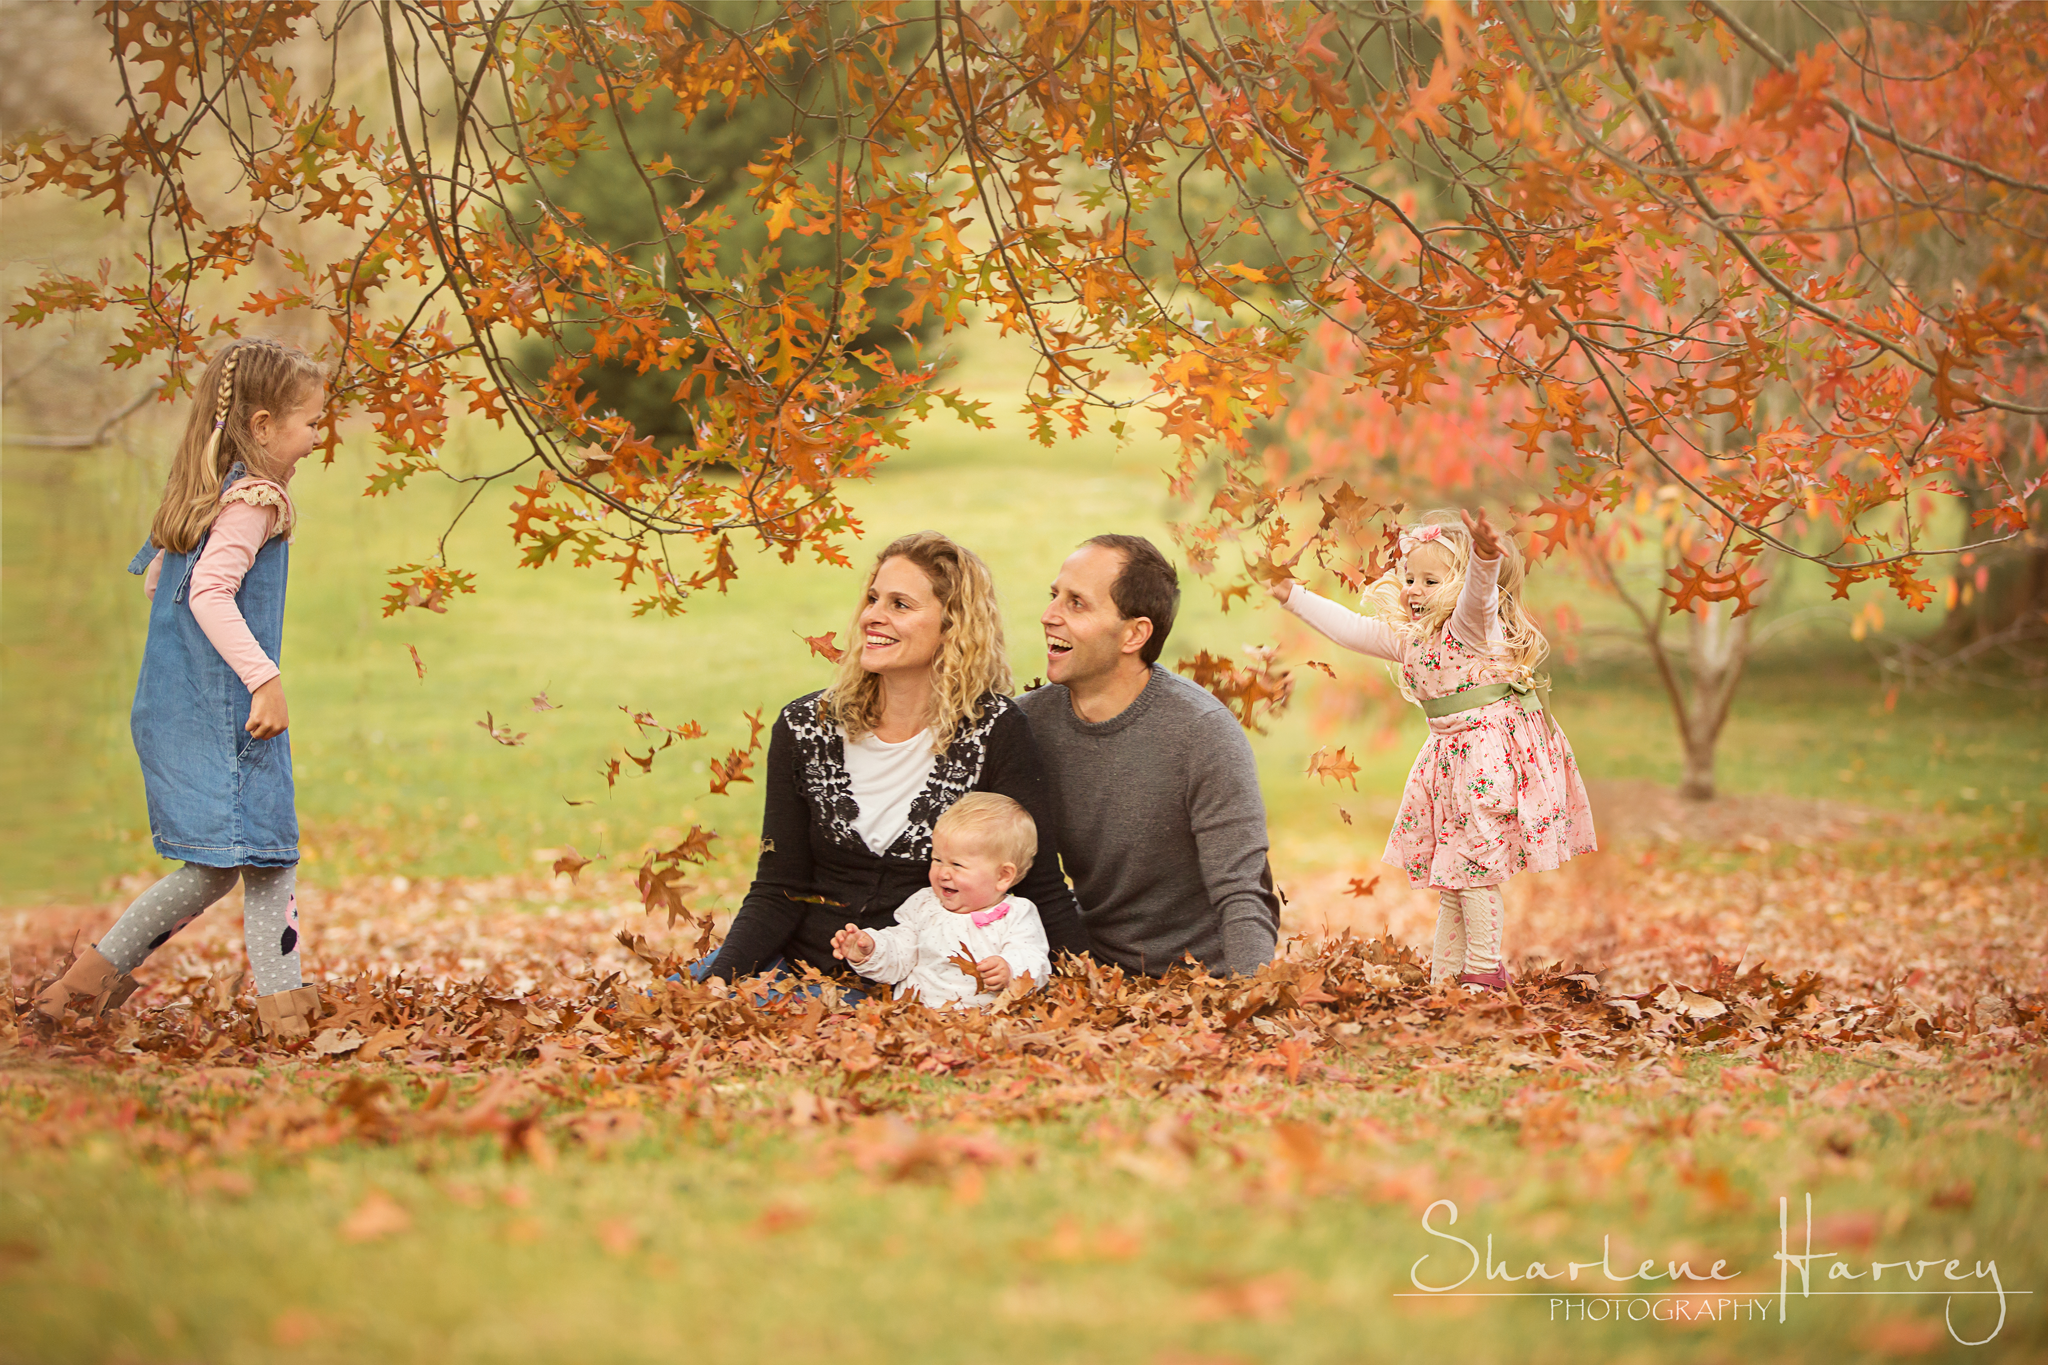
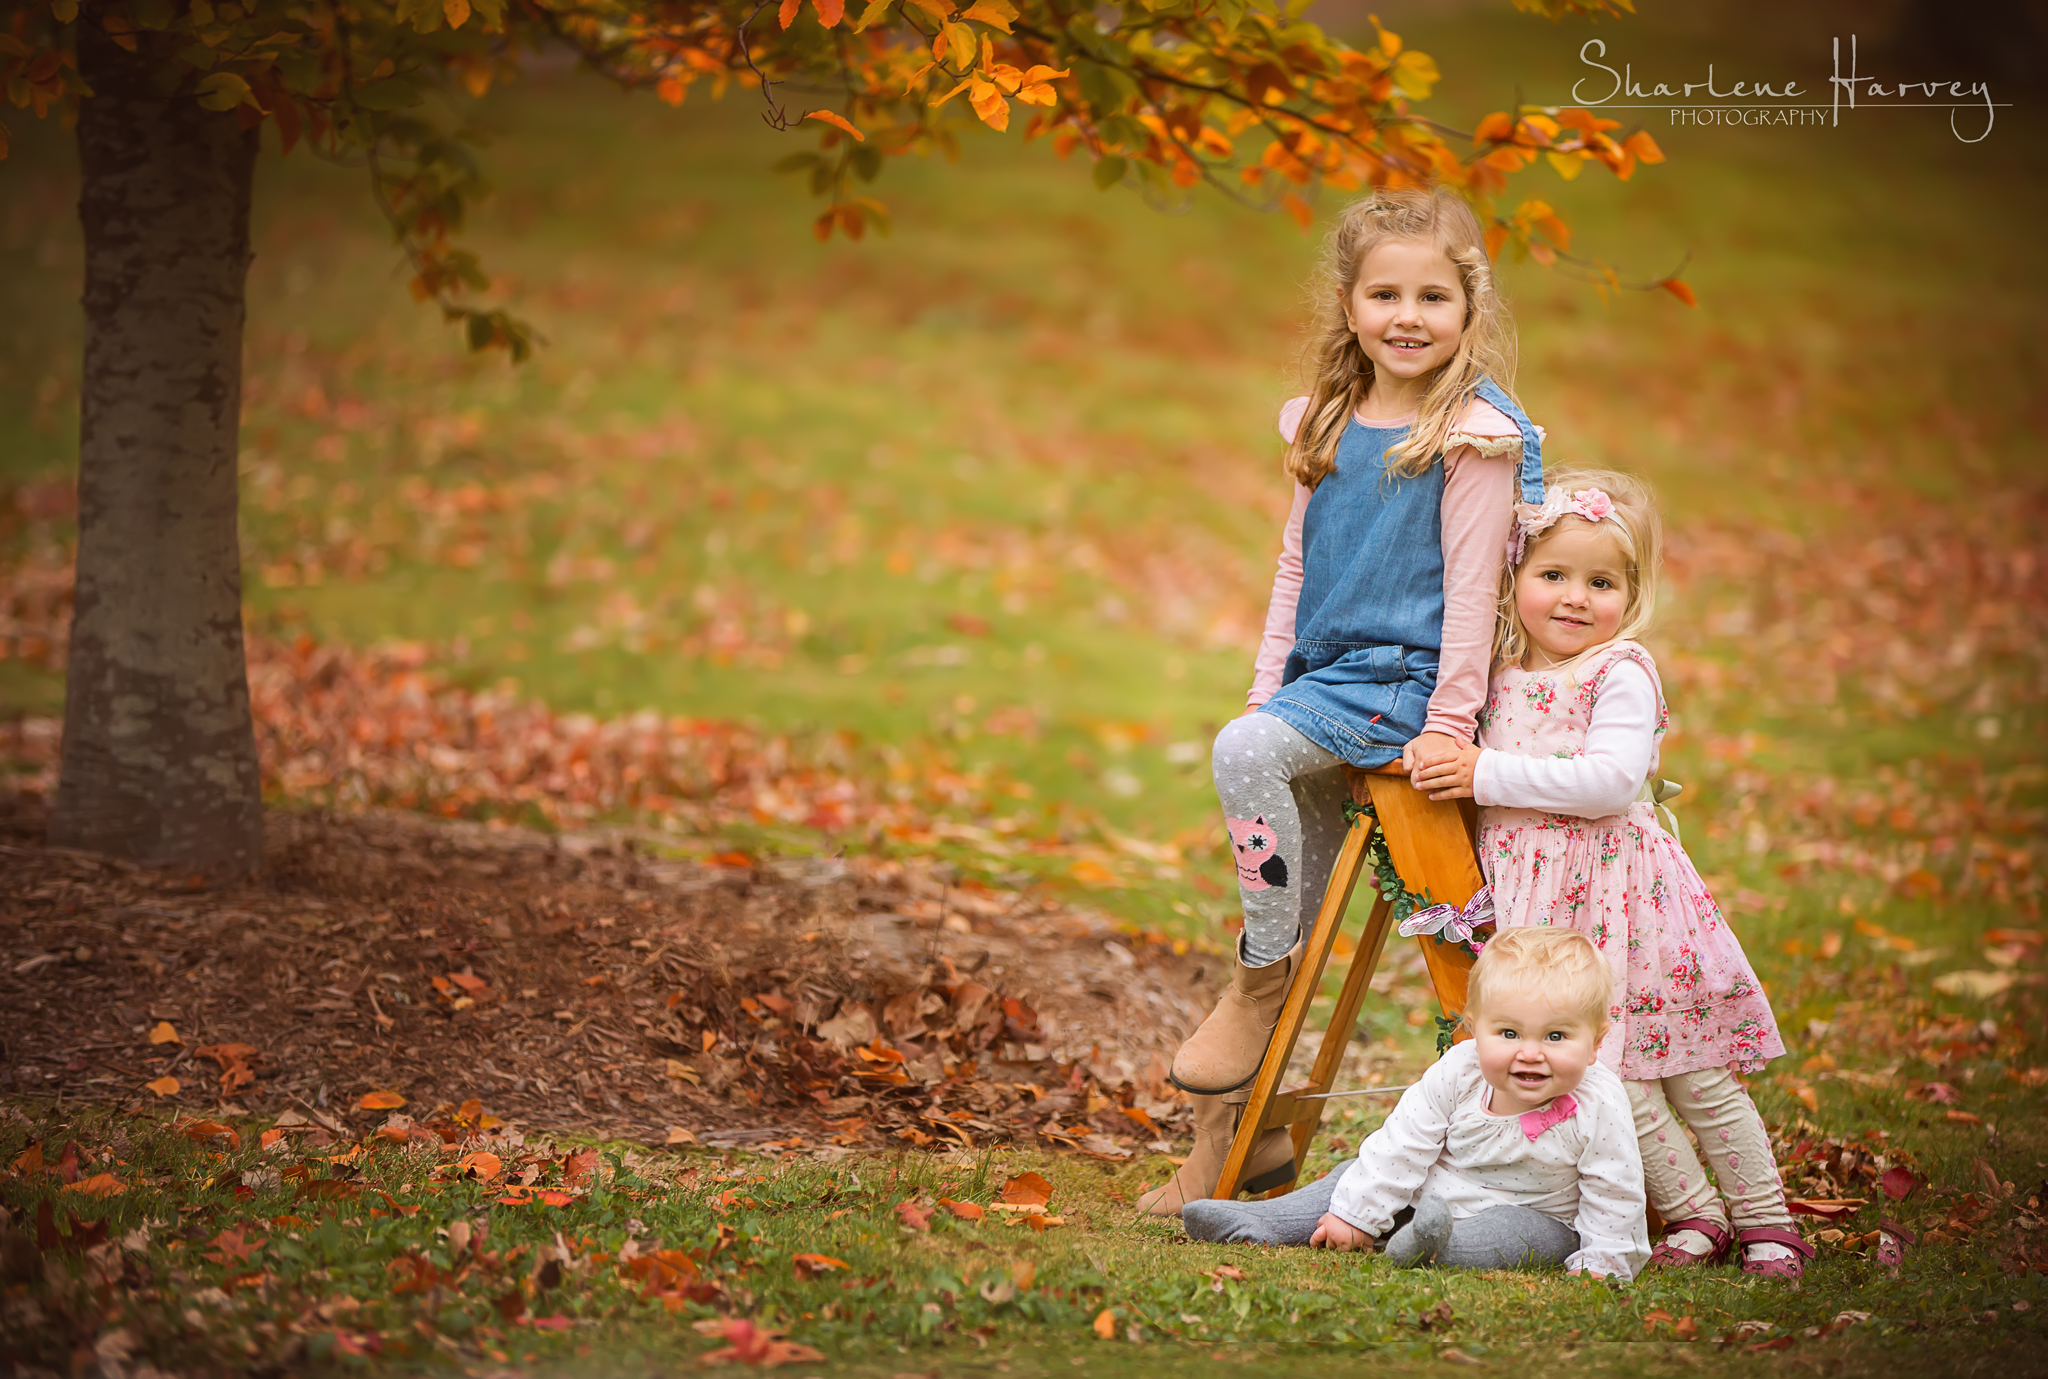
Autumn was in full swing when I photographed this gorgeous family. The Mornington Peninsula was bursting with colour and I was ecstatic to have the opportunity to capture the Cheers Family from McCrae before the cold winter set in.
And what a gorgeous family they were. The children were all smiles, especially when I told them they were going to throw autumn leaves on their parents! Mum and Dad equally had fun when it was their turn to toss leaves on the girls.
I’m pretty sure my favourite part of the session was seeing the joy on Bec and Mark’s face when the children ran in for a group hug.
Did I ever mention how much I love my job?


To book your family session, don’t hesitate to contact me.
Three year old doll (Mount Eliza Child Photographer)
It was such a glorious morning in Mount Eliza the day I did this session of this gorgeous child. The sun was shining and the chill of autumn hadn’t quite hit the Mornington Peninsula just yet.
I loved photographing gorgeous little Evie. I was booked in to photograph the entire family the very next week but it was fantastic to spend some one-on-one time with just one child.
It’s very easy to think of perfect many adjectives when describing this child … “adorable” “gorgeous” and “a doll”. She beamed her little smile throughout the entire session and was such a pleasure to photograph. She really enjoyed the experience of my role playing games for this customized children’s session, and I loved watching her interact with all of my ideas. You cannot beat the imagination of a three year old.
Here’s a few favourites from our time together …


Contact me to book your family or children’s session.
Welcome to my first post
Welcome to Sharlene Harvey Photography Blog Post.
This is my first post and I’m so happy for you to join me.